The ‘Bucket Weight’ Trick for Keeping Large Shower Tiles from Sliding
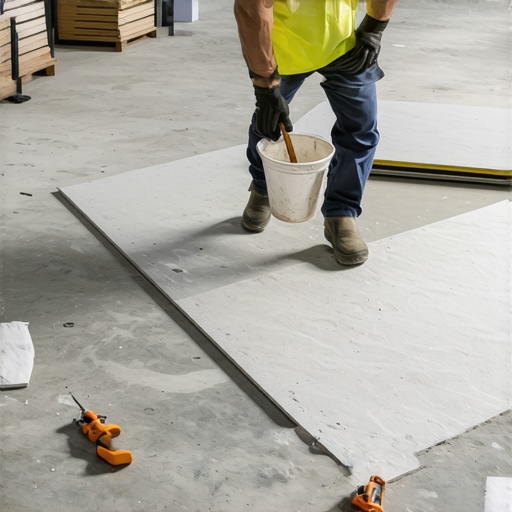
I spent three days grinding concrete on a job last month just so the floor wouldn’t click like a castanet. Most guys skip the leveling compound because they think the underlayment will hide the dip. It won’t. I have seen countless shower installations fail because the installer did not understand the relationship between gravity and the structural integrity of the wall. When you are dealing with large format tiles, the margin for error is non-existent. A single millimeter of sag can ruin the grout lines and break the waterproof seal. You have to treat the wall like a structural engine, not a decorative surface.
The physics of the vertical slide
Large format tiles slide because their weight exceeds the initial shear strength of the mortar bed before it has reached its final set. This gravitational pull creates a downward migration that ruins spacing and compromises the bond. Using weight or tension braces ensures the tile remains locked in its intended position. Every tile has a specific gravity that battles the thixotropic properties of your thin-set. If the mortar is too wet, the tile becomes a slow-moving landslide. If it is too dry, you get no transfer. The bucket weight trick is the secret weapon for maintaining the 1/8 inch gap that separates a master job from a DIY disaster. You are not just sticking a plate to a wall. You are managing a chemical reaction while resisting the constant pull of the earth.
“A floor is only as good as the subfloor beneath it; deflection is the enemy of every joint.” – Master Flooring Axiom
The bucket weight trick for massive tiles
The bucket weight trick involves using a five-gallon bucket filled with water to provide constant, regulated pressure on a ledger board or a bracing system. This downward force prevents the ledger from shifting under the weight of multiple rows of heavy porcelain or stone. You start by setting your second row of tiles on a temporary ledger board. Instead of just screwing the board to the studs, which can sometimes wiggle or shear under the weight of three hundred pounds of stone, you use a vertical brace. By hanging a weighted bucket from a lever arm or placing it atop a precision-cut support, you create a dead-load that keeps the entire assembly from vibrating or sinking. This is especially vital when you are working with 24 by 48 inch slabs that exert massive pressure on the bottom row.
The chemistry of the bond
Modern thin-set mortar relies on polymer chains to create a mechanical and chemical bond between the tile and the substrate. These polymers need time to cross-link without being disturbed by movement or vibration during the first four hours of curing. When a tile slides, it breaks these microscopic bridges. Even if you push the tile back up, the bond is forever weakened. This is why stabilization is the most overlooked part of the process. You are looking for a mortar that meets ANSI A118.15 standards for high-bond strength. The chemical reality is that the water in your mix is being pulled into the tile and the backer board simultaneously. If the tile moves during this dehydration phase, you create voids in the mortar bed. These voids become pockets for mold and moisture to collect behind your shower wall.
Why your subfloor is lying to you
Subfloors often appear flat to the naked eye but contain subtle undulations that cause large tiles to lippage or crack under pressure. Using a ten-foot straightedge is the only way to verify that your surface is within the TCNA tolerance of 1/8 inch. If the wall or floor has a hump, the tile will teeter-totter. When you apply the bucket weight to a tile that is not supported by a flat plane, you are actually stressing the porcelain. I have seen guys snap a twelve dollar square foot tile because they tried to force it flat against a crooked stud. You have to fix the skeleton before you put on the skin. This means shimming the studs or using a self-leveling underlayment on the floor to ensure the shower pan is the perfect foundation for the vertical assembly.
| Tile Material | Weight per Sq Ft | Required Mortar Type | Minimum Acclimation |
|---|---|---|---|
| Porcelain | 4.5 lbs | Modified Thin-set | 48 Hours |
| Natural Marble | 6.0 lbs | White Medium Bed | 72 Hours |
| Glass Tile | 3.5 lbs | Glass Specific Bond | 24 Hours |
| Large Format Stone | 8.0 lbs | High-Performance Polymer | 96 Hours |
Regional humidity and curing times
The swampy humidity of Houston means solid wood is a death wish and shower mortar will take twice as long to reach its initial set. In high-moisture environments, you must extend the time you leave your bracing and bucket weights in place. If you are working in the dry heat of Phoenix, the mortar might skin over in minutes, meaning you lose your bond before the tile even touches the wall. You have to adjust your water-to-powder ratio based on the local dew point. I always tell my crew that the weather outside the house is just as important as the plumbing inside. If it is raining, keep the buckets on the ledger board for an extra twelve hours. Do not rush the pull. If you remove the support too early, the whole wall can drop an eighth of an inch, and suddenly your mitered corners do not match.
“Tile requires a substrate that is flat to within 1/8 inch in 10 feet for large format units.” – TCNA Handbook Standards
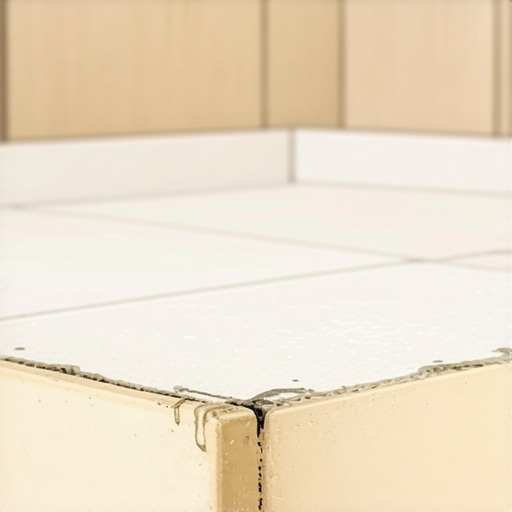
The 1/8 inch that ruins everything
Precision in tile spacing is not about aesthetics, it is about expansion and contraction. Every structure moves, and the grout joint is the shock absorber that prevents the tile from tenting or cracking. When you use the bucket trick, you are protecting that 1/8 inch gap. If the tile slides just a fraction, the joint becomes too tight. When the house settles or the temperature changes, the tiles will press against each other with thousands of pounds of force. Without that gap, something has to give, and it is usually the face of your expensive tile. Using a laser level in conjunction with weighted supports is the only way to guarantee the lines stay true from the floor to the ceiling.
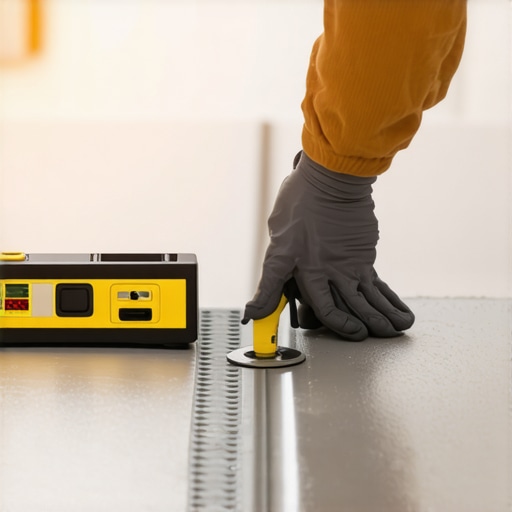
- Check the wall for plumb using a six-foot level before starting.
- Back-butter every tile larger than 15 inches to ensure 95 percent coverage.
- Use a notched trowel to create ridges that collapse into a solid bed.
- Set the ledger board at the exact height of your first full tile.
- Place the weighted bucket on a central brace to distribute downward pressure.
- Verify the spacer tension every thirty minutes for the first two hours.
- Keep the room temperature between 60 and 80 degrees for optimal curing.
When the bucket is not enough
Heavy stone slabs often require mechanical anchors in addition to mortar and weight-based bracing. If a tile weighs more than ten pounds per square foot, you are moving out of the realm of standard installation and into structural engineering. In these cases, the bucket weight trick serves as the primary stabilizer while the epoxy or high-grade thin-set establishes its permanent grip. You cannot rely on suction alone. The air pressure behind a large tile can create a vacuum that makes it difficult to adjust, but that same vacuum can fail if the mortar shrinks too much. Always use a suction cup handle to set the tile and then apply the weight. This ensures you have pushed the tile into the mortar ridges properly, collapsing them into a solid, void-free support system. It is the difference between a floor that lasts a lifetime and a shower that starts leaking in eighteen months.