How to Level a Bathroom Floor Around an Existing Drain Pipe
Most guys skip the leveling compound. They think the underlayment will hide the dip. It won’t. I spent three days grinding concrete on a job last month just so the floor wouldn’t click like a castanet. The homeowner thought I was being obsessive, but I knew the truth. If that subfloor is not within an eighth of an inch of flat over a ten foot radius, that expensive floor will fail. It is not a matter of if, but when. I have seen fifteen thousand dollar wide-plank walnut floors cup like potato chips because the installer ignored the crawlspace humidity or a quarter inch dip in the slab. You cannot cheat the physics of a flat surface. Especially in a bathroom where you have a drain pipe sticking out of the floor, you are not just fighting gravity, you are fighting plumbing constraints. You need to understand the molecular bond of the primer and the hydrostatic pressure of the slab before you ever open a bag of compound.
The 1/8 inch that ruins everything
Floor leveling requires a surface deviation of less than 1/8 inch over a 10 foot span to ensure laminate or showers perform correctly. A straightedge and moisture meter are the primary tools used to diagnose subfloor issues before applying self-leveling underlayment. Any deviation beyond this threshold creates a hollow spot that leads to joint failure. When you walk across a floor and hear that clicking sound, that is the sound of a locking mechanism being stressed to its breaking point. In a bathroom, this is even more critical. You are dealing with concentrated point loads from toilets and vanities. If the floor is not flat, those heavy fixtures will cause the floor to deflect and eventually snap the tongues and grooves of your laminate or crack the grout lines in your tile. It is a structural engineering reality that many people mistake for a cosmetic choice.
Why your subfloor is lying to you
Subfloor assessment involves checking for deflection and moisture vapor emission rates using a calcium chloride test. Wood subfloors must meet the L/360 standard for stiffness, while concrete slabs must be free of laitance and contaminants like oil or wax. A slab might look flat to the naked eye, but the eye is a terrible tool for precision. You need a ten foot box beam level. You need to identify every birdbath and every hump. In older homes, the bathroom floor often sags toward the center of the room or away from the drain pipe. This happens because the floor joists were cut to accommodate the plumbing. Over decades, the wood dries and settles, creating a bowl effect. If you just throw your new floor over that bowl, you are asking for a disaster. You must stabilize the wood and create a rigid, flat plane without adding too much weight that might exceed the dead load capacity of the joists.
“A floor is only as good as the subfloor beneath it; deflection is the enemy of every joint.” – Master Flooring Axiom
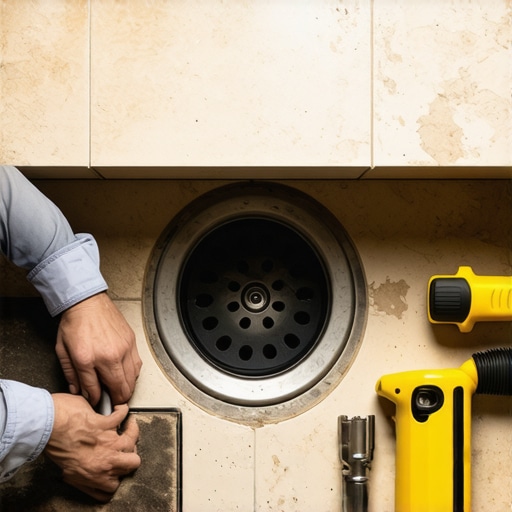
The anatomy of a drain pipe obstacle
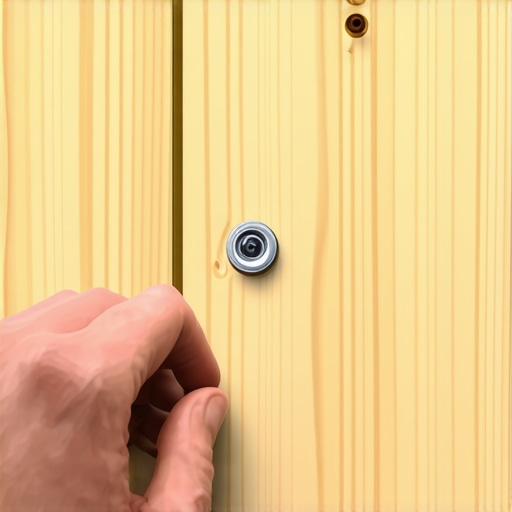
Plumbing drains must be isolated from leveling compounds using foam expansion strips or silicone dams to prevent rigid bridging. The PVC pipe will expand and contract with temperature changes, necessitating a decoupling gap of at least 1/4 inch between the pipe and the cured underlayment. If you pour your compound directly against a 4 inch PVC waste line, you are creating a recipe for cracks. PVC is a dynamic material. When hot water from the shower or the bath runs through it, the plastic expands. If it is encased in a rigid, brittle material like Portland cement based leveler, the pressure has nowhere to go. It will crack the leveler, and those cracks will telegraph through your finished floor. I use closed-cell foam weatherstripping. I wrap it around the pipe twice and secure it with tape. This creates a flexible gasket that allows the pipe to move without stressing the floor. Once the leveler is dry, I trim the foam flush with the surface.
The chemistry of the bond
Acrylic primers create a chemical bridge between the porous substrate and the self-leveling underlayment to prevent pinholing and delamination. The polymer solids in the primer seal the capillary pores of the concrete, ensuring the hydration process of the compound occurs correctly. Without primer, the dry concrete or plywood will suck the water out of the leveling compound before it has a chance to flow and bond. This results in a weak, chalky surface that will peel off the floor like a scab. You have to scrub the primer into the surface with a stiff brush. Do not just pour it on and mop it around. You need to break the surface tension. If you are working on a non-porous surface like old ceramic tile, you need a specialized grit primer that creates a mechanical key for the compound to grab onto. This is molecular science. If the bond fails at the substrate level, the entire floor is a failure.
The damming technique
Containment dams are constructed using flexible sealant or spray foam to prevent the liquid underlayment from escaping into wall cavities or down drain pipes. A leveling pour behaves like water, finding any void or gap and flowing through it until the viscosity increases enough to stop the movement. I have seen guys pour fifty bags of leveler into a room only to realize it was all running down a hole in the subfloor and filling up the basement ceiling. In a bathroom, the biggest risk is the area around the drain and the wall plates. You must seal every single gap. Use a high-quality silicone or a dedicated damming foam. Around the drain pipe itself, you are not just damming the flow, you are protecting the plumbing. If you get compound inside the drain, you are looking at a three thousand dollar plumbing bill. I cap the pipe with a plastic plug and seal the base with a bead of spray foam that I can trim later.
Hard data for a flat finish
Technical specifications for leveling compounds vary by compressive strength and flow time, requiring precise water-to-powder ratios. Most manufacturers specify a mixing time of three minutes to ensure the polymers are fully cross-linked before the pour begins. Deviation from these ratios leads to segregation, where the heavy aggregate sinks to the bottom and the water and fine binders rise to the top, creating a soft, dusty surface. You need a high-torque drill and a specific mixing paddle. Do not use a standard paint mixer. You need to move the material from the bottom of the bucket to the top. If you see bubbles in your mix, you are over-mixing or using the wrong speed. Those bubbles will turn into pinholes in your finished floor. This table shows the comparison of common leveling technologies used in bathroom renovations.
| Compound Type | Setting Time | Max Depth | Compressive Strength |
|---|---|---|---|
| Calcium Aluminate | 4 Hours | 5 Inches | 5,000 PSI |
| Portland Cement | 24 Hours | 1 Inch | 3,500 PSI |
| Gypsum Based | 12 Hours | 2 Inches | 3,000 PSI |
The 5,000 PSI rating of calcium aluminate is what you want for a bathroom. It can handle the weight of a cast iron tub or a heavy glass shower enclosure without cracking. It also dries much faster, which is critical when you have a plumber and a tile guy waiting to get in. But it is less forgiving. You have about fifteen minutes of work time before it starts to gel. You have to be organized. You have to have your buckets ready and your water measured out to the milliliter.
“Modern leveling compounds are high-flow hydraulic binders; they are not simply thin-set with more water.” – TCNA Handbook Reference
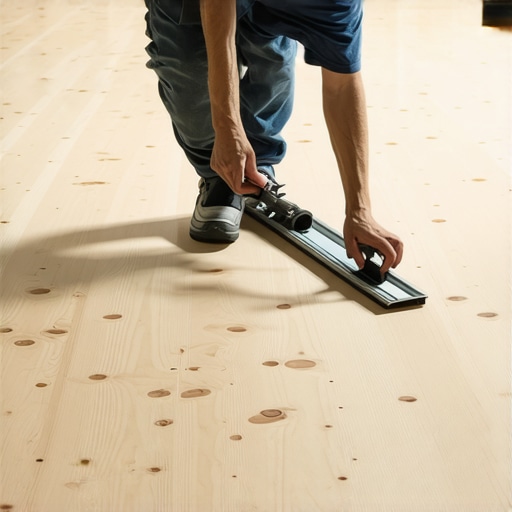
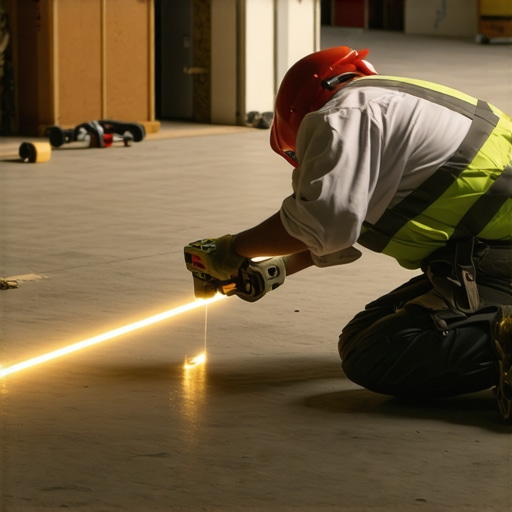
Measuring the pitch
Surface elevation must be mapped using a self-leveling laser to determine the low point and high point across the bathroom floor. When working around a drain, you must maintain the pitch requirements of 1/4 inch per foot if the area is part of a curbless shower entry. If the area is outside the shower, it must be perfectly flat. This transition is where most installers fail. They either create a trip hazard or they lose the pitch for the water. I use height pins. They are small plastic sticks with a ruler on them that have an adhesive base. I stick them all over the floor. I set my laser level, and I trim each pin to the exact height I need the compound to reach. When I pour, I just fill the room until the liquid reaches the top of the pins. It takes the guesswork out of the process. It turns a stressful job into a predictable one. You can see the pins through the liquid. Once they are covered, you stop.
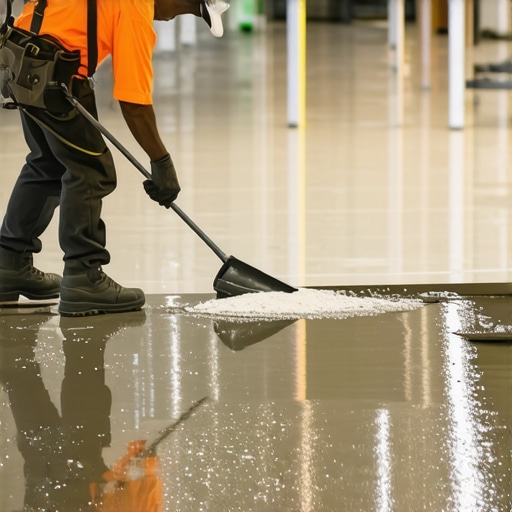
The physics of the pour
Fluid dynamics play a role in how self-leveling underlayment settles, as the viscosity is designed to overcome surface friction while maintaining aggregate suspension. A spiked roller or gauge rake is used to assist the material in de-airing and reaching its natural equilibrium. While the product is called self-leveling, it does not do all the work for you. You have to push it into the corners. You have to help it blend between pours. If you take too long, you will get a visible seam where the two buckets met. I always work in a team of three. One guy is the mixer, one guy is the runner, and I am the placer. We keep a continuous flow. The mixer is always one bucket ahead of me. This ensures a wet-on-wet application that creates a monolithic slab. This is the only way to get a professional result that will pass a laser test.
Critical installation checklist
- Vacuum the subfloor twice with a HEPA filter to remove all dust.
- Prime the surface until the substrate no longer absorbs the liquid.
- Wrap all plumbing penetrations with 1/4 inch expansion foam.
- Check the moisture content of the wood or concrete using a pinned meter.
- Set height pins using a 360-degree laser level.
- Mix the compound for exactly 180 seconds using a high-torque drill.
- Pour from the farthest corner and work toward the exit.
- Use a spiked roller to release trapped air and smooth transitions.
- Allow the floor to cure for at least 24 hours before foot traffic.
Once the pour is finished, stay out. I have seen guys walk back into a wet room because they dropped a tool. You cannot fix a footprint in leveling compound once it starts to set. You will spend four hours grinding it out the next day. Let the chemistry happen. The heat generated by the hydration process is intense. You can feel the warmth coming off the floor. That is the polymers cross-linking and the cement crystals forming. It is a beautiful thing when it is done right. You end up with a surface that is as smooth as glass and as hard as stone. That is the foundation your floor deserves. If you are putting down laminate, it will feel solid under your feet, like a real hardwood floor, because there are no air pockets underneath it. If you are doing a shower, your waterproofing membrane will lay perfectly flat, with no wrinkles or stress points. It is the 1/8 inch that makes all the difference in the world.