How to Fix a Laminate Plank That Has a Gap at the Short End
The subfloor secret that ruins laminate installations
Laminate plank gaps occur when the locking mechanism fails to remain engaged, often due to subfloor unevenness, improper acclimation, or locked perimeters. To fix a short end gap, you must understand the physics of the floating floor and use a suction cup tool or tapping block to reseat the joint without damaging the HDF core.
I spent three days grinding concrete on a job last month just so the floor wouldn’t click like a castanet. Most guys skip the leveling compound. They think the underlayment will hide the dip. It won’t. I have seen installers try to span a half inch valley with five millimeter padding. Within six months, the tongue and groove joints on that laminate snapped like dry twigs. The homeowner called me because their floor looked like a topographical map of the Andes. I had to rip the whole thing up, grind the high spots of the slab until the dust was thick enough to suffocate a mule, and then pour self leveler. Only then could the laminate sit flat. If your subfloor is not flat to within 3/16 of an inch over a 10 foot radius, your floor is going to fail. It is a mathematical certainty, not a suggestion. This is the reality of modern flooring. You cannot hide physics under a layer of foam.
“A floor is only as good as the subfloor beneath it; deflection is the enemy of every joint.” – Master Flooring Axiom
The physics of the short joint failure
Gapping at the short end of a laminate plank is a symptom of mechanical stress where the tongue and groove have physically moved apart. This is usually caused by thermal expansion or heavy furniture pinning the floor, which prevents it from moving as a single floating unit. Understanding the coefficient of friction between the plank and the underlayment is essential for a permanent fix.
Laminate is a high density fiberboard product. It is basically sawdust and resin pressed together under immense pressure. While it is durable on the surface, the locking mechanisms are delicate. When you have a gap at the short end, it means the entire row of flooring has shifted. This usually happens in the winter when the air is dry. The planks shrink. If the floor was not acclimated to the room for at least 48 hours, this shrinkage is even more dramatic. In my experience, most gaps appear near doorways or under heavy heavy objects like refrigerators. These objects act like anchors. They stop the floor from sliding toward the center of the room during contraction. Instead of the whole floor moving, the weakest link in the chain, the short joint, pulls apart.
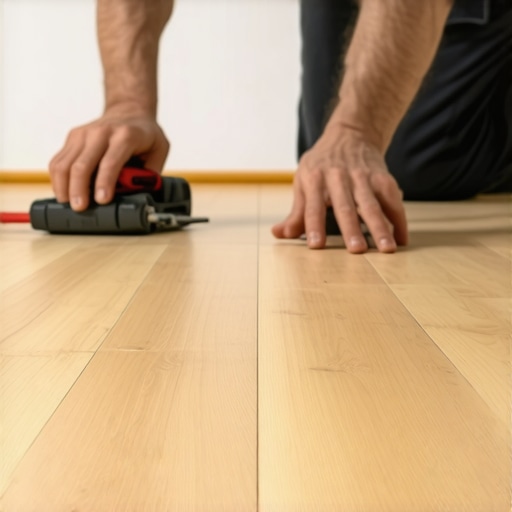
The tool that beats a hammer every time
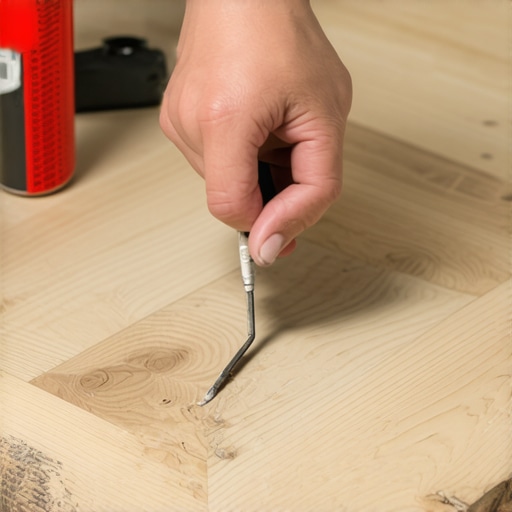
Fixing a laminate gap requires a glass suction cup or a specialized floor gap fixer to apply lateral force without impacting the wear layer. Using a dead blow hammer directly against the plank edge will chip the aluminum oxide coating and ruin the aesthetic of the decorative layer. Always clean the gap of debris and dust before attempting to close the click lock system.
Forget the old pull bar for a minute. If the gap is in the middle of the room, you cannot reach it with a pull bar. You need a tool that can grip the surface of the laminate. I use a professional grade suction cup designed for glass. You stick it to the plank that needs to move and then you hit the side of the suction cup with a rubber mallet. This transfers the energy into the plank without touching the edges. Before you do this, you must vacuum the gap. If there is even a tiny piece of grit or a hair inside that joint, it will not close. You will just be slamming the plank against an obstruction, which can break the locking profile. Once the profile is broken, the plank will never stay put again without a secondary adhesive.
The 1/8 inch that ruins everything
Expansion gaps at the perimeter of the room must be at least 1/4 inch to 3/8 inch to allow the laminate floor to move freely. If the laminate planks are installed tight against the drywall or baseboards, the floor will buckle or gap as it fights for space during humidity cycles. Proper floor leveling ensures the planks do not deflect vertically, which is the primary cause of joint fatigue.
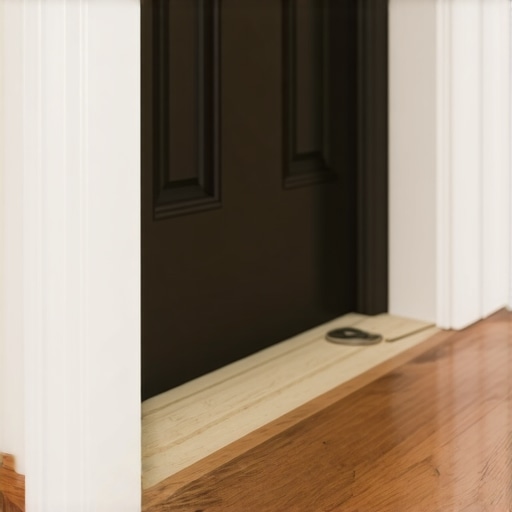
People think they are being clever by tucking the laminate tight against the wall to avoid using shoe molding. That is a mistake. I have seen floors that were so tight against the studs that the planks were literally bowing up in the middle of the room. When the floor is under that much pressure, the short joints are the first thing to pop. You need to check your perimeters. Take off a piece of baseboard. If you do not see a gap between the plank and the wall, you have found your problem. You might need to use a flush cut saw to trim the edges of the floor while it is still on the ground. It is a messy job, but it saves the floor from self destructing. In areas near showers or bathrooms, moisture can seep under the transition and cause the HDF core to swell. This swelling creates internal pressure that forces the joints apart.
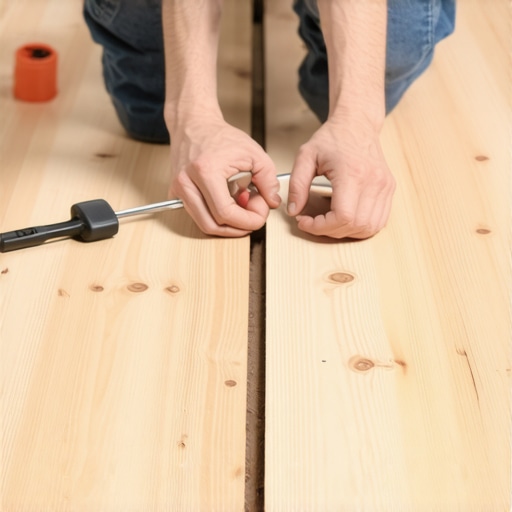
The chemical reality of clicking joints
Secondary adhesives like PVA wood glue or cyanoacrylate can be used to permanently bond a failing laminate joint if the mechanical lock has been compromised. Applying a bead of adhesive inside the groove before sliding the tongue back into place creates a chemical bond that resists the kinetic energy of foot traffic. This is a last resort fix for floors where subfloor dips cannot be easily corrected.
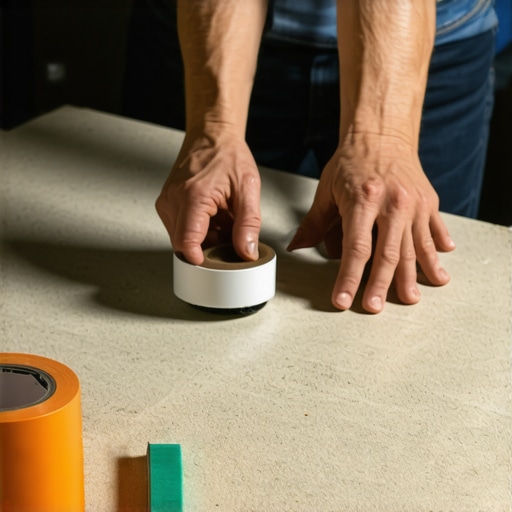
Sometimes the locking mechanism is just too far gone. If you have closed the gap three times and it keeps coming back, the plastic or fiberboard tongue has likely worn down. In this case, I use a high quality wood glue. I apply a tiny amount into the groove with a needle nose applicator. Then I use the suction cup method to slam the joint shut. I use blue painter tape to hold the planks together for 24 hours while the glue cures. You have to be careful not to use too much glue. If it squeeze out onto the surface, you must wipe it away immediately with a damp cloth. If it dries on the wear layer, it will leave a permanent haze. This is how you fix a floor that was installed by a hack who didn’t know the difference between a level and a straight edge.
“Deflection is the enemy of every joint; a floating floor requires a rigid, flat foundation to maintain its structural integrity.” – TCNA Technical Handbook (Modified for Laminate)
Comparison of Core Materials and Stability
| Core Material | Density kg/m3 | Expansion Rate | Joint Strength |
|---|---|---|---|
| Standard MDF | 650 | High | Low |
| High Density HDF | 850 | Moderate | High |
| Stone Polymer SPC | 1950 | Very Low | Extreme |
Checklist for Repairing a Gapped Joint
- Identify if the floor is pinned by heavy furniture or lack of expansion gaps.
- Vacuum the gap thoroughly to remove all grit and sawdust.
- Attach a professional suction cup tool to the plank.
- Use a rubber mallet to tap the suction cup toward the gap.
- Apply a small bead of glue if the joint continues to slide open.
- Tape the joint with low tack painter tape while the adhesive sets.
- Check the room humidity and maintain it between 35 and 55 percent.
The regional climate also plays a massive role. In the dry heat of Phoenix, your floor will shrink until the baseboards look like they are floating. In the swampy humidity of Houston, the same floor will expand until it hits the walls and starts to peak. You must regulate your indoor climate. If you let your house swing from 20 percent humidity to 80 percent, no amount of repair work will save your laminate. It is an engineered product, but it still behaves like wood. It breathes. It moves. You have to respect that movement if you want the floor to last more than a few years. Carpet install is different because it is stretched and tacked, but laminate is a different beast entirely. It is a puzzle that is always shifting. If you find yourself needing to fix a gap, look at the subfloor first. Usually, the gap is just a messenger telling you that the ground beneath your feet is not as flat as you think it is.