How to Hide the Transition Where Your Laminate Meets Your Fireplace
Listen. I have spent thirty years crawling on my knees on cold concrete and splintered plywood. My joints click louder than a loose laminate floor on a bad subfloor. I smell like oak dust and the sharp tang of WD-40. If you think you can just butt your laminate boards up against a stone fireplace and call it a day, you are wrong. You are worse than wrong. You are asking for a catastrophic failure of the locking mechanisms. I saw it happen in a custom build in the hills last year. The homeowner wanted that clean look. The installer, a kid who probably learned his trade from a ten minute video, pinned the laminate tight against the fieldstone. Three months later, when the humidity hit seventy percent, the floor buckled three inches off the subfloor. It looked like a mountain range in the middle of the living room. That is what happens when you ignore the physics of moisture and the structural reality of floating floors. Homeowners always ask why their waterproof vinyl or laminate is buckling. Usually, it is because they locked it under a heavy kitchen island or a stone hearth, killing the floor’s ability to breathe.
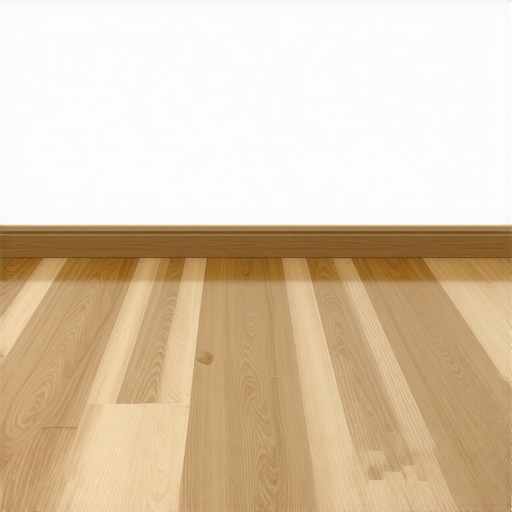
The expansion gap requirement that ruins your aesthetic
Laminate flooring requires a mandatory expansion gap of at least one quarter inch around all fixed objects to allow the high density fiberboard core to expand and contract with seasonal humidity changes. This gap is the primary reason transitions at fireplaces are so difficult to execute without looking like a cheap DIY project. You cannot ignore this gap. If you pin the floor against the fireplace, the pressure will eventually snap the click-lock joints. Laminate is essentially a high-density fiberboard sandwich. The core is made of wood fibers compressed under extreme pressure with resins. These fibers are hygroscopic. They breathe. They take in ambient moisture and they expand. If you do not give them space to move, the force is translated to the tongue and groove joints. The plastic clicking mechanism will shear off under the hydraulic pressure of the expanding wood fibers. You need to hide this gap while maintaining its function.
“A floor is only as good as the subfloor beneath it; deflection is the enemy of every joint.” – Master Flooring Axiom
Why your subfloor is lying to you
Floor leveling is the most overlooked step in any laminate installation near a heavy masonry feature like a fireplace. Masonry is heavy. Over decades, the weight of a stone chimney often causes the subfloor around it to dip or settle. If your subfloor is not flat to within one eighth of an inch over a ten foot radius, your laminate will flex every time you walk near the hearth. This movement will eventually cause the transition piece to pop off or the laminate boards to separate. I spent three days grinding concrete on a job last month just so the floor would not click like a castanet near the hearth. You must use a straight edge to check for dips. Fill the low spots with a high quality cementitious leveler. Do not rely on underlayment to hide a half inch dip. It will not work. The underlayment is there for sound dampening and a minor moisture barrier, not for structural correction.
The physics of the undercut
Undercutting the fireplace hearth is the professional method for hiding the laminate transition without using ugly bulky moldings. You use a specialized power undercut saw with a diamond blade to cut a groove into the bottom of the brick or stone. This allows the laminate to slide underneath the fireplace itself. By doing this, you provide the necessary expansion gap hidden behind the face of the stone. It is a messy, dusty process that requires a steady hand and a shop vacuum running at full tilt. You are essentially creating a pocket. The floor can move in and out of that pocket as the seasons change, and the eye never sees the edge of the plank. This is the gold standard for high end architectural finishes.
| Method | Aesthetic Quality | Difficulty Level | Expansion Room |
|---|---|---|---|
| Undercutting | Professional/Hidden | Expert | Maximum |
| Scribe Molding | Clean/Visible | Intermediate | Controlled |
| T-Molding | Bulky/Standard | Beginner | Standard |
| Caulk Joint | Poor/Amateur | Easy | Restricted |
The chemistry of the scribe mold
Scribe molding or shoe molding serves as a decorative bridge when undercutting the stone is physically impossible. Not every fireplace is built in a way that allows for a saw blade to bite into it. Sometimes you are dealing with jagged fieldstone that would require a surgical team to undercut. In these cases, you install the laminate with the proper gap and then use a flexible scribe mold that follows the contour of the stone. You do not nail the mold to the floor. You nail it to the fireplace or use a high performance adhesive to bond it to the vertical surface. If you nail it to the floor, you have created a dead-load point that will cause the floor to fail. I prefer a moisture-resistant MDF or a solid wood trim that has been back-cut to allow for more flexibility around stone irregularities.
“The National Wood Flooring Association (NWFA) dictates that perimeter expansion space must be maintained at all times to prevent buckling and structural failure of the floor system.” – NWFA Technical Guidelines
The moisture barrier and the heat of the hearth
Heat from the fireplace accelerates moisture loss in the laminate planks immediately adjacent to the hearth. This creates a micro-climate where the boards near the fire are shrinking while the boards in the kitchen are expanding. This differential movement is brutal on click-lock systems. You need a high quality vapor barrier, especially if you are over a concrete slab. Concrete is a sponge. It holds moisture that you cannot see. When you turn on that fireplace, you are pulling moisture out of the slab and into the underside of your laminate. This is why some guys see their floors warp only in the winter. It is not just the heat; it is the vapor drive. In shower installations, we spend days ensuring the waterproofing is perfect. You should treat the area around your fireplace with the same respect for moisture dynamics.
- Check subfloor levelness with a 10-foot straight edge.
- Acclimate laminate planks in the room for at least 48 hours.
- Vacuum all dust from the expansion gap before installing trim.
- Use a carbide-tipped blade for clean cuts on laminate wear layers.
- Maintain a minimum 1/4 inch gap for spans under 20 feet.
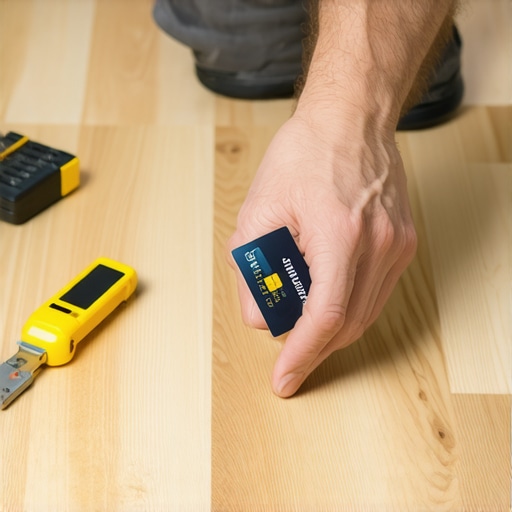
The 1/8 inch that ruins everything
Precision cutting around the hearth is where most installers fail. They get lazy with the jigsaw. If your cut is jagged and your molding is thin, those gaps will show. I always use a profile gauge to map out the contours of the stone. It takes an extra twenty minutes, but it saves you from staring at a gaping hole for the next twenty years. Some people think they can just fill the gap with colored caulk. Do not do it. Caulk attracts dust, it shrinks, and it looks like a cheap fix. If you must use a sealant, use a specialized 100 percent silicone that remains flexible, but only after you have installed a backer rod to keep the sealant from sticking to the subfloor. This allows the floor to move without tearing the bead of silicone. It is about managing the mechanical forces at play.
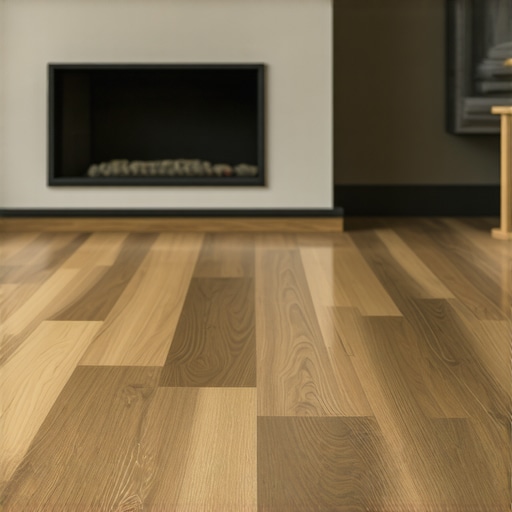
The master finish
Real flooring work is about the things you do not see. It is about the prep, the leveling, and the math. When you walk into a room and the laminate looks like it was grown right out of the base of the stone fireplace, that is not luck. That is the result of a master installer who understood that wood moves and stone stays still. Whether you are transitioning from a carpet install in the next room or finishing a high-end laminate job, the fireplace is the focal point. Do not ruin a three thousand dollar floor by being too cheap to buy a proper transition strip or too lazy to rent an undercut saw. Treat the floor as a performance surface. Give it the room it needs to breathe, and it will stay flat and silent for a lifetime. If you ignore the rules of physics, the floor will eventually find a way to remind you that it is in charge.