Why Floor Leveler Cracks Near HVAC Vents and How to Fix It Fast
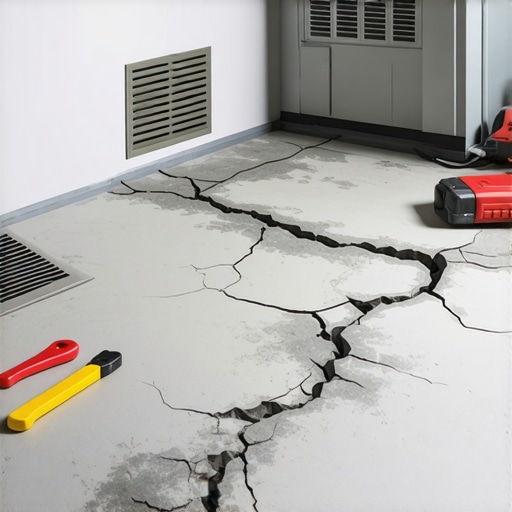
I spent three days grinding concrete on a job last month just so the floor wouldn’t click like a castanet. The homeowner thought they could save a few bucks by skipping the prep work. They were wrong. I walked in and smelled the familiar scent of oak dust mixed with the metallic tang of WD-40 from my tools. The floor leveler around the HVAC registers looked like a dry lake bed in the Mojave. It was spider-webbed with cracks that crunched under my boots. This is what happens when you treat a structural engineering challenge like a simple weekend DIY project. You cannot ignore the physics of air movement and substrate temperature. Most guys skip the leveling compound. They think the underlayment will hide the dip. It won’t. If your subfloor isn’t flat to within 3/16 of an inch over 10 feet, your laminate floor will fail. It is that simple. I have seen fifteen thousand dollar wide-plank installs ruined because the installer didn’t respect the vent boot. We are going to look at why this happens and how to stop the cycle of failure before you lay a single square foot of material.
The physics of air and thermal shock
Floor leveler cracks near HVAC vents because of thermal shock and rapid moisture evaporation. When localized forced air hits fresh or cured compound, it creates differential expansion between the vent perimeter and the ambient slab. This stress exceeds the tensile strength of the cementitious bond. The vent acts as a concentrated heat or cold source. While the rest of your slab might stay at a steady 68 degrees, the area around that register is fluctuating between 55 and 110 degrees every time the furnace or AC kicks on. Cementitious self-leveling underlayment (SLU) is rigid. It does not like to move. When the metal vent boot expands against the leveler, something has to give. Usually, it is the leveler. It loses the battle. You get cracks. You get delamination. You get a headache.
“A floor is only as good as the subfloor beneath it; deflection is the enemy of every joint.” – Master Flooring Axiom
The moisture aspect is just as fundamental. When you pour leveler, it needs a controlled environment to hydrate properly. If you have a vent blowing air across the surface during the first four hours of the cure, you are pulling water out of the mix too fast. This is called desiccation. The top layer shrinks while the bottom layer stays wet. This causes curling. The edges of the leveler lift away from the substrate. If you are prepping for a carpet install, you might think you can hide this. You can’t. The ridge will telegraph through the pad and the carpet within six months. You will see a permanent line in the middle of your living room. It looks cheap. It looks unprofessional. It is avoidable if you understand the chemistry of the pour.
Why your subfloor is lying to you
Subfloors often appear flat to the naked eye but harbor micro-deviations and high moisture vapor transmission rates that destroy leveler bonds near vents. A concrete slab is a porous sponge that breathes moisture, and HVAC vents create localized pressure differentials that pull that moisture through the slab faster. This process, known as capillary action, can deposit salts at the bond line. These salts, or efflorescence, act like a layer of marbles between your leveler and the floor. You think you have a bond, but you really have a floating shell of concrete. I always carry a moisture meter. I don’t care if the house is fifty years old or five days old. If that slab is pushing more than 3 pounds of moisture per 1000 square feet, your leveler is going to pop near those vents.
The 1/8 inch that ruins everything
Precision in floor prep requires a strict adherence to the 1/8 inch deviation rule across a ten-foot radius to ensure the structural integrity of click-lock flooring systems. Most manufacturers of laminate and LVP are clear about this. If the floor dips more than 1/8 of an inch, the locking tongue will eventually snap. It is a mechanical certainty. When leveler cracks and chunks out near a vent, you lose that support. Now your laminate is bridging a gap. Every time someone walks by the vent, the floor flexes. That flex is the sound of your investment dying. You hear a click. Then a pop. Then the joint opens up. Now you have a gap where dirt and moisture can get into the core of the plank. This is especially dangerous in areas near showers or kitchens where water is present. A cracked leveler is the first domino in a total floor failure.
| Leveler Type | Working Time | PSI Strength | Best Use Case |
|---|---|---|---|
| Portland Based | 20 Minutes | 4000-5000 | Heavy traffic and commercial |
| Gypsum Based | 30 Minutes | 2000-3000 | Radiant heat and wood subfloors |
| Calcium Aluminate | 15 Minutes | 6000+ | Fast track and high-stress areas |
A checklist for the perfect vent prep
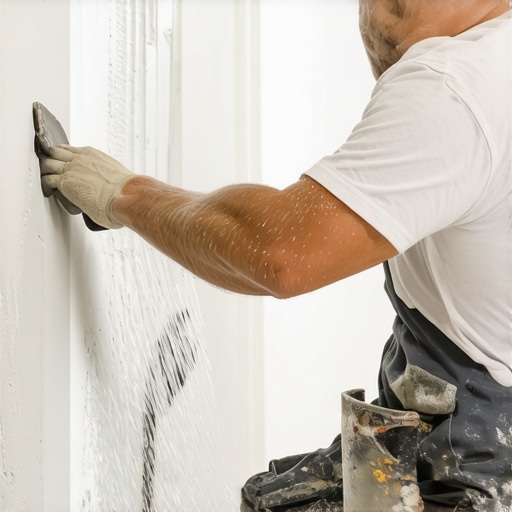
To prevent cracking and ensure a permanent bond between the leveler and the subfloor, you must follow a rigid preparation protocol that addresses thermal isolation and substrate porosity. Do not skip these steps. I have seen guys try to save an hour by skipping the primer. They ended up spending ten hours chipping out the failure. You must be methodical.
- Isolate the vent boot with foam expansion strips to prevent metal-to-concrete contact.
- Seal the HVAC ducting with plastic and tape to prevent air flow during the curing process.
- Mechanical grinding of the substrate to achieve a Concrete Surface Profile (CSP) of 3.
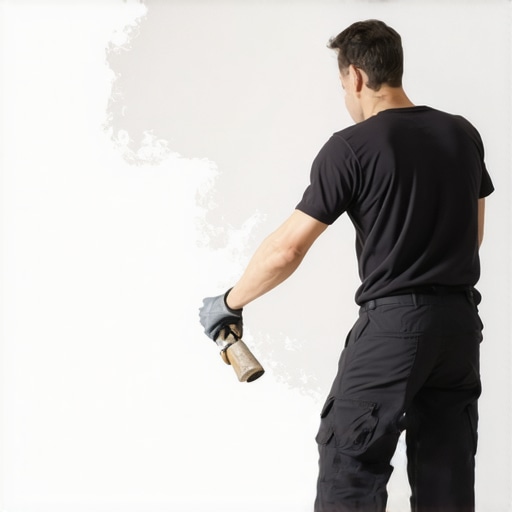
- Apply a high-solids acrylic primer to prevent the slab from sucking water out of the leveler.
- Use a spiked roller to remove air bubbles and consolidate the mix during the pour.
- Maintain a consistent ambient temperature between 65 and 75 degrees for 48 hours.
The recipe for a permanent fix
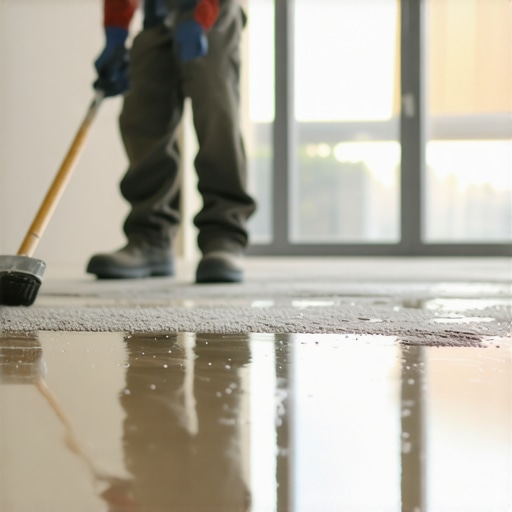
Repairing cracked leveler requires removing all loose material and applying a fiber-reinforced patch that can withstand the localized thermal stresses of the HVAC system. You cannot just pour more leveler over the cracks. That is like putting a band-aid on a broken leg. You have to get down to the meat. Use a hammer and a chisel. Tap the area. If it sounds hollow, it is dead. Remove it. Vacuum the dust. Dust is a bond breaker. If you leave dust, you are wasting your time. I use a vacuum with a HEPA filter because concrete dust is nasty stuff for your lungs and your floor. Once the area is clean, you need to prime it again. Don’t use the cheap stuff. Get a primer designed for non-porous surfaces if you are going over old leveler residue.
While most people want the thickest underlayment, too much cushion actually causes the locking mechanisms on LVP to snap under pressure. This is a common mistake. People think they can fix a bad leveling job with a thick foam pad. The pad compresses. The joint moves. The joint breaks. You need a flat floor, not a soft one. Use a fiber-reinforced patching compound for the repair near the vent. These products have microscopic hairs that act like rebar. They hold the patch together even when the metal boot is expanding and contracting. Mix the patch with a latex additive instead of plain water. This increases the flexibility. Flexibility is your friend near a heat source. It allows the material to breathe without snapping.
“Subfloor flatness is not a suggestion; it is a structural requirement for every modern floating floor system.” – TCNA Handbook Summary
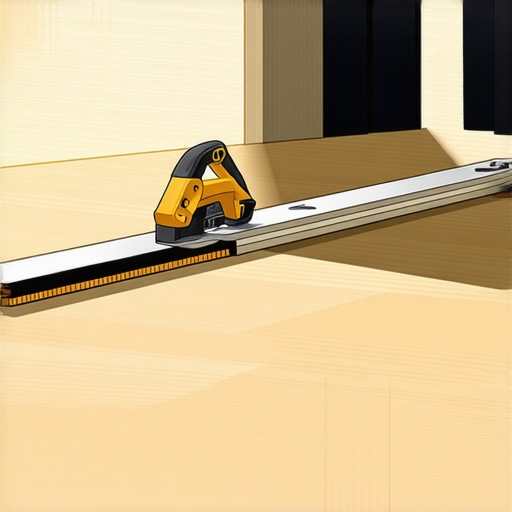
Once the patch is in, let it dry completely. Don’t rush it. I don’t care what the bag says. If it is humid, wait longer. Then, sand it flush. Use a straight edge to check it. If you can see light under that straight edge, you aren’t done yet. This is the difference between a floor that lasts thirty years and one that lasts three. Take the time. Fix the subfloor. The vents won’t be your enemy if you build the floor to handle the air. This is the reality of the trade. It is hard work. It is dusty. But when you click that last plank in and it is solid as a rock, it is worth it. Stop looking for shortcuts. There are no shortcuts in physics.