Why Your Kitchen Floor Tiles Are Cracking Near the Dishwasher
Why Your Kitchen Floor Tiles Are Cracking Near the Dishwasher
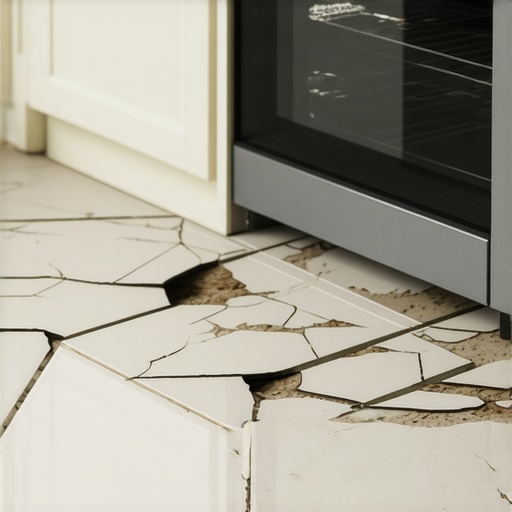
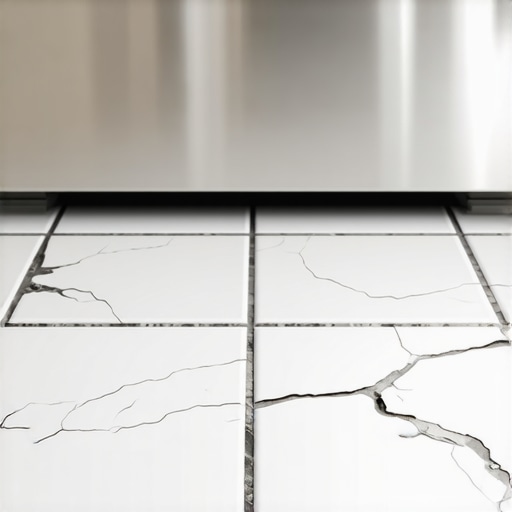
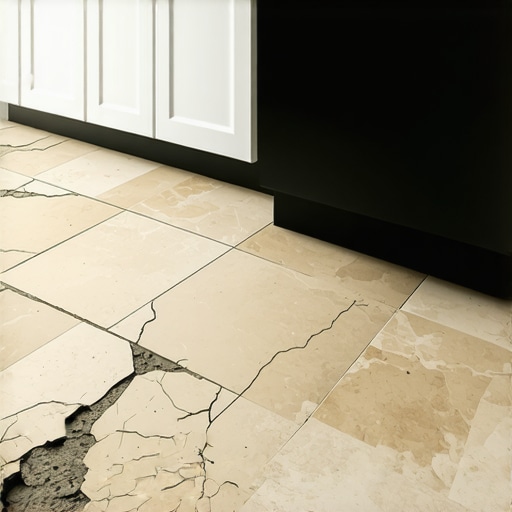
There is a specific kind of heartbreak that comes with discovering a hairline fracture snaking across your beautiful porcelain or ceramic kitchen floor. You spent thousands of dollars on a remodel, carefully choosing the perfect shade of slate or marble-look tile, only to find that the area right in front of your dishwasher is beginning to look like a spiderweb of cracks. It is a frustration many homeowners face, and while you might be currently searching for an INTERIOR PAINTER NEAR ME to freshen up the kitchen walls or update your trim, a cracked floor indicates a much deeper, structural issue that paint simply cannot hide.
The kitchen is the heart of the home, but it is also a high-stress environment for flooring materials. Specifically, the “dishwasher zone” is a localized area of extreme environmental shifts. In this comprehensive guide, we will explore the technical reasons why your tiles are failing in this specific spot, from moisture-induced subfloor rot to the physics of thermal expansion and structural deflection.
The “Dishwasher Zone”: A Perfect Storm for Tile Failure
To understand why tiles crack near the dishwasher, we must first look at the unique micro-climate created by this appliance. Unlike the flooring in a hallway or a bedroom, the tile in front of your dishwasher is subjected to three main stressors: heat, moisture, and vibration. Tiles, by their nature, are rigid. They have high compressive strength but very little tensile strength, meaning they do not like to bend or stretch.
When your dishwasher runs, it generates significant heat – often reaching internal temperatures of 150°F or higher during the drying cycle. This heat radiates downward and outward. Simultaneously, the dishwasher is a source of localized humidity and, occasionally, direct water exposure. Finally, the mechanical action of the motor creates subtle but constant vibrations. When these three factors converge, they put immense stress on the bond between the tile, the thinset mortar, and the subfloor. If any part of that system is weak, the tile will crack as it attempts to move in a way it wasn’t designed to.
Data from the flooring industry suggests that tiles crack when the surface is put under more stress than the modulus of rupture can handle. In the dishwasher zone, the rate of expansion and contraction is significantly higher than in the rest of the kitchen. If the subfloor expands at a different rate than the tile – a phenomenon known as differential thermal expansion – the bond breaks, and the tile loses its support, leading to an inevitable fracture.
The Silent Killer: Slow Leaks and Subfloor Rot
One of the most common reasons for tile failure near appliances is water damage. However, it isn’t usually the “flood” that does the damage; it is the slow, invisible seep. A tiny pinhole leak in a supply line or a slightly loose drain hose can release a few tablespoons of water every time the dishwasher runs. Over months, this water migrates under the tile and into the wooden subfloor.
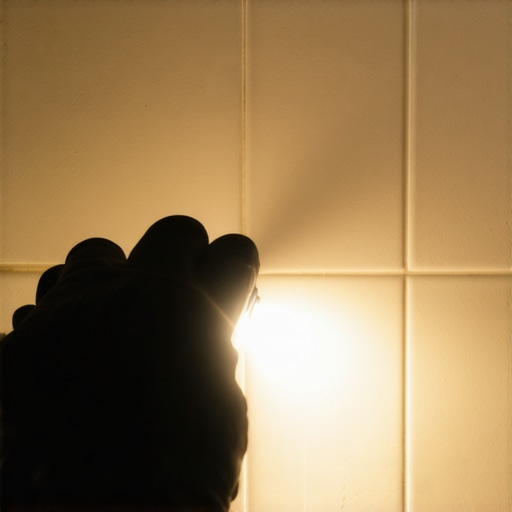
When a plywood or OSB (Oriented Strand Board) subfloor becomes saturated, it undergoes a transformation. Plywood can expand up to 1/8 inch in thickness when fully saturated. This swelling creates an upward pressure that “tents” the tile. Since the tile cannot swell, the bond to the mortar is sheared off. To diagnose this, we recommend using The ‘Flashlight Test’ for Spotting Hidden Leaks Behind Your Kitchen Sink. By shining a high-lumen light at a low angle across the floor and under the dishwasher kickplate, you can often see the tell-tale signs of moisture or “cupping” in the subfloor before the tile even cracks.
If you suspect water damage, it is vital to act quickly. A professional KITCHEN REMODELER NEAR ME will tell you that once the subfloor is compromised, the only permanent fix is to remove the affected flooring and replace the rotted wood. This is a common discovery during kitchen remodeling livonia mi projects, where old appliances are pulled out to reveal years of hidden water damage that has turned the structural floor into a soft, pulpy mess.
Subfloor Deflection: Why Your Floor Bends But Doesn’t Break (Until It Does)
Deflection is a term used by structural engineers to describe how much a floor joist bends under a load. Every floor has some degree of “bounce,” but tile requires a very stiff foundation. The industry standard for ceramic tile is a deflection limit of L/360, meaning the floor should not bend more than the length of the span divided by 360.
Why does this matter specifically for the dishwasher? A modern dishwasher, when full of water and dishes, can weigh upwards of 150 to 200 pounds. This weight is concentrated on four small leveling legs. If your subfloor is already at the limit of its deflection capacity, the addition of this concentrated load – combined with the vibration of the wash cycle – can cause the floor to dip just enough to crack the grout and eventually the tile. If you are also considering a BATHROOM REMODELING CANTON MI, you’ll find that similar deflection rules apply to heavy bathtubs and walk-in showers.
To see if your kitchen floor is up to the task, you can perform The ‘Subfloor Deflection’ Test for San Jose 10×10 Kitchen Remodels. This involves measuring the vertical movement of the floor when a person walks past the dishwasher. If there is visible movement, your joists may need sistering or your subfloor may need an additional layer of underlayment before new tile is laid.
Improper Installation: The “Hollow Spot” Problem
Sometimes, the fault lies not with the dishwasher or the subfloor, but with the way the tile was originally set. For a tile to survive in a high-traffic or high-moisture area, it needs proper mortar coverage. The Tile Council of North America (TCNA) requires a minimum of 95% mortar coverage for tiles in wet areas like kitchens and bathrooms. This ensures there are no air pockets – or “hollow spots” – underneath the tile.
If a contractor was rushing, they might have “dot-set” the tiles or used a notched trowel that was too small. This leaves gaps. When you step on a tile with a hollow spot, or when the heavy leg of a dishwasher rests over one, the tile has no support underneath it. Under pressure, it will snap. Just as LIVONIA HOUSE PAINTERS must ensure a wall is perfectly sanded and primed for a smooth finish, a tile installer must ensure a full, even bed of thinset.
You can test for this yourself using The ‘Hammer Tap’ Trick for Finding Hollow Spots Under Tile. Gently tap the handle of a screwdriver or a small plastic mallet across the surface of your tiles. A solid tile will produce a high-pitched “click,” while a tile with poor coverage will produce a dull, hollow “thud.” If the tiles near your dishwasher sound hollow, they were doomed from the day they were installed. This level of precision is why hiring an EXTERIOR PAINTER NEAR ME for your home’s facade or an expert for your floors is so important – the prep work determines the longevity. Even OAK PARK HOUSE PAINTERS know that without the right foundation, the top layer will eventually fail.
Thermal Expansion and Lack of Movement Joints
All materials expand when they get hot and contract when they get cold. This is a fundamental law of physics. In a kitchen, the floor near the dishwasher can experience a temperature swing of 40 degrees in a matter of minutes. If the tile is installed “tight” against the cabinets or the dishwasher itself, it has nowhere to go when it expands. This is known as “pinching.”
A professional installation should always include expansion gaps at the perimeter – usually a 1/8 inch to 1/4 inch gap that is covered by the baseboard or the dishwasher’s kickplate. If the tile is butt-jointed against a heavy appliance, the force of expansion can be enough to cause the tile to “tent” or crack right down the middle. This is also why it is critical to ensure Why Your Kitchen Cabinets Should Be Level Before the Floor Is Finished; if cabinets are installed on top of the tile without proper decoupling, they can pin the tile down, preventing natural movement and leading to stress fractures.
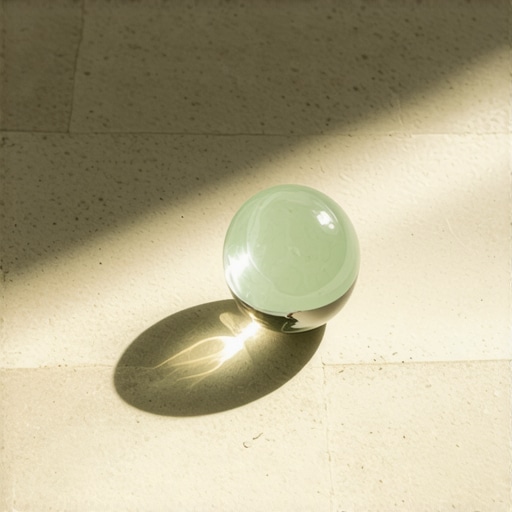
Furthermore, if your kitchen floor has dips, the expansion stress is magnified. You can check for these irregularities using The ‘Marble Roll’ Test for Finding Dips in Your Kitchen Floor. A dip in the floor near the dishwasher creates a point of tension where the tile is more likely to snap during thermal cycles.
How to Fix Cracked Tiles Near Appliances
If you already have cracked tiles, the “band-aid” approach of filling the crack with grout or caulk will not work. You must address the root cause. Here is the general process a professional would follow:
- Remove the Grout: Use a multi-tool or a grout saw to remove the grout around the damaged tile. This isolates the tile so you don’t damage the surrounding ones.
- Pop the Tile: Carefully chip out the broken tile. If it comes up easily and the back of the tile is clean, you have a “bond failure” issue, likely caused by moisture or improper thinset.
- Inspect the Subfloor: This is the most important step. Is the wood wet? Is it discolored? If so, you need to find the leak. Check the dishwasher’s water inlet valve and the door seal. If the damage is extensive, you might be looking at a larger KITCHEN REMODELING CANTON MI to replace the structural floor.
- Check for Level: Ensure the area is flat. If there’s a dip, use a self-leveling compound.
- Replace and Regrout: Use a high-quality, polymer-modified thinset. Ensure 95% coverage and leave an expansion gap at the edge.
For homeowners who find this process daunting, consulting a BATHROOM REMODELER NEAR ME can be helpful, as they are experts in waterproofing and subfloor stabilization. Whether you are looking into BATHROOM REMODELING FARMINGTON HILLS MI or BATHROOM REMODELING TROY MI, the principles of moisture management remain the same. While you’re at it, you might want to hire someone for INTERIOR PAINTING NOVI MI or EXTERIOR PAINTING NOVI MI to ensure the rest of your home looks as good as your newly repaired floor.
Conclusion & Prevention
A crack in your kitchen tile is rarely just a “bad tile.” It is a symptom of an underlying issue – be it a slow dishwasher leak, a bouncy subfloor, or an installation that didn’t account for the heat of a drying cycle. By understanding the “Dishwasher Zone” and performing simple diagnostic tests like the Hammer Tap or the Flashlight Test, you can identify the problem before it spreads to the rest of your kitchen.
Remember, prevention is always cheaper than repair. If you are planning a remodel, ensure your contractor uses a decoupling membrane (like Ditra) and checks the joist span for deflection. Whether you are working with LIVONIA HOUSE PAINTERS for your cabinets or a flooring specialist for your tiles, insist on quality materials and proper expansion gaps. Your kitchen floor is the foundation of your home’s daily life – keep it solid, keep it dry, and it will serve you for decades.