The ‘Subfloor Deflection’ Test for San Jose 10×10 Kitchen Remodels
The ‘Subfloor Deflection’ Test for San Jose 10×10 Kitchen Remodels
As a licensed general, electrical, and plumbing contractor with over 1,100 renovations under my belt, I have seen every imaginable triumph and disaster in the world of home improvement. My name is Tim Hmelar, and if there is one thing I have learned specializing in Eichler remodeling and high-end Bay Area renovations, it is that a beautiful kitchen is only as good as the structure beneath it. When homeowners plan a 10×10 kitchen remodel, they usually start with the “fun” stuff: the quartz countertops, the smart appliances, or the custom cabinetry San Jose showrooms have on display. However, there is a technical silent killer that ruins more renovations than bad paint colors ever could: subfloor deflection.
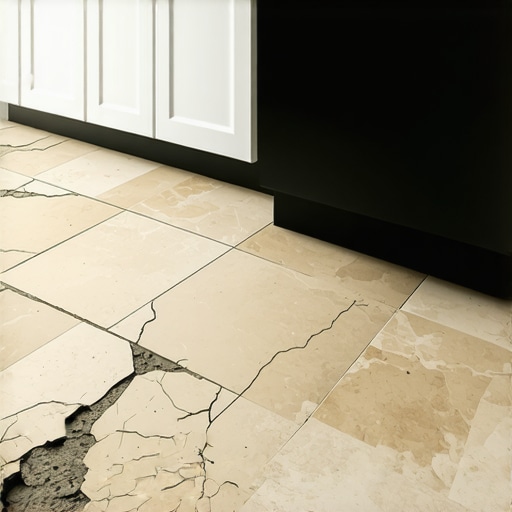
Subfloor deflection is the amount of “bend” or “give” a floor has when weight is applied to it. In the context of a 10×10 kitchen remodel, failing to account for this can lead to catastrophic results. Imagine spending $20,000 or more on premium Italian porcelain tile only to have the grout lines crack and the tiles pop loose within six months because your floor is “bouncy.” This guide will walk you through the technical standards of floor rigidity, the specific permitting landscape in San Jose, and how to perform the deflection test before you lay a single square inch of flooring.
Why Deflection Matters in the Silicon Valley Kitchen
In the engineering world, we measure floor stiffness using a ratio of the span length (L) divided by a deflection limit. For a standard 10×10 kitchen remodel using ceramic or porcelain tile, the industry standard is L/360. This means that under a live load of 40 pounds per square foot, the floor should not bend more than the length of the span divided by 360. For natural stone – which is far less flexible – the requirement doubles to L/720.
Why are these numbers so critical for home remodeling San Jose? Because our local housing stock varies wildly. From mid-century Eichlers with slab-on-grade foundations to older Victorian-style homes in Willow Glen with raised wood-joist systems, the “give” in the floor changes everything. If you are installing heavy stone counters and high-end appliances, you are significantly increasing the “dead load” on those joists. Research and building standards indicate that you generally need a minimum of 1 1/4″ of total subfloor and underlayment thickness to achieve the L/360 rating required for modern tile. Furthermore, for tiles with edges shorter than 15 inches, the maximum variation allowed in the subfloor is 1/4 inch in 10 feet. If your floor dips more than that, your flooring remodel is doomed before it starts.
The Step-by-Step ‘Subfloor Deflection’ Test
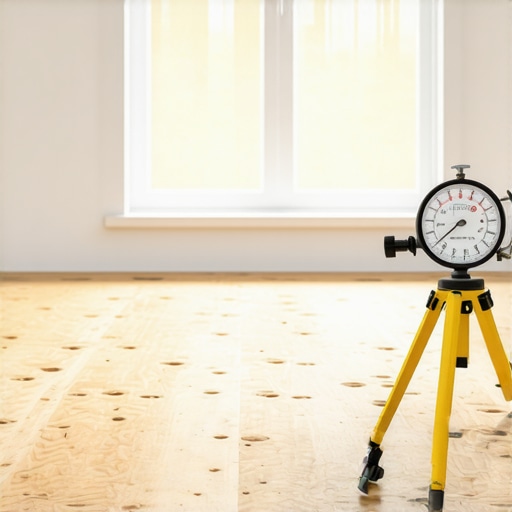
Before you commit to a specific material for your 10×10 kitchen remodel, you must perform a structural audit. Here is how I instruct my teams to evaluate a job site:
1. The String Line Method
This is the most reliable way to find dips in your plywood. Stretch a high-tension mason’s string across the longest diagonal of the kitchen, anchored at both ends. Any gap between the string and the plywood indicates a dip that needs to be filled or leveled. You can learn more about this in our guide on The ‘String Line’ Method for Finding Dips in Your Plywood Subfloor.
2. The Joist Inspection
In San Jose, many older homes were built with joists spaced 24 inches on center (O.C.). For a modern kitchen with heavy tile, you ideally want 16-inch O.C. spacing. If your joists are too far apart, the plywood between them will flex, even if the joists themselves are sturdy. This “inter-joist deflection” is a leading cause of cracked grout. While you’re down there, check for any signs of dry rot or previous water damage near the sink area.
3. The Bounce Test
This is a practical “feel” test. Stand in the center of the room and have a partner walk heavily or jump slightly near where the refrigerator or a heavy kitchen island will be placed. If you feel a significant vibration or “bounce,” your floor likely fails the L/360 requirement. This is often a precursor to needing a The ‘Penny Test’ for Checking Subfloor Levelness Before Your Canton Kitchen Remodel to see if the floor is truly flat enough for large-format tiles.
Navigating San Jose Permits and 2026 Building Codes
San Jose is currently at the forefront of building department innovation. To combat the housing crisis and speed up renovations, the city is moving toward AI-powered permitting. This is designed to reduce the wait times for a kitchen renovation permit, which used to take weeks or months. However, faster permits don’t mean lower standards.
As of January 1, 2026, all new construction and major remodels in San Jose must comply with the updated 2025 California Building Standards Code (Title 24). These updates place a heavy emphasis on structural resilience and energy efficiency. If your 10×10 kitchen remodel involves moving walls or changing the structural footprint, you must ensure your permits for kitchen remodel reflect these updated load-bearing requirements.
Furthermore, we are seeing a massive trend where accessory dwelling unit builders and adu builders San Jose are integrating 10×10 kitchens into “granny flats.” Following AB 1033, which allows for the sale of ADUs as condos in some jurisdictions, the structural integrity of these floors is more than just an aesthetic concern – it’s a matter of property value and resale liability. Whether you are working with back house room additions or a primary residence, the code is getting stricter.
Material Selection: Tile vs. LVP in a 10×10 Space
Your choice of flooring material should be dictated by your deflection test results. In a 10×10 kitchen remodel, you have two primary contenders:
- Ceramic and Porcelain Tile: These offer a luxury home design feel but are completely unforgiving. They require a rigid L/360 base. If your subfloor has any “give,” the tile will crack. This is especially true if you are installing custom cabinetry San Jose with heavy stone tops, which increases the pressure on the floor.
- Luxury Vinyl Plank (LVP): LVP is the darling of kitchen remodeling San Francisco and San Jose because it is “floating” and water-resistant. While it handles deflection better than tile, it isn’t invincible. Heavy appliances can still cause issues. For instance, you should investigate Why Your Kitchen Refrigerator Is Crushing Your Laminate Edges to understand how localized weight can cause even flexible floors to fail at the seams.
If you find that your subfloor has significant deflection, LVP might save you thousands in structural floor repairs. However, if your dream home remodeling vision requires tile, you must address the “bounce” first.
How to Fix a “Bouncy” Subfloor Before Tiling
If your deflection test fails, don’t panic. There are several ways a general contractor san mateo or San Jose specialist can stiffen the area:
- Sistering Joists: This involves attaching a new piece of lumber alongside the existing floor joists to increase their load-bearing capacity.
- Adding a Second Layer of Plywood: Adding a 1/2″ or 5/8″ layer of exterior-grade plywood (glued and screwed) over your existing subfloor can drastically reduce inter-joist deflection. Ensure you know How to Fix a Squeaky Plywood Joint Before Installing Laminate or tile to prevent annoying noises later.
- Uncoupling Membranes: Products like Schluter-DITRA act as a buffer between the tile and the subfloor. While they don’t fix structural deflection, they allow for a small amount of movement without cracking the tile.
- Blocking: Installing “bridging” or solid blocking between joists can prevent them from twisting and reduce the “bounce” near high-traffic areas like the pantry. See our tips on How to Stop Your Kitchen Floor from Creaking Near the Pantry for more details.
Proper preparation also includes the finishing touches, such as knowing How to Undercut Door Casings for a Flawless Laminate Fit, ensuring that your new, thicker floor doesn’t look like an afterthought at the transitions.
Professional Design and Structural Planning
A successful 10×10 kitchen remodel isn’t just about picking out colors; it’s about custom home designs that account for the physics of your house. When you invest in luxury home design, you are paying for the peace of mind that the floor won’t sink under the weight of a 400-pound French-door refrigerator or a custom kitchen island.
In San Jose, where seismic activity is a constant consideration, structural planning is even more vital. If you are unsure about your floor’s capacity, consulting with custom home builders Bay Area or a specialized room addition & adu contractor san jose is the smartest move you can make. They can calculate the exact load requirements and ensure your home remodeling San Jose project meets both your aesthetic goals and the rigorous safety standards of the Silicon Valley building departments.
Conclusion & Call to Action
Your 10×10 kitchen remodel is a significant investment. Whether you are building an ADU or updating a classic Bay Area home, the subfloor is the foundation of your success. By performing a deflection test and adhering to the L/360 standard, you ensure that your beautiful new kitchen remains beautiful for decades to face. Don’t let your renovation fail from the bottom up – test the “bounce,” check your joists, and always stay ahead of the upcoming 2026 building code changes.
Ready to start your project with a team that understands the technical details? Get contractors near me free estimates by visiting goldenviewrenovation.com today. Whether you need an accessory dwelling unit builders expert or a specialist in kitchen remodeling San Francisco and San Jose, Tim Hmelar and the team are here to bring your vision to life with structural integrity.