Why Your Floor Leveler Is Turning into Chalky Dust Under Your Feet
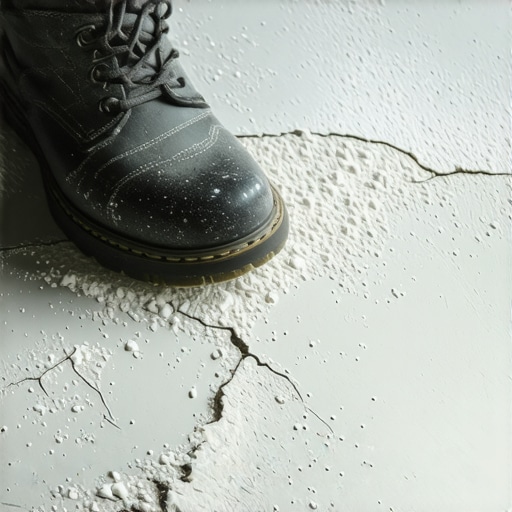
I spent three days grinding concrete on a job last month just so the floor wouldn’t click like a castanet. The previous installer thought he could save twenty bucks by skipping the primer on a slab that was as thirsty as a desert. When I showed up, the leveler was coming up in grey flakes like old skin. You could scratch it with a fingernail. That is not a subfloor. That is a liability. If you are planning a carpet install or laying down laminate, you need to understand that the leveler is the foundation of the entire system. In showers, the stakes are even higher because moisture is always looking for a way to break down your bond. I smell like WD-40 and oak dust most days, but the smell of a failed, chalky subfloor is something that lingers in your nose. It is the scent of a professional who cut corners. It makes my blood boil because the physics of a floor are non-negotiable. You cannot negotiate with gravity and you certainly cannot negotiate with chemistry. When that leveler turns to dust, it means the chemical matrix failed to form properly. You are walking on a microscopic house of cards.
The chemical reality of overwatering
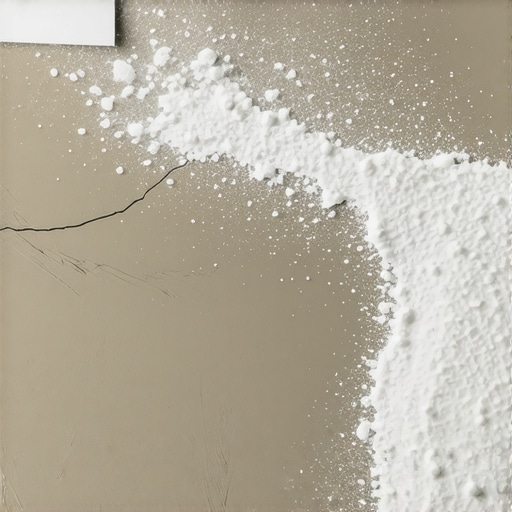
Floor leveler turns into chalky dust when the hydration reaction is disrupted by excessive water or rapid evaporation. This failure occurs at the molecular level where the calcium aluminate cement cannot form a dense crystalline structure. Instead of a solid mass, the material becomes a porous, brittle layer of unbonded particles. Most guys treat water like a suggestion. It is not. If the bag says five quarts, they put in six because they want it to flow easier. That extra quart of water stays in the mix until it evaporates, and when it leaves, it leaves behind a network of microscopic holes. The surface might look flat for a week, but the second you put a heavy piece of furniture on it, the structure collapses. The compression strength drops from 4000 PSI down to maybe 800 PSI. That is not enough to support the locking mechanisms of a modern laminate floor. It will snap the tongues and grooves like toothpicks. I have seen it happen a hundred times. The homeowner hears a crunching sound under their feet and they blame the flooring brand. It is not the flooring. It is the dust heap underneath.
“A floor is only as good as the subfloor beneath it; deflection is the enemy of every joint.” – Master Flooring Axiom
The ghost in the expansion gap
Proper expansion gaps are required because every subfloor moves independently of the finished surface due to thermal and hygroscopic changes. If your leveler has turned to dust, it loses its ability to stay bonded to the concrete or plywood underneath. This creates a floating layer of grit that migrates into the expansion gaps at the perimeter of the room. I have pulled up baseboards in twenty year old houses and found piles of grey powder where a solid edge should be. This happens because the floor is breathing. It moves a fraction of a millimeter every time the HVAC kicks on. If the leveler is chalky, that movement grinds the material into a fine silt. This silt then works its way up through the carpet install or into the joints of your laminate. It is abrasive. It acts like sandpaper on the underside of your floor. Eventually, it wears through the backing or the moisture barrier. You end up with a floor that feels gritty and sounds like someone is walking on spilled salt. It is a slow death for a high end installation.
Why your subfloor is lying to you
Subfloors often appear dry and ready but harbor high alkalinity or moisture levels that prevent the leveler from curing into a hard surface. A slab might look grey and dusty, but if you do not hit it with a moisture meter, you are flying blind. High pH levels in concrete can interfere with the polymers in self-leveling compounds. These polymers are what give the leveler its flexibility and strength. When the chemistry is off, the polymers do not cross-link. You are left with a pile of sand and cement that has no internal cohesion. I always tell the young guys to do a scratch test. Take a screwdriver and try to gouge the slab. If it leaves a deep white mark, the concrete is soft. If you pour leveler over soft concrete without a deep-penetrating primer, the leveler will just pull the top layer of the concrete off as it shrinks during the drying process. It is a delamination nightmare. You end up with leveler stuck to a thin layer of concrete dust, and the whole thing is floating. It is a lie. It looks flat, but it is a hollow shell waiting to crack.
Comparison of Leveling Compounds
| Property | Self-Leveling Underlayment | Standard Patching Compound |
|---|---|---|
| Compression Strength | 4000 to 5000 PSI | 1200 to 2500 PSI |
| Working Time | 15 to 30 Minutes | 5 to 10 Minutes |
| Maximum Thickness | Up to 2 Inches | Up to 1/2 Inch |
| Binder Type | Calcium Aluminate | Portland Cement |
| Flexural Strength | High Polymer Load | Low to Moderate |
The 1/8 inch that ruins everything
A deviation of more than one eighth of an inch over ten feet will cause mechanical failure in click-lock flooring systems. I have seen installers try to use leveler to fill deep holes without checking the depth limits of the product. When you pour leveler too thick in a single pass, the center of the pour stays wet while the edges dry. This creates internal tension. If the mix is already weak because someone used too much water, the tension will tear the leveler apart from the inside. You get these hairline cracks that eventually turn into wide gaps. Those gaps fill with dust. When you walk across the floor, the laminate dips into those gaps. That vertical movement is what kills the floor. It is not just about being level. It is about being flat and stable. I have spent hours with a ten foot straight edge and a bag of chalk marking the low spots. It is tedious. It is boring. But it is the difference between a floor that lasts forty years and a floor that fails in four months. Most people do not want to hear that their $5000 carpet install is going to fail because they did not spend $400 on subfloor prep. They want the pretty stuff on top. They do not want the grey sludge on the bottom. But I am telling you, the sludge matters more than the silk.
“Surface preparation is 90 percent of the job; the finish is just the reward for the work you did on your knees.” – Professional Flooring Standard
The invisible bond and why primer is not optional
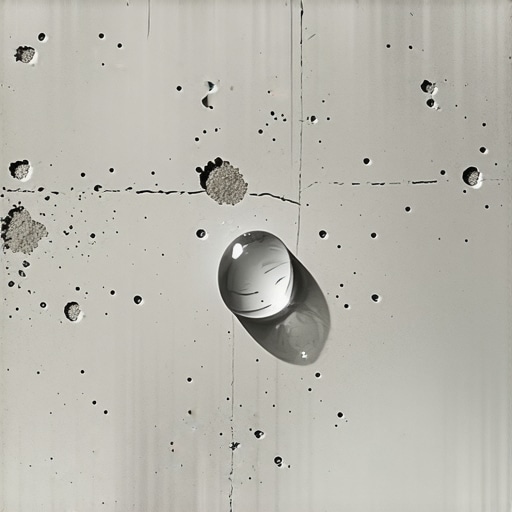
Priming the subfloor seals the pores of the substrate and prevents the dry concrete from sucking the hydration water out of the leveler. If you pour wet leveler onto dry, unprimed concrete, the concrete acts like a sponge. It pulls the water out of the bottom of the leveler immediately. This stops the chemical reaction before it even starts. The bottom of your leveler becomes a layer of unhydrated powder. It will never bond. It will never get hard. You could have the best leveler in the world and it will still fail if you skip the primer. I use a soft-bristled push broom to work the primer into the pores. You have to wait for it to get tacky. If you pour over wet primer, you are just diluting the leveler and messing with the ratio. If you wait too long and the primer gets dirty, you are pouring over a bond-breaker. It is a tight window. You have to be precise. I have seen guys try to use water instead of primer. They think they can just wet the slab down. That is a amateur move. Water does not seal pores. It just creates more vapor that wants to escape through your leveler, creating bubbles and pinholes. Pinholes are the chimneys of a failing floor.
Pre-Pour Checklist for Success
- Vacuum the entire floor twice to remove all loose particulates.
- Check the moisture vapor transmission rate of the slab.
- Apply the manufacturer-specified primer using a nap roller or broom.
- Verify that the ambient temperature is between 50 and 85 degrees Fahrenheit.
- Measure the water in a graduated cylinder to the exact milliliter.
- Use a high-speed mixer but stay under 650 RPM to avoid air entrainment.
- Have a spike roller ready to release trapped air immediately after pouring.
- Allow the leveler to cure for 24 hours before any foot traffic.
The physics of the brittle bond in showers
Showers represent the most hostile environment for floor leveler because constant moisture cycles accelerate the breakdown of weak, chalky bonds. If you are leveling a shower floor to prepare for a pan or tile, that material has to be rock solid. Any chalkiness will absorb moisture through the grout lines. Once that water gets into a weak leveler, it starts a process called leaching. The water dissolves the minerals that are not properly locked into the cement matrix. Over time, the leveler literally washes away under the tile. This leads to cracked grout and loose tiles. I have seen shower floors that felt like they were bouncing because the leveler underneath had turned into a muddy slurry. You cannot fix that from the top. You have to rip the whole thing out and start over. It is a $3000 mistake that could have been avoided with a proper mix and a waterproof membrane. Never use a gypsum-based leveler in a shower. It will turn to mush the first time someone takes a hot bath. Use a high-quality, polymer-modified calcium aluminate leveler and treat it like your life depends on it. Because in this business, your reputation is your life, and a crumbly shower floor is a death sentence.