How to Level a Plywood Subfloor Without Creating a Weight Problem
The subfloor secret no one tells you
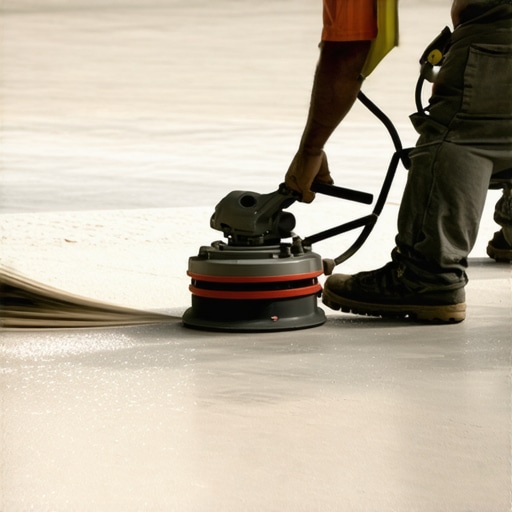
Most guys skip the leveling compound. They think the underlayment will hide the dip. It won’t. I spent three days grinding concrete on a job last month just so the floor wouldn’t click like a castanet. When you are dealing with plywood, the stakes are even higher because you cannot just pour five hundred pounds of wet cement onto a wood structure without consequence. Plywood moves. It breathes. It is a biological product that responds to the moisture in your crawlspace or basement. If you ignore the flatness of that surface, your expensive laminate will separate at the joints, your carpet install will show every hump, and your shower tile will crack along the grout lines before the first year is up. My hands are scarred from pulling up floors that failed because some contractor thought a thick pad would fix a three quarter inch valley in the floor. It never does. Structural integrity starts at the joist, and if you do not understand the physics of deflection, you are building on a foundation of sand. [image_placeholder]
The heavy truth about self leveling compounds
Plywood subfloor leveling requires lightweight cementitious patches or mechanical sanding rather than thick pours of standard self-leveling underlayment to maintain structural safety. Using excessive wet product can exceed the dead load capacity of floor joists, leading to sagging, structural failure, or cracking in the new finish flooring. You must calculate the weight per square foot of any leveling material before application. I have seen floors where a well meaning DIYer poured ten bags of leveler into a low spot in the middle of a room. That is five hundred pounds of static weight in a four by four area. That is the equivalent of a motorcycle parked permanently in your living room. Wood joists are engineered to hold specific loads, and when you add that much mass, you change the deflection math of the whole house. Most residential floors are designed for a live load of forty pounds per square foot and a dead load of ten to twenty pounds. If you eat up that dead load with leveling mud, you have no room left for furniture or people. This is why we use feathering compounds or mechanical shimming for minor dips.
“A floor is only as good as the subfloor beneath it; deflection is the enemy of every joint.” – Master Flooring Axiom
Measuring the deflection limit of your home
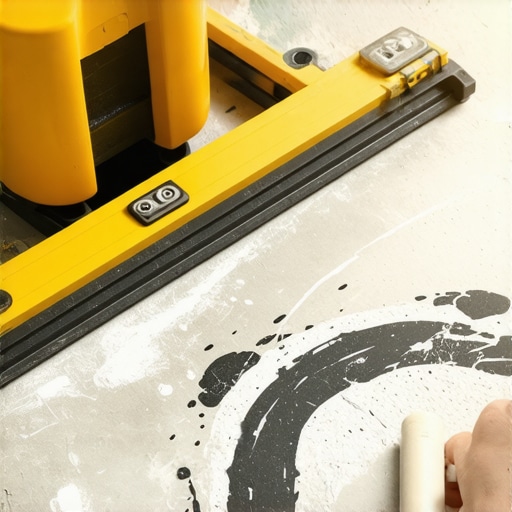
Before you even touch a bag of patch, you need to understand L over 360. This is the industry standard for how much a floor is allowed to bend under load. For a fifteen foot span, that is only half an inch of movement. If your subfloor is already dipping three quarters of an inch because the joists are undersized or the wood has aged, adding more weight is the worst possible solution. You are literally pulling the floor down. I use a laser level or a ten foot straight edge to map the topography of the room. You mark the high spots with a red pencil and the low spots with blue. In a typical laminate or carpet install, you are looking for a tolerance of three sixteenths of an inch over ten feet. If you are prepping for a shower, that tolerance tightens up. Plywood is particularly tricky because it can delaminate if it stays wet too long. When you pour a water based leveler on it, the wood fibers soak up that moisture. If you do not prime it with a high quality acrylic latex primer, the wood will suck the water out of the leveler too fast, and the patch will crumble into dust. It is a chemical battle happening under your feet.
| Material Type | Weight per Square Foot at 1/8 Inch | Drying Time | Best Use Case |
|---|---|---|---|
| Cementitious Patch | 1.2 lbs | 2 Hours | Laminate and Vinyl |
| Self-Leveling Underlayment | 1.5 lbs | 24 Hours | Tile and Stone |
| Plywood Shims | 0.4 lbs | Instant | Large Deep Dips |
| Fiberglass Reinforced Patch | 1.1 lbs | 4 Hours | High Traffic Areas |
Mechanical solutions instead of liquid weight
If you have a massive dip, do not reach for the bucket. Reach for the saw. I often solve weight problems by sistering joists from below or by using plywood veneers to build up the low area. This adds almost zero weight compared to cement. You can buy sixteenth inch or eighth inch luan and glue and staple it into the valleys. Then you use a feathering compound to smooth the transitions. This is the professional way to handle a plywood subfloor. It keeps the structure light and flexible. For a carpet install, you have more leeway, but for laminate, any dip will cause the tongue and groove system to flex every time you walk on it. Eventually, that plastic or wood tab will snap. Then you get the squeak. The ghost in the floor. That sound is the death rattle of a bad installation. I always tell clients that I would rather spend two days on the subfloor and one day on the finish than the other way around. The finish is just the skin. The subfloor is the skeleton.
The physics of adhesive chemistry and bond strength
When you finally do use a patch, the chemistry matters more than the brand name. Most retail patches are gypsum based. They are easy to sand but they have zero structural strength. If you are doing a shower or a wet area, gypsum is a disaster. It turns back into mud if it gets wet. You need a Portland cement based patch with a polymer modifier. This modifier is usually a liquid latex or an acrylic resin that allows the patch to flex. Wood moves with the seasons. In the humid summers of the East Coast, plywood expands. In the dry winters of the Midwest, it shrinks. A rigid, brittle patch will just pop off the wood. You need something that can handle the microscopic shear forces as the wood fibers change shape. I prefer primers that stay slightly tacky. They create a bridge between the organic wood and the inorganic cement. It is a molecular handshake that ensures your floor does not delaminate when the humidity hits eighty percent.
- Check subfloor moisture levels with a pin meter before starting.
- Secure all loose plywood with three inch deck screws into the joists.
- Sand down high spots with a forty grit orbital sander.
- Apply an acrylic primer and let it dry until it is clear.
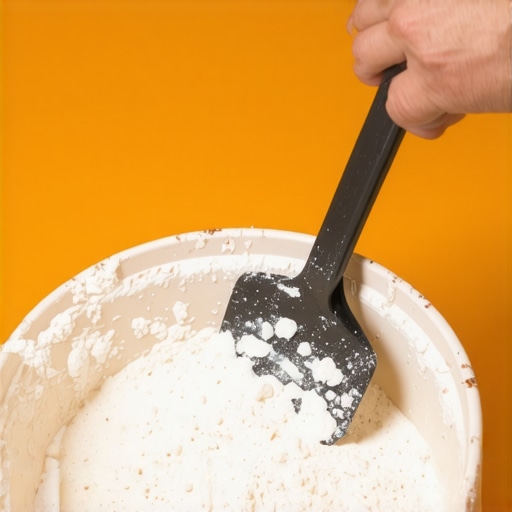
- Mix the patch with a drill and paddle to avoid air bubbles.
- Feather the edges with a flat trowel until they are translucent.
- Vacuum every speck of dust before the final floor goes down.
“Subfloor preparation is not an accessory to the job; it is the job itself.” – TCNA Handbook Principles
Why showers change the math entirely
In a bathroom, leveling is not just about the floor looking good. It is about water management. If your subfloor is not level, your shower pan will not sit flat. This creates stress points in the waterproofing membrane. I have seen expensive custom showers leak because the plywood subfloor had a slight twist that the installer ignored. They tried to fix it with more thin-set under the tile. Thin-set is an adhesive, not a leveler. It shrinks as it cures. If you put it on too thick, it will pull on the tile and cause it to crack or tent. In wet areas, you must use a dedicated mud bed or a high strength leveling pour that is rated for wet environments. And you have to be careful with the weight of the curb. A solid stone curb sitting on a weak plywood subfloor is a recipe for a structural sag. Always reinforce the joists under a shower. It is the heaviest part of the room and the one most likely to fail due to moisture or weight.
The 1/8 inch that ruins everything
Precision is the difference between a master and a hack. When I say a floor needs to be flat within an eighth of an inch, I mean it. If you have a hump, your laminate will bridge over it, creating a hollow sound when you walk. If you have a dip, it will bounce. This vertical movement is what kills floors. For carpet, you can get away with a bit more, but even then, a sharp ridge in the plywood will wear the carpet backing from the underside like sandpaper. Every time someone walks over that ridge, the carpet fibers are being ground down against the subfloor. Within two years, you will see a bald line in the middle of the room. This is why I am obsessed with my straight edge. I spend hours on my knees with a flashlight, looking for the sliver of light under the level. If light gets through, the floor is not ready. You have to be a stickler for the details because once the floor is down, the mistakes are buried until they become expensive problems.