Why Your Floor Leveler Turned Into Peeling Chalk
The invisible failure under your feet
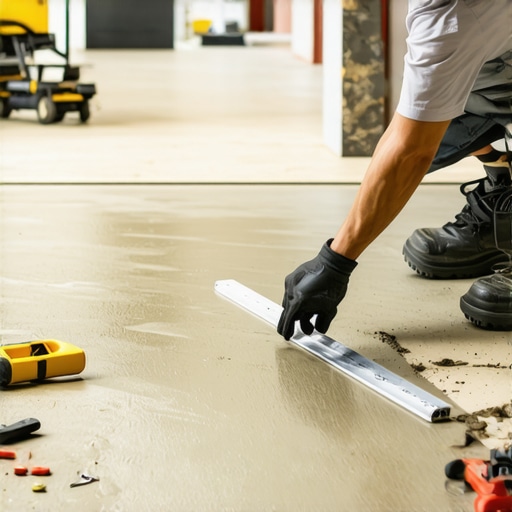
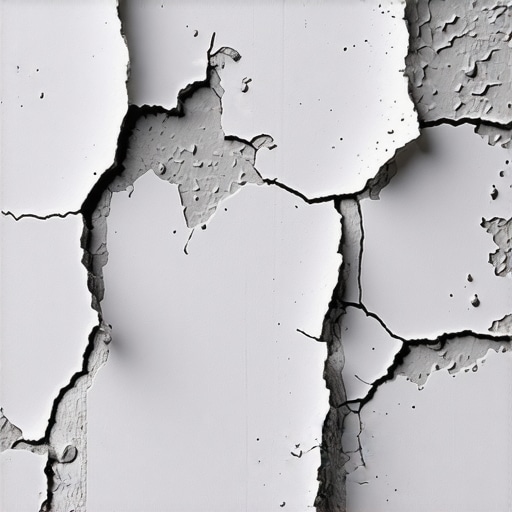
Floor leveler turns into peeling chalk when the chemical bond between the cementitious compound and the substrate fails due to improper hydration, lack of primer, or excessive water ratios. This failure is rarely the fault of the product itself and almost always a violation of the physics required for polymer-modified materials to crystallize. When the subfloor is not prepared to a specific surface profile, the leveler cannot bite into the pores of the concrete. Most guys skip the leveling compound. They think the underlayment will hide the dip. It won’t. I spent three days grinding concrete on a job last month just so the floor wouldn’t click like a castanet. That job was a nightmare because the previous installer had poured two inches of self-leveling underlayment over a dusty slab without using a single drop of primer. I walked in and could literally peel the floor up in sheets with my bare hands. It felt like dried mud. It looked like chalk. It was a $4,000 mistake that required a diamond grinder and a heavy-duty vacuum system just to fix the foundation before we could even think about laying a single plank of laminate.
The day the dust won
Concrete is a living, breathing sponge. If you do not treat it with respect, it will suck the life out of any material you put on top of it. I have seen hundreds of DIY projects and amateur contractor jobs fail because they ignored the simple reality of surface tension. When you pour a liquid leveler onto a dry, porous slab, the concrete immediately begins to drink. It pulls the moisture out of the leveler before the cement has a chance to hydrate. This creates a flash-dry scenario. The bottom of your leveler dries instantly, while the top stays wet. This disparity in drying times prevents the formation of a cohesive crystalline structure. The result is a brittle, dusty layer that has the structural integrity of a sugar cookie. You can use the most expensive bag of leveler on the market, but if you do not seal that concrete first, you are throwing money into a hole. You need to understand the mechanical bond. The primer acts as a bridge. It fills the pores of the concrete so the leveler stays wet long enough to actually turn into stone.
blockquote>”A floor is only as good as the subfloor beneath it; deflection is the enemy of every joint.” – Master Flooring Axiom
Why water is the poison in your mix
The biggest mistake people make is thinking that more water makes the leveler more level. It does not. It makes it weaker. Every bag of self-leveling underlayment has a very specific water-to-powder ratio, usually measured to the exact quart. When you over-water the mix, you cause a process called segregation. The heavy sand and cement particles sink to the bottom. The lightweight polymers and excess water rise to the top. This top layer is what we call laitance. It looks like a smooth, white film when it is wet, but as it dries, it turns into that peeling chalk you are seeing. You are essentially looking at a layer of glue and dust that has no aggregate to hold it together. If you are prepping for a laminate installation, this chalky layer will eventually pulverize under the weight of foot traffic. Every time you step on the floor, the laminate moves. That movement grinds the chalky leveler into even finer dust. Eventually, the locking mechanisms on your laminate will snap because the support beneath them has turned to powder. Use a measuring bucket. Do not guess. Do not eyeball it. If the bag says 5.5 quarts, you use 5.5 quarts. Not six.
| Material Property | Correct Water Ratio | Over-Watered Result | Impact on Flooring |
|---|---|---|---|
| Compressive Strength | 4,000+ PSI | Less than 1,500 PSI | Cracks under furniture weight |
| Surface Texture | Hard and smooth | Chalky and dusty | Adhesive failure or clicking |
| Bond Strength | 200+ PSI | Zero bond | Delamination and peeling |
The primer paradox and the porous slab
You cannot skip the primer. I will say it again for the people in the back. Primer is not an optional accessory. It is a mandatory chemical component. There are two types of primer, and using the wrong one is just as bad as using none. Most slabs require a non-porous or porous acrylic primer. If you are pouring over an old tile floor to prep for a new LVP or carpet install, you need a specialized primer that can grip onto a glass-like surface. If you are pouring over concrete, you need a primer that penetrates. I once saw a guy try to level a shower floor using a standard bag of leveler without checking the moisture content of the slab. The hydrostatic pressure from the ground pushed through the concrete and blew the leveler right off the floor. It looked like a series of small explosions had occurred under the tiles. In a wet environment like a shower, your prep work has to be perfect. You are dealing with vapor drive and capillary action. If that leveler turns to chalk, your waterproofing membrane will fail. The entire system collapses because you didn’t spend twenty bucks on a bottle of primer.
When laminate meets a soft foundation
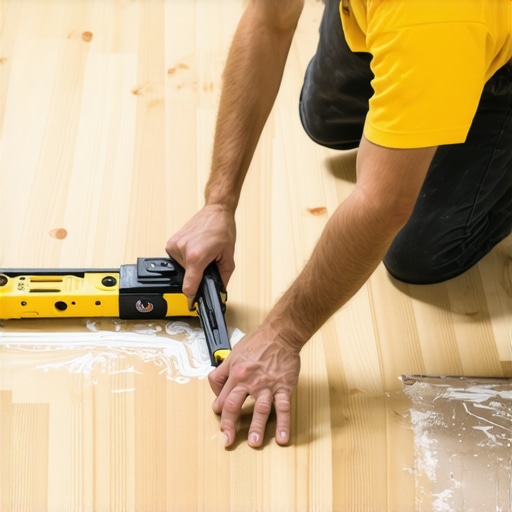
Laminate flooring is a floating system, but it requires a rock-solid base. People think because it floats, the subfloor doesn’t matter. They are wrong. Laminate is basically high-density fiberboard. It is stiff. If the floor leveler beneath it starts to crumble, the laminate will bridge the gaps for a while. But eventually, the hollow spots will grow. You will hear a crunching sound when you walk. That is the sound of your floor leveler disintegrating. This is especially problematic in high-traffic areas or under heavy appliances. If you are doing a carpet install, you might get away with a slightly dusty floor for a few years, but the dust will eventually migrate through the pad and into the air you breathe. Every time you vacuum, you are pulling up microscopic particles of failed cement. It is a respiratory nightmare waiting to happen. You need a surface that can withstand the ASTM D4259 standards for concrete surface preparation. If you can scratch the surface with a screwdriver and it leaves a deep white mark, it is not ready for flooring.
Preparation for the modern shower pan
Building a shower is about water management. If you are using a leveler to create a slope or to flatten an area for a pre-sloped pan, the integrity of that leveler is vital. Showers are subjected to thermal expansion and contraction every single day. Hot water hits the floor, the materials expand. The water turns off, they contract. If your leveler is chalky, it cannot handle this stress. It will shear away from the substrate. I have seen beautiful $20,000 walk-in showers get ripped out because the installer used a cheap, over-watered leveler under the waterproofing. The tile started cracking at the grout lines first. Then the drain assembly started to wiggle. Within six months, the whole floor was mush. You must ensure the leveler reaches its full compressive strength. This means keeping the area free of drafts while it cures. If you put a fan on a fresh pour, you will pull the moisture out too fast and end up with cracks and dust. Let it cure naturally. Follow the technical data sheets from the manufacturer like they are the law. Because in the world of flooring, they are.
Pre-pour audit checklist
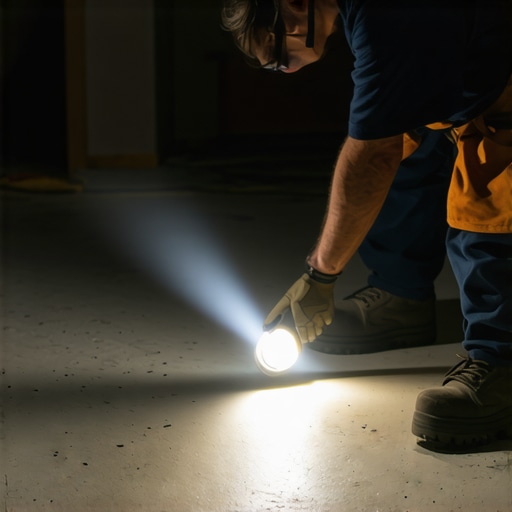
- Test the concrete moisture with a calcium chloride kit or an in-situ probe.
- Clean the slab of all oil, wax, and drywall mud.
- Vacuum the floor twice to ensure zero dust remains.
- Apply the manufacturer recommended primer and let it get tacky.
- Measure water to the exact ounce using a graduated cylinder or bucket.
- Mix with a low-speed drill to avoid whipping air bubbles into the soup.
- Close all windows and turn off the HVAC to prevent uneven drying.
“The most expensive floor you will ever buy is the one you have to install twice.” – Master Flooring Axiom
The 1/8 inch that ruins everything
Standards from the NWFA and the TCNA usually call for a floor to be flat within 1/8 of an inch over a 10-foot radius. That is a very tight tolerance. If your leveler is peeling, you have already lost that tolerance. You cannot just pour more leveler over the chalky stuff. You have to remove the failure. This means mechanical abrasion. You need to get back down to solid concrete. Some guys try to use a floor patch to cover the chalk. That is like putting a band-aid on a broken leg. The patch will only stick to the chalk, and the chalk isn’t sticking to anything. It will all come up. I have spent more hours of my life fixing other people’s leveler mistakes than I have actually laying floors. It is a dirty, dusty, miserable job. If you are doing this yourself, do it right the first time. Respect the chemistry. Respect the water ratios. If you see bubbles forming in your leveler as you pour, that means you didn’t prime enough. The air is escaping the concrete and coming through the mix. Those bubbles will turn into pinholes, and those pinholes will become weak spots. A floor is a structural engineering project. Treat it like one. Avoid the temptation to buy the cheapest bag at the big box store. Go to a flooring supply house and buy the high-flow, high-strength stuff. It costs more, but it actually works. Your laminate, your carpet, and your shower will thank you for it in ten years when the floor is still as solid as a rock. Article Schema: {“@context”:”https://schema.org”,”@type”:”Article”,”headline”:”Why Your Floor Leveler Turned Into Peeling Chalk”,”author”:{“@type”:”Person”,”name”:”Master Floor Installer”},”publisher”:{“@type”:”Organization”,”name”:”Flooring Excellence”},”description”:”Expert analysis on why self-leveling underlayment fails, turns to dust, or peels, focusing on subfloor preparation and chemical hydration.”}