Why Your Shower Seat Is Sloping the Wrong Way
The lethal 1/8 inch that ruins your shower seat
Water is a patient enemy. It does not negotiate with your tile choices or your expensive fixtures. If your shower seat is sloping the wrong way, you are not just looking at a minor annoyance; you are looking at a structural time bomb. I have spent twenty five years on my knees with a moisture meter and a level, and I can tell you that the difference between a lifetime shower and a mold factory is often a fraction of an inch. Most guys skip the leveling compound. They think the underlayment or the tile itself will hide the dip. It won’t. I spent three days grinding concrete on a job last month just so the floor would not click like a castanet, and the shower seat was no different. It was pitched back toward the wall, collecting a pool of stagnant water that was slowly rotting the studs behind the cement board. When we talk about shower seats, we are talking about the physics of drainage and the chemistry of waterproofing membranes. This is not about aesthetics. This is about engineering a surface that successfully sheds every drop of water toward the drain without hesitation. Most homeowners think waterproof LVP means they can treat their house like a swimming pool, but a shower is the only place where that logic almost applies, and even there, the pitch is king.
The mechanics of a failed pitch
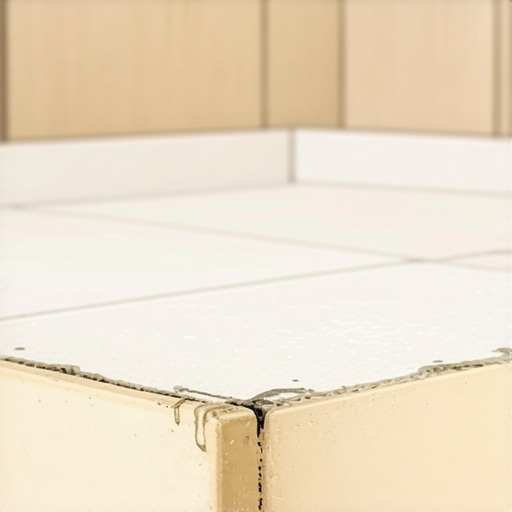
A shower seat must have a minimum slope of 1/4 inch per foot toward the floor drain to ensure that gravity overcomes the surface tension of the water. If the seat is level or, heaven forbid, sloped toward the wall, the water will pool against the grout lines. Over time, that water penetrates the grout through capillary action and begins to saturate the thin set and the waterproofing layer. Even the best topical membranes like Kerdi or RedGard are not designed to hold standing water indefinitely. They are shedding layers. When the pitch is wrong, the water sits. It finds the pinholes. It finds the corners where the banding was not overlapped perfectly. I have seen fifteen thousand dollar walnut floors in the next room cup like potato chips because a shower seat in the master bath was leaking into the subfloor. It starts at the seat, moves into the wall cavity, and then travels along the joists until it finds a place to settle. The mechanics are simple. If the bubble on your level is not touching the line on the high side, your seat is a failure.
“A floor is only as good as the subfloor beneath it; deflection is the enemy of every joint.” – Master Flooring Axiom
Gravity is not a suggestion in wet area design
Gravity dictates that water will always seek the lowest point, and in a shower, that point must be the drain, not the wall junction. When an installer builds a bench, they often focus on making it square to the wall. That is the first mistake. A square bench is a flat bench, and a flat bench is a wet bench. You need to build a slight exaggeration into the framing or use a pre-sloped foam transition. If you are doing a carpet install in the bedroom adjacent to this bath, you might not care about a 1/8 inch variance. But in a shower, 1/8 inch is a mountain. The surface tension of water allows it to hang onto textured tiles, especially natural stones like slate or tumbled marble. If you do not give it a clear path downward, it will stay there until it evaporates, leaving behind soap scum, minerals, and eventually, pink mold. I have walked into jobs where the floor leveling was perfect in the main room, but the shower was an afterthought. You cannot treat the shower as a separate entity from the structural floor. They are part of the same water management system. If the subfloor is not rigid, the seat will settle, and your pitch will disappear overnight.
The chemistry of ponding water and grout failure
Ponding water creates a chemical environment where alkaline salts from the mortar bed are pulled to the surface, causing efflorescence and grout degradation. Most people think grout is waterproof. It is not. Grout is a filter. When water sits on a shower seat, it leaches minerals out of the setting materials. This weakens the bond between the tile and the substrate. This is why you see tile popping off the front of benches more than anywhere else. The water gets behind the tile, sits on the ledge, and just eats away at the bond. In my decades of experience, I have found that using a high quality modified thin set is only half the battle. If the chemistry of the water on top is constantly attacking the grout, the installation will fail. I have seen laminate floors in hallways buckle because a shower on the second floor had a bench with no pitch. The water traveled through the subfloor and down the wall. People blame the product, but they should blame the physics. You need a 95 percent mortar coverage on that seat to ensure there are no air pockets where water can hide.
| Requirement | Standard Pitch | Minimum Tolerance |
|---|---|---|
| Shower Floor | 1/4 inch per foot | 1/8 inch per foot |
| Shower Seat | 1/4 inch per foot | No flat spots allowed |
| Curb Top | 1/8 inch inward | Must shed to drain |
| Niche Ledge | 1/4 inch outward | Pitch toward shower |
Why thinset is not a leveling tool for benches
Thinset is designed to bond tiles to a substrate, not to create a slope or level out a poorly framed shower bench. One of the biggest sins in the trade is the guy who says he will fix the pitch with the mud. Thinset shrinks as it cures. If you pile it up 1/2 inch thick on the back of the seat to create a slope, it will pull and crack. It might even pull the tile away from the wall. You must frame the slope or use a sloped foam board. I have seen installers try to use floor leveling compound inside a shower pan. That is a disaster waiting to happen unless it is specifically rated for wet areas and covered with a membrane. The structural integrity of the seat depends on the solid contact of the tile to a pitched surface. If you are relying on a thick bed of mortar, you are creating a sponge. That sponge stays wet, and in a humid environment like a bathroom, it never dries out. It just rots from the inside out. I have seen showers that looked like masterpieces on the surface but were nothing but mush underneath because someone was too lazy to cut the studs at an angle.
- Check framing for square and plumb before any board goes up.
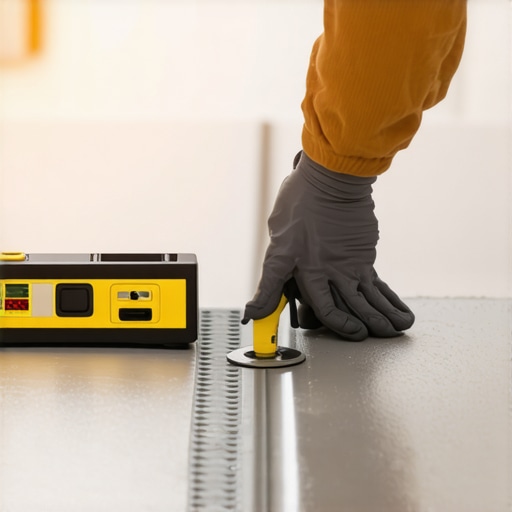
- Verify the 1/4 inch per foot slope using a digital level.
- Ensure waterproofing membrane overlaps are at least 2 inches.
- Perform a 24 hour flood test before any tile is laid.
- Confirm 95 percent mortar coverage on all horizontal surfaces.
Framing mistakes that haunt your grout lines
Framing mistakes such as using non-kiln dried lumber or failing to account for wood shrinkage will eventually tilt a shower seat the wrong way. Wood moves. If you build a seat out of standard 2x4s and then tile it immediately, those studs are going to dry out and shrink. When they shrink, they pull. If they pull the back of the seat down, your pitch is gone. This is why I prefer masonry benches or high density foam. They are stable. They do not react to the humidity of the room. In places with high humidity, this movement is even more pronounced. The air in the bathroom is saturated, but the wood inside the wall is trying to reach equilibrium. This tug of war ruins the 1/8 inch slope you worked so hard to achieve. I have seen carpet install crews find wet tack strips ten feet away from a bathroom because the framing shifted and the shower seat started dumping water into the wall. It is all connected. You cannot ignore the bones of the house. If the framing is garbage, the tile will be garbage.
“Water follows the path of least resistance; your job is to make that path lead to the drain.” – TCNA Handbook Principles
The relationship between your bathroom floor and the drain
The elevation of the bathroom floor must be calculated in relation to the drain height to ensure the entire system slopes correctly. If you are installing laminate or carpet in the bedroom, your transition height at the bathroom door matters. But more importantly, the height of the shower seat must be ergonomic while maintaining that pitch. A seat that is too high is uncomfortable. A seat that is too flat is a leak. When I do floor leveling in a master suite, I am looking at the whole floor as one continuous plane. If the bathroom floor is higher than the shower entry, you have a problem. If the seat is not integrated into the waterproofing of the floor, you have a bigger problem. I have seen people try to add a seat as an afterthought, screwing it through the waterproofing of the floor. That is like poking a hole in the bottom of a boat and wondering why you are sinking. Every fastener is a potential leak. Use a topical membrane and ensure the seat is a monolithic part of the shower’s water management system.
How to fix a level seat without a sledgehammer
Correcting a poorly sloped shower seat without total demolition requires stripping the tile and applying a sloped mortar bed or a specialized foam wedge. You cannot just tile over the old tile to fix the slope. That adds too much weight and does not solve the underlying moisture issue. You have to get back down to the waterproofing layer. If the membrane is intact, you can sometimes use a high strength, fast setting mortar to create the 1/4 inch pitch. But usually, if the seat is sloped wrong, the waterproofing is already compromised. I tell people all the time that I would rather spend two days doing it right than ten years wondering when the ceiling in the kitchen is going to fall down. It is about pride in the trade. It is about knowing that when I leave a job, that floor is a performance surface. Whether I am doing a carpet install or a complex shower, the prep is the same. You check the level. You check the moisture. You do not move forward until the foundation is perfect. Anything else is just a hobby.