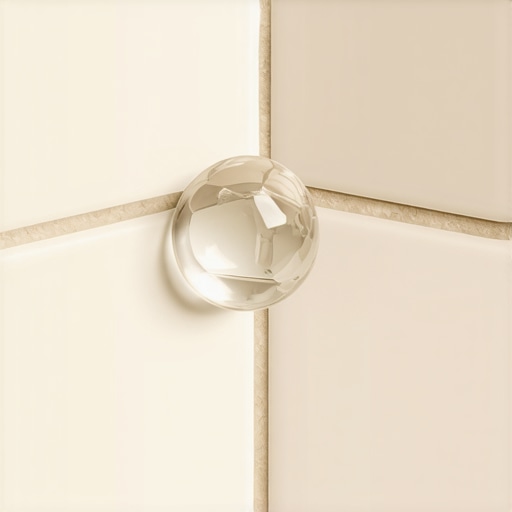
The ‘Masking Tape’ Secret for Grouting Hard-to-Reach Shower Corners
I spent three days grinding concrete on a job last month just so the floor would not click like a castanet. Most guys skip the leveling compound. They think the underlayment will hide the dip. It won’t. I have seen fifteen thousand dollar wide plank walnut floors cupping like potato chips because someone ignored the crawlspace humidity. This same lack of respect for physics is what ruins most shower installations. When you get into those tight corners where the niche meets the wall or where the floor pan meets the drain, the margin for error is zero. I have been on my knees for twenty five years with a moisture meter and a level. I know that a floor is a performance surface. It is not just something pretty to look at. If the structural integrity fails, the aesthetics do not matter. This is why the masking tape method is not just a trick for amateurs. It is a fundamental technique for ensuring the longevity of the waterproofing system in a high moisture environment.
The physics of the corner joint in wet environments
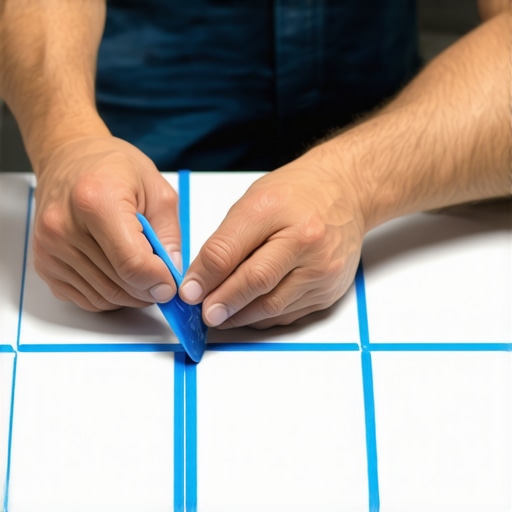
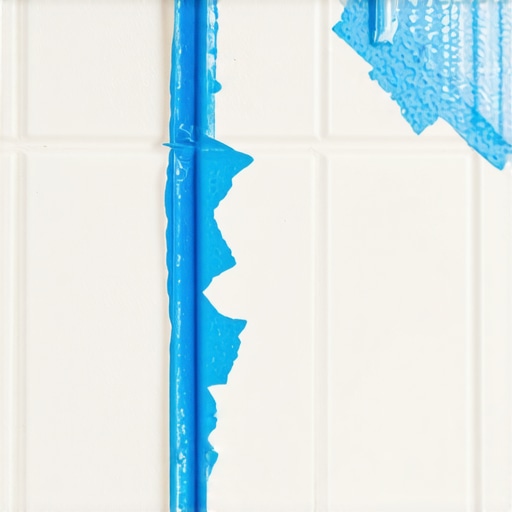
The masking tape secret for grouting hard to reach shower corners involves applying high quality painters tape to the adjacent tiles to create a physical barrier. This protects the tile surface from grout haze and ensures that the grout remains concentrated within the joint for maximum structural density and water resistance. When you are working in a tight corner, your grout float cannot reach the same angle it does on a flat wall. This leads to incomplete packing of the joint. Incomplete packing means air pockets. Air pockets mean water intrusion. Water intrusion means the death of your subfloor. Whether you are dealing with a concrete slab or a wood subfloor, water will find the path of least resistance. If your grout is not packed tight, that path leads straight to your joists. This is where the chemistry of your materials becomes the deciding factor in the success of the build. You need a grout that has a high polymer content to resist the osmotic pressure of constant shower use. Using masking tape allows you to apply more pressure with your finger or a small tool without worrying about the mess.
“A floor is only as good as the subfloor beneath it; deflection is the enemy of every joint.” – Master Flooring Axiom
The molecular bond of high performance grout systems
Modern grout systems rely on specific water to powder ratios to achieve a crystalline structure that resists water penetration and staining. In tight shower corners, the masking tape technique allows for a cleaner application of these fast setting polymers which prevents the premature drying of the material. When grout dries too fast, it loses its strength. It becomes chalky. I have seen laminate floors fail because the installer did not understand expansion gaps. I have seen carpet install jobs where the tack strips were placed so poorly they did not hold the tension. Tile is even less forgiving. It is rigid. It does not want to move. But buildings do move. They breathe. The corner where two walls meet is a change of plane. This is a point of stress. By using the tape method, you can ensure that the grout is flush and well compacted. This reduces the risk of hairline cracks that appear when the house settles or when the temperature fluctuates between a hot shower and a cold bathroom. You are not just filling a gap. You are creating a structural seal.
| Material Type | Porosity Level | Flexural Strength | Recommended Gap Width |
|---|---|---|---|
| Sanded Cement Grout | High | Low | 1/8 to 1/2 inch |
| Unsanded Cement Grout | Medium | Low | Less than 1/8 inch |
| High Performance Polymer Grout | Low | High | 1/16 to 1/2 inch |
| Epoxy Grout | Zero | Maximum | All sizes |
Why floor leveling is the foundation of a waterproof shower
Floor leveling is the most overlooked step in shower construction and tile installation across all substrates including concrete and wood. A level subfloor ensures that water flows toward the drain and prevents the pooling that leads to grout degradation and mold growth in hard to reach corners. If the floor is not level, the tile will have lips. These lips create shadows and catch dirt. More importantly, they make it impossible to get a clean grout line in the corners. I once had to tear out a shower because the previous guy thought he could fix a slope with extra thin-set. Thin-set is an adhesive, not a filler. It shrinks as it cures. If it is too thick, it pulls on the tile. This creates tension that eventually snaps the bond. You need to start with a flat surface. Use a high quality self leveling underlayment. Check it with a straight edge. Only when the floor is perfect should you even think about opening a bag of grout. This level of preparation is what separates a master from a handyman. It is the difference between a floor that lasts fifty years and one that fails in five.
- Clean the joints thoroughly using a vacuum to remove all dust and debris before applying tape.
- Select a tape with a medium tack to ensure it sticks to the tile but does not leave residue.
- Apply the tape exactly to the edge of the tile without overlapping into the joint space.
- Mix the grout to a peanut butter consistency to ensure it can be packed deeply into the corner.
- Remove the tape while the grout is still slightly damp to achieve a razor sharp edge.
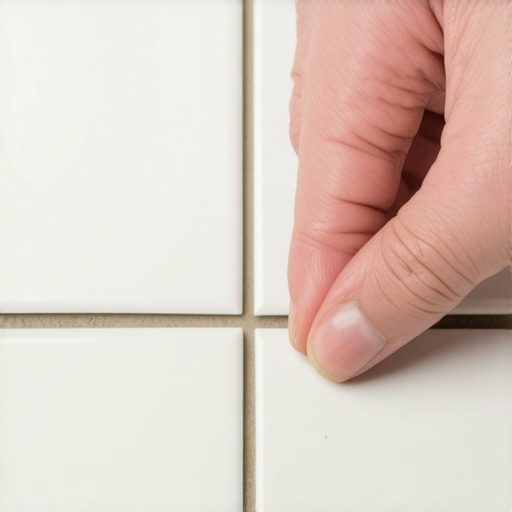
- Tool the joint with a rounded implement to create a concave surface that sheds water efficiently.
“Movement at the change of plane must be accommodated by a flexible sealant rather than rigid grout.” – TCNA Handbook Summary
The ghost in the expansion gap and structural movement
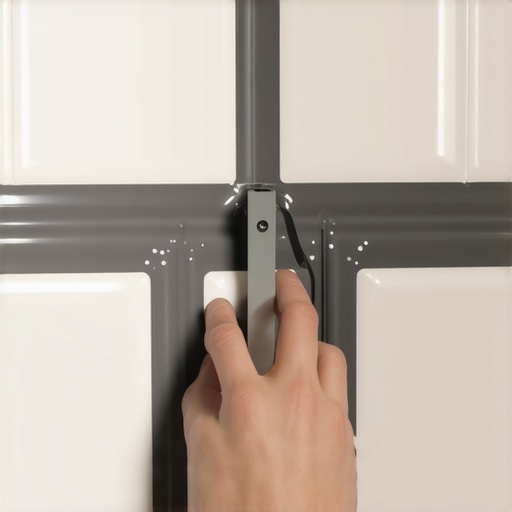
Expansion gaps are the silent guardians of every flooring type from laminate to heavy porcelain tile installations. In shower corners, these gaps must be respected even when using the masking tape technique to ensure the rigid tile does not buckle under thermal expansion. If you pack a corner too tight with rigid grout and the house moves, that grout will pop out. This is why the TCNA suggests using a color matched 100 percent silicone sealant in corners. The masking tape secret works even better here. Silicone is a nightmare to clean up if you get it on the face of the tile. By masking both sides of the corner, you can run a thick bead of silicone, tool it with a soapy finger, and pull the tape for a perfect finish. This is the only way to handle a change of plane correctly. Many installers are lazy. They grout the corners because it is faster. They do not care that it will crack in a year. I care. I do not want a callback. I want to know that when that shower gets hit with steaming water, the materials can expand and contract without failing. This is the microscopic reality of the job. It is about managing the physics of the materials.
Laminate and carpet lessons for the tile professional
The principles of subfloor preparation found in high quality laminate and carpet install projects are directly applicable to the precision required for grouting shower corners. Every flooring system requires a stable base and a clear understanding of moisture vapor transmission to prevent long term failure. When you install carpet, you are worried about the stretch and the tack. When you install laminate, you are worried about the click lock integrity and the flatness of the slab. In a shower, you are combining all these concerns with the added element of liquid water. If the floor leveling was not done right, the tile will flex. If the tile flexes, the grout in the corner will fail. It does not matter how good your tape job was. You have to look at the floor as a whole system. You have to think about the mil thickness of your waterproofing membrane. You have to think about the chemical bond of the modified thin-set. Every layer depends on the one below it. This is why I am so hard on the guys who try to skip steps. There are no shortcuts in this trade. There is only the right way and the way that leaks.