Why Your Self-Leveling Compound Isn’t Actually Leveling Itself
I spent three days grinding concrete on a job last month just so the floor would not click like a castanet. Most guys skip the leveling compound because they think the underlayment will hide the dip. It will not. I have spent twenty five years on my knees with a moisture meter and a six foot level, and the smell of WD-40 and oak dust is practically part of my DNA at this point. I have seen every shortcut in the book, and the biggest lie in the flooring industry is the name on that bag of self-leveling compound. You see, these products do not just flow like water to create a perfect mirror surface. They are governed by the harsh laws of physics, fluid dynamics, and the hidden chemistry of the slab beneath them. If you treat this like a simple bucket pour, your expensive laminate or hardwood will be a failure within six months.
The myth of the liquid floor
Self-leveling compound is a high flow, polymer modified cementitious material designed to seek its own level, but it requires mechanical agitation and proper substrate preparation to function. Gravity alone will not overcome surface tension or viscosity if the mix is off by even a few ounces of water. Most installers fail to realize that the product is actually self-smoothing, not self-leveling, meaning it still requires human intervention to reach the edges and fill the deep low spots of a subfloor. You cannot just pour and walk away. If you do, you will end up with high ridges and low valleys that will cause your laminate to separate at the locking joints. The physics of these compounds rely on the slump rate. If the slump is too low, the material stays thick and mounds. If the slump is too high, the aggregate settles at the bottom and the surface becomes a brittle, dusty mess that will not hold a bond.
“A floor is only as good as the subfloor beneath it; deflection is the enemy of every joint.” – Master Flooring Axiom
Why the chemistry of your primer determines success
The bonding agent or primer is the most important part of the entire floor leveling process because it manages the porosity of the concrete slab. Without a dedicated primer, the dry concrete will suck the water out of the leveling compound before the cement hydration process can complete. This leads to pinholes, bubbles, and a catastrophic bond failure. I have seen entire floors peel up like a scab because someone thought they could save fifty dollars by skipping the primer. You need a primer that creates a mechanical and chemical bridge between the old substrate and the new pour. The chemistry involves long chain polymers that fill the capillaries of the concrete. This prevents the air trapped in the slab from escaping through the wet compound, which is what causes those tiny craters that ruin a smooth finish for LVP or thin-set tile applications.
The impact of deflection on laminate and vinyl locking systems
Laminate and LVP flooring rely on locking mechanisms that are engineered to tolerances of less than a millimeter. If your subfloor flatness is outside of the NWFA standard of 1/8 inch over 10 feet, the constant deflection of the boards when you walk on them will snap the tongues and grooves. This is why floor leveling is not optional. When you step on a plank that spans a hollow spot, the material bends. Over time, the plastic or fiberboard fatigues and breaks. No underlayment on the market can fix a structural dip. In fact, using a thick, soft underlayment to try and cushion a dip actually makes the problem worse. The extra compression increases the angle of the bend, accelerating the destruction of the floor. You need a rigid, flat base. Period.
| Property | Cement-Based Leveler | Gypsum-Based Leveler |
|---|---|---|
| Drying Time | 2-4 Hours | 12-24 Hours |
| Compressive Strength | 4000-6000 PSI | 2000-3000 PSI |
| Moisture Sensitivity | Low | High |
| Shrinkage Risk | Moderate | Low |
| Best Use | Wet areas, Showers | Residential Dry Areas |
The physics of the spike roller
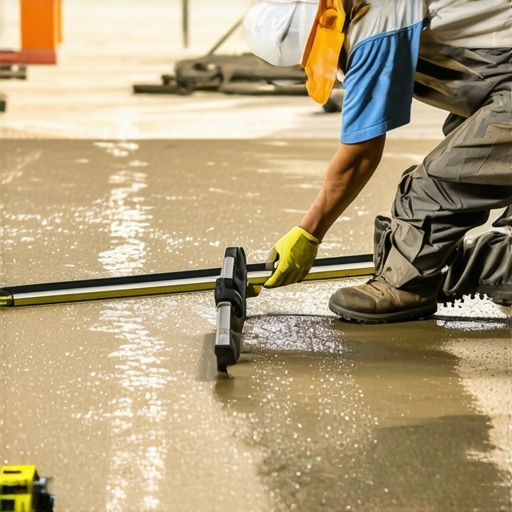
A spike roller is not just for show; it is an essential tool for degassing the self-leveling compound and ensuring a uniform distribution. As you move the roller through the wet material, the spikes break the surface tension and allow the rheology of the mix to settle into a truly flat plane. It also helps combine the different pours. If you are doing a large room, you are pouring multiple buckets. If you do not knit those pours together with a gauge rake and a spike roller, you will see the lines where one bucket ended and the next began. These lines are often high enough to cause carpet install tack strips to sit unevenly or to create a bump under a vinyl floor that will wear through the surface in a year. The roller also forces the compound into the microscopic nooks of the substrate, ensuring that the mechanical bond is as strong as possible.
Why your carpet install depends on a flat base
Modern carpet install techniques require a flat subfloor to prevent premature wear on the padding and the primary backing. While carpet is more forgiving than tile or wood, a major dip in the floor will create a pocket of air where the carpet padding is not supported. This leads to the carpet stretching and rippling over time. When you use a power stretcher, you are putting hundreds of pounds of tension on the floor. If the subfloor is not level, that tension is distributed unevenly, which can pull the tack strips right out of the compound if the compound was not mixed or primed correctly. I have walked into jobs where the carpet looked like a stormy sea because the installer did not understand that even soft goods require a structural foundation.
The reality of shower pan leveling
In showers, the leveling process is even more critical because of the hydrostatic pressure and the need for perfect waterproofing. You cannot have any standing water. While the floor must slope toward the drain, the perimeter must be perfectly level to accept wall tile without creates awkward sliver cuts. Using a self-leveling compound in a wet area requires a product that is rated for immersion and a waterproof membrane on top. The chemistry here is specific. You need calcium aluminate cements that do not break down in the presence of moisture. If you use a cheap, gypsum based leveler in a bathroom, the moisture from the shower will eventually turn that leveler back into mush, and your tile will start popping off the floor like corn. I have seen it happen, and it is a $10,000 mistake.
- Always use a calibrated mixing paddle to avoid whipping air into the mix.
- Measure water with a precise beaker, never eyeball it.
- Seal all perimeter gaps with spray foam to prevent the compound from leaking into the walls.
- Check the slab temperature; if it is too cold, the compound will not flow.
- Verify the moisture vapor emission rate before pouring.
Technical specs for subfloor preparation
The ASTM F710 standard is the bible for preparing concrete floors to receive resilient flooring. It dictates that all slabs must be free of oil, wax, paint, and dust. If you pour self-leveling compound over a dusty slab, it is like pouring glue over sand. It will not stick. You need to perform a water bead test. If water does not soak into the concrete, neither will your primer. You may need to perform diamond grinding or shot blasting to open the pores of the concrete. This is the part of the job that everyone hates because it is loud and messy, but it is what separates a master from a handyman. You have to get down to the structural concrete to ensure that the compressive strength of the new floor can handle the load of the furniture and traffic. Anything less is just a temporary fix.
The final measure of a flat floor
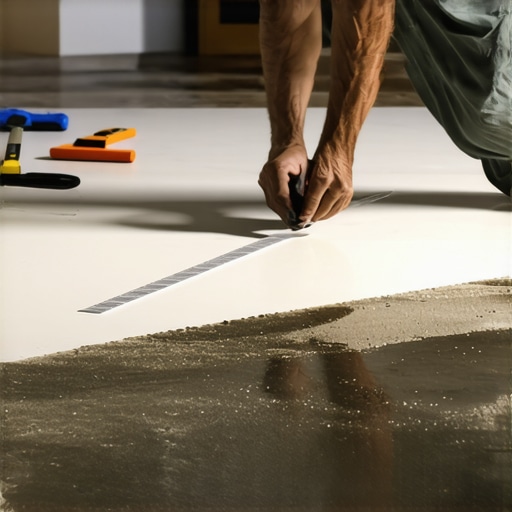
After the pour is dry, you must check the results with a straightedge. Do not trust your eyes. The way light hits a floor can be deceiving. Take a ten foot straightedge and slide it across the room. If you see light under the bar, you still have work to do. You might need to do a second, thinner pour or use a patching compound to feather out the edges. Achieving a floor that is truly flat requires patience and a deep understanding of the materials. It is about the 1/8 inch that ruins everything. If you take the time to master the subfloor, the rest of the installation is easy. If you rush the prep, you will be fighting the floor every step of the way, and eventually, the floor will win. It always does.