Why your floor leveler is cracking over old adhesive
Most guys skip the leveling compound. They think the underlayment will hide the dip. It won’t. I spent three days grinding concrete on a job last month just so the floor wouldn’t click like a castanet. That job was a nightmare because the previous installer had slapped a self-leveling underlayment directly over old black cutback adhesive. When I arrived, the new floor sounded like walking on potato chips. Every step was a crunch, a snap, and a groan. The leveler had not just cracked, it had completely delaminated from the slab. This is the reality of the subfloor world where chemistry and physics do not care about your timeline or your budget. If you ignore the molecular reality of what is happening under your feet, the floor will fail. Every single time.
The chemical war beneath your feet
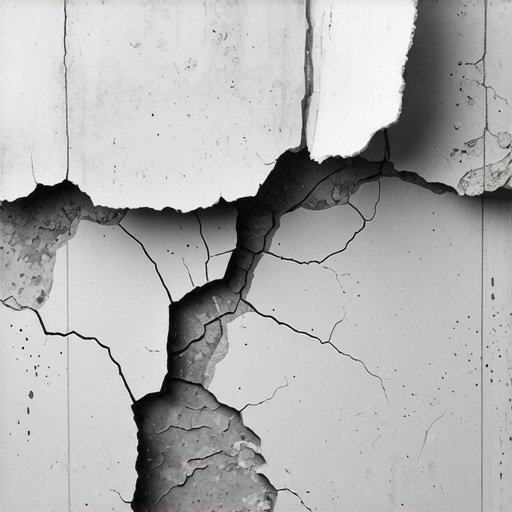
Floor leveler cracks over old adhesive because the chemical bond between the cementitious material and the residual glue is fundamentally incompatible. Most old adhesives contain oils, plasticizers, or petroleum products that act as a bond breaker, preventing the leveler from anchoring to the concrete substrate properly. When you pour a water-based leveling compound over a non-porous or oily residue, the water in the mix cannot penetrate the slab. Instead, it sits on the surface, creating a weak interface. As the leveler cures, it undergoes a process called shrinkage. All cement-based products shrink as they hydrate. If the leveler is not mechanically or chemically locked into the substrate, that shrinkage force will pull the leveler away from the floor. This creates a hollow space. Eventually, the weight of furniture or foot traffic causes the brittle leveler to snap. This is not a product failure, it is a preparation failure. You are essentially trying to glue a rock to a piece of butter. The rock might stay for a minute, but as soon as tension is applied, it slides right off.
The ghost in the expansion gap
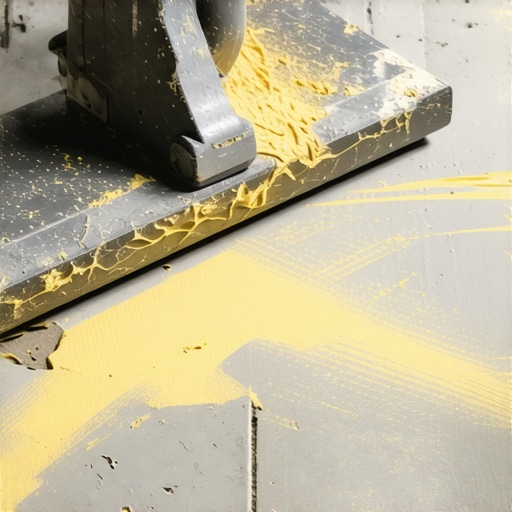
Old adhesive residues like cutback or pressure-sensitive glue contain migrating plasticizers that move into the new leveling layer and soften it from the bottom up. This migration destroys the structural integrity of the leveler, leading to hairline fractures that eventually turn into wide gaps. You might think that a thin layer of old glue is harmless, but it acts as a slip-sheet. In the world of the National Wood Flooring Association, we talk a lot about substrate integrity. If the base moves, the top moves. When you have a layer of old yellow carpet glue or black bitumen, you are introducing a flexible element between two rigid elements. The concrete is rigid. The leveler is rigid. The glue is a sponge. When you walk on the floor, that glue compresses. The leveler above it, which has no flexural strength, cannot handle the deflection. It cracks. It is the same reason you do not build a brick house on a trampoline. The foundation must be as rigid as the structure it supports.
“A floor is only as good as the subfloor beneath it; deflection is the enemy of every joint.” – Master Flooring Axiom
The myth of the universal primer
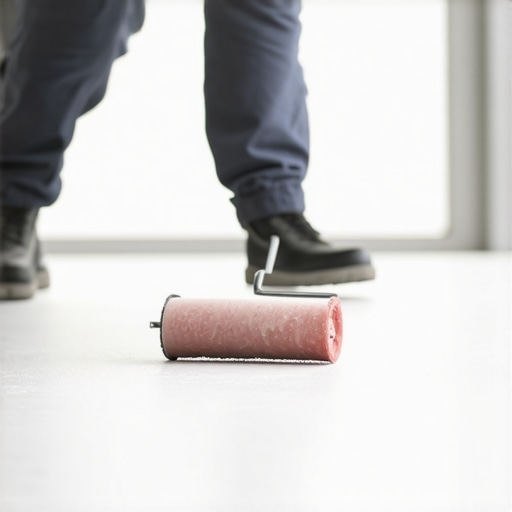
Primer is not a magic liquid that solves poor preparation, rather it is a bridge that requires a clean and stable surface to function. Many installers believe that a thick coat of primer will seal in old adhesive, but most acrylic primers are water-based and will reactivate the old glue. If you apply a standard primer over old water-soluble adhesive, you are just making a sticky mess. The primer needs to bite into the pores of the concrete. If those pores are clogged with 30-year-old adhesive, the primer just sits on top. For successful leveling over residues, you must use a specialized epoxy-based primer with a sand broadcast or a high-solids polyurethane primer designed for non-porous surfaces. This creates a mechanical tooth for the leveler to grab. Without that tooth, the leveler is just a floating sheet of thin concrete. It will buckle. It will shatter. It will ruin your reputation. The table below outlines the primary differences in primer technology for subfloor preparation.
| Primer Type | Drying Time | Best Use Case | Risk Factor |
|---|---|---|---|
| Acrylic | 2 to 4 hours | Porous concrete | Reactivates old glue |
| Epoxy | 12 to 24 hours | Non-porous surfaces | High cost |
| Polyurethane | 4 to 6 hours | Moisture barrier | Specialized tools |
The 1/8 inch rule that saves your warranty
The tolerance for subfloor flatness is typically 1/8 inch over a 6-foot radius or 3/16 inch over a 10-foot radius for most hard surface flooring. When leveler cracks over old adhesive, it often loses its flatness, which immediately voids the manufacturer warranty for LVP, laminate, or hardwood. When that leveler starts to lift, even by a fraction of a millimeter, it creates a high spot. If you are installing a click-lock floor, that high spot becomes a pivot point. Every time someone walks over it, the locking mechanism is stressed. Eventually, the tongue or the groove will snap. I have seen thousand-dollar floors ruined because the installer thought they could save fifty dollars on a grinder rental. You have to check the floor with a straightedge before, during, and after the pour. If you see cracks, you have a structural problem that a foam underlayment will not fix.
“Substrate preparation is the most critical phase of any installation, as the bond is the foundation of the system’s longevity.” – TCNA Handbook for Ceramic, Glass, and Stone Tile Installation
The mechanical bond versus the chemical bond
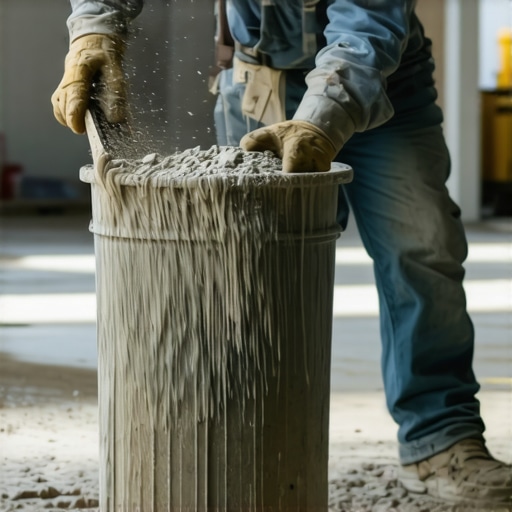
A mechanical bond is achieved when the leveling compound flows into the open pores of the concrete, whereas a chemical bond relies on the adhesive properties of the primer. Over old adhesive, a mechanical bond is impossible unless the surface is ground down to bare aggregate. This is where the work gets hard. You need a diamond cup wheel on a 7-inch grinder with a high-quality dust shroud and a HEPA vacuum. You have to remove at least 95 percent of that old glue. If the concrete looks like it has a stain on it, that is fine, but there should be no palpable residue. The concrete should feel like 50-grit sandpaper. This creates the surface area necessary for the leveler to anchor itself. If you skip this, you are relying entirely on the chemical bond of the primer, which is only as strong as the bond of the old glue to the slab. Usually, that old glue is brittle and ready to fail. You are building your new floor on a failing foundation. It is a recipe for a callback. Follow this checklist to ensure your leveler stays put.
- Mechanically profile the slab using a diamond grinder to remove all thick adhesive residues.
- Vacuum the entire surface twice using a HEPA-rated vacuum to remove microscopic dust.
- Perform a water bead test to check for sealers or oils that may prevent absorption.
- Apply the correct primer based on the porosity of the substrate.
- Install perimeter expansion strips to allow the leveler to move independently of the walls.
- Mix the leveling compound with a high-speed mixer to ensure no dry clumps remain.
The physics of hydration and shrinkage
As self-leveling underlayment cures, the internal tension created by the evaporation of water pulls the material toward its own center of mass. If the bond to the subfloor is weaker than this internal tension, the edges of the pour will curl upward. This is known as curling or cupping. In a perfect world, the leveler is stuck so hard to the concrete that the shrinkage forces cannot move it. But over old adhesive, the bond strength is low. The leveler shrinks, the bond breaks, and the edges lift. This is particularly common in areas with high airflow or low humidity, which accelerates the drying process. The surface dries faster than the bottom, creating a differential in shrinkage rates. This is why using a surface sealer or a proper primer is vital. It slows down the moisture loss and allows the cement crystals to grow and interlock properly. Without this controlled hydration, the leveler becomes a brittle shell. It looks good for a week, then the cracks start appearing like a spiderweb. This craze cracking is a sign that the mix was either too wet or it dried too fast. In both cases, the presence of old adhesive underneath made the failure inevitable by preventing a deep mechanical anchor.