Why Your Subfloor Primer Is Bubbling and How to Stop It
Why Your Subfloor Primer Is Bubbling and How to Stop It
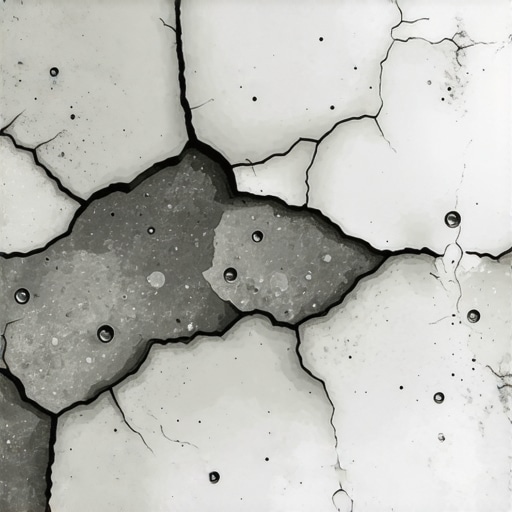
I spent three days grinding concrete on a job last month just so the floor wouldn’t click like a castanet. Most guys skip the leveling compound. They think the underlayment will hide the dip. It won’t. I was staring at a 1,500 square foot slab that looked like the surface of the moon and the installer before me had just poured primer over a layer of drywall dust. The result was a field of bubbles that looked like a science experiment gone wrong. If your primer is bubbling, you are looking at a fundamental failure of physics at the bond line. This is not a cosmetic issue. It is a structural warning. When that primer lifts, everything you put on top of it, whether it is self-leveling underlayment, laminate, or tile for showers, is destined to delaminate. You are building a house on a foundation of air. We are going to break down exactly why these blisters form and how you can stop them before they ruin your entire flooring project.
The physics of the failing bond
Subfloor primer bubbles occur when air or moisture vapor trapped within the concrete pores expands and pushes against the wet or partially cured primer film. This process, known as outgassing, happens when the slab temperature rises or when the primer seals the surface too quickly, trapping internal pressure that manifests as visible blisters. Concrete is essentially a hard sponge. It is full of microscopic capillaries and air pockets. When you apply a liquid primer, you are attempting to displace that air with a resin or a polymer. If the air has nowhere to go but up, it creates a bubble. This is especially prevalent in floor leveling projects where the substrate is porous and the ambient temperature is fluctuating. If you apply primer in the morning while the slab is warming up, the air inside the concrete expands. That expansion is a physical force. It will win every time. You need to understand the molecular tension at play here. A primer is supposed to penetrate, not just sit on top. If the viscosity is too high or the surface tension is wrong, it just bridges the pores. Then the air underneath heats up, expands, and you get a bubble. It is basic thermodynamics applied to a construction site.
“A floor is only as good as the subfloor beneath it; deflection is the enemy of every joint.” – Master Flooring Axiom
Why your slab is breathing against you
Outgassing is the primary reason for primer bubbles in concrete substrates during floor leveling preparation. As the temperature of the concrete slab increases, the air trapped in its pores expands and escapes through the surface, creating pinholes or large bubbles in the freshly applied primer or leveling compound. I see this most often in new builds where the HVAC system is not yet operational. The sun hits a section of the slab through a sliding glass door and the temperature of that concrete jumps ten degrees in an hour. That is a massive amount of energy. That energy forces air out of the slab. If you just rolled out your primer, that air gets trapped in the sticky film. You end up with a moonscape. To prevent this, you have to prime when the slab temperature is stable or cooling down. This is why the pros often prime in the late afternoon. As the slab cools, it actually creates a slight vacuum, pulling the primer into the pores instead of pushing it out. It is the difference between a mechanical bond and a surface failure. If you are doing a carpet install, you might think this doesn’t matter. You are wrong. If you are leveling the floor first, that primer is the only thing holding your patch to the slab. If it bubbles, the patch cracks. If the patch cracks, your carpet shows a ridge. It all comes back to the chemistry of the subfloor.
The hidden danger of moisture vapor emission
High Moisture Vapor Emission Rates (MVER) can cause hydrostatic pressure that forces water vapor through the concrete, detaching the primer from the substrate. This often appears as large, fluid-filled bubbles or a white, powdery substance known as efflorescence beneath the primer film. You cannot guess at moisture. I do not care how dry the slab looks. I have seen slabs that have been down for forty years that are still pumping out moisture because the vapor barrier underneath has perished. If you are prepping for laminate or a shower pan, you need to know your numbers. We use calcium chloride tests or relative humidity probes drilled into the concrete. If your RH is above 85 percent, most standard acrylic primers will fail. The moisture will literally push the primer off the floor. It is a slow-motion explosion. This is why we use epoxy moisture mitigators in high-risk areas. They are designed to withstand that pressure. A standard primer is like a screen door; an epoxy mitigator is like a dam. If you try to use a screen door to stop a flood, you are going to have a bad day. I have seen guys lose forty grand on a hardwood job because they didn’t want to spend three hundred bucks on a moisture test. Don’t be that guy.
Surface contamination and the bond breaker
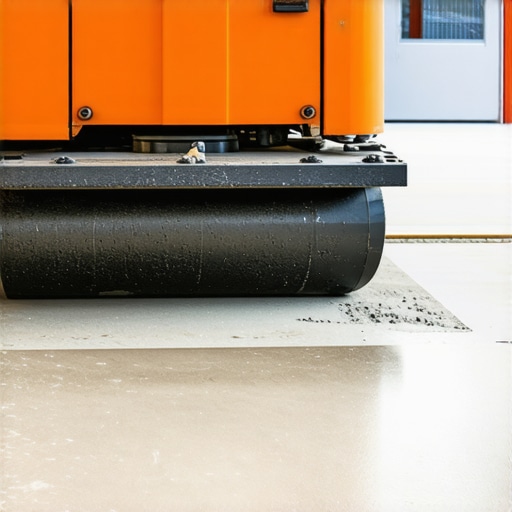
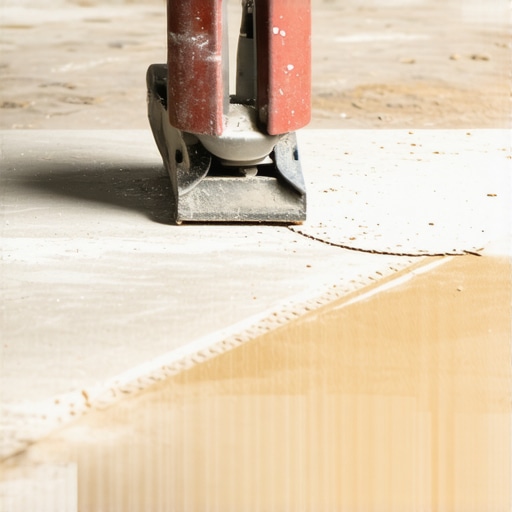
Subfloor primer will bubble and peel if the concrete surface is contaminated with oil, wax, drywall compound, or old adhesive residue. These substances act as bond breakers, preventing the primer from wetting out the substrate and causing the liquid to bead up or trap air pockets. This is where the grinding comes in. If I walk onto a job and see white dust from the drywallers, I know I’m in for a long day. You cannot prime over dust. The primer just sticks to the dust, and the dust isn’t stuck to anything. It is a floating layer of failure. You need to mechanically clean that slab. That means a vacuum with a HEPA filter, not just a broom. Brooms just move the problem around. I use a diamond grinder to open up the pores of the concrete. It removes the laitance, which is that weak, milky layer on top of new concrete. If you don’t remove the laitance, your primer is sticking to the weakest part of the slab. It will pull right up. You want to see the aggregate. You want the concrete to look like a piece of 80-grit sandpaper. That is how you get a bond that lasts for decades. If you are lazy with the prep, the floor will tell on you eventually.
| Primer Type | Best Use Case | Drying Time | Moisture Tolerance |
|---|---|---|---|
| Acrylic Latex | General leveling, Laminate | 1-3 Hours | Low to Moderate |
| Epoxy Primer | Moisture mitigation, Tile | 6-12 Hours | Very High |
| Polyurethane | Hardwood, Specialized bonds | 2-4 Hours | High |
| Pressure Sensitive | Carpet tiles, Vinyl plank | 30-60 Mins | Low |
The chemistry of the primer mix
Incorrect dilution ratios or over-mixing primer can introduce excess air and weaken the chemical structure of the bond. If a concentrated primer is not diluted according to manufacturer specifications, it may form a skin too quickly, trapping moisture and air underneath which leads to bubbling. I see people use a high-speed drill to mix their primer. They are basically making a meringue. They are whipping air into the liquid. Then they pour that aerated soup onto the floor and wonder why it looks like Swiss cheese. Use a low-speed mixer. Also, follow the dilution instructions. Some primers are 1-to-1, some are 3-to-1. If you use too much water, you weaken the polymer chain. If you use too little, the primer is too thick to penetrate the pores. It just sits on top like a layer of plastic wrap. You want that primer to soak in. It should look like the floor is thirsty. If it is just puddling, you have a problem. You also need to watch for the skin-over effect. If it is windy or the humidity is very low, the top of the primer dries while the bottom is still wet. That trapped moisture has to go somewhere. It creates a bubble. It is the same reason you don’t paint a car in the direct sun. The chemistry needs time to work.
“A floor is only as good as the subfloor beneath it; deflection is the enemy of every joint.” – Master Flooring Axiom
Climate factors and regional humidity
Environmental conditions such as high ambient humidity or the dew point can significantly impact how a subfloor primer cures. If the slab temperature is at or below the dew point, moisture will condense on the surface, causing the primer to blush or bubble as it fails to adhere to the damp concrete. If you are working in a swampy place like Houston, your drying times are going to be double what they are in Phoenix. You have to account for the air’s ability to take on moisture. If the air is already saturated, the water in your primer has nowhere to go. It stays in the film, keeping it soft. Then, when the HVAC kicks on and the humidity drops, the top shrinks faster than the bottom. Result? Bubbles. You need to keep a hygrometer in your tool kit. Know your ambient humidity. Know your slab temp. If they are within five degrees of each other, don’t prime. You are just asking for a failure. I have seen guys try to speed things up with fans. Fans are okay, but don’t point them directly at the floor. You want air movement, not a localized wind tunnel that dries one spot too fast. It is all about balance.
How to remediate a bubbling primer coat
To fix a bubbling primer coat, you must wait for the primer to dry completely, scrape away the affected areas, and mechanically abrade the surface before reapplying. You cannot simply prime over the bubbles, as the air pockets will remain as weak points in the floor structure. If you see bubbles, stop. Don’t keep going. Let it dry. Then get a floor scraper and start taking them off. If they pop and leave a clean hole, you have an outgassing issue. If the whole film peels up like a sunburn, you have a contamination or moisture issue. Once you have scraped it back, you need to sand or grind those spots. You need to get back to clean, solid concrete. Then, you have to address the root cause. If it was outgassing, try a sand-broadcast method. Apply the primer and then lightly toss some clean, dry sand into it. This helps break the surface tension and gives the next layer something to grab onto. It is an old-school trick that still works. If it was moisture, you need a different product. Don’t just do the same thing twice and expect a different result. That is the definition of a hack.
Precision steps for a bubble free installation
- Check the moisture content of the slab using a puck meter or RH probes to ensure it meets manufacturer limits.
- Mechanically clean the floor by grinding or shot-blasting to remove all laitance, dust, and old adhesives.
- Verify the slab temperature is at least 5 degrees above the dew point to prevent condensation.
- Mix the primer at low RPM to avoid entraining air into the liquid.
- Dilute the primer exactly as specified by the technical data sheet for your specific substrate porosity.
- Apply the primer during the cooling phase of the day to take advantage of the slab’s natural intake.
- Use a soft-bristle broom or a high-quality roller to work the primer into the pores rather than just floating it on top.
The relationship between underlayment and primer
The primer acts as the bridge between the structural slab and the decorative flooring system, ensuring that the self-leveling underlayment or adhesive gains a mechanical grip. Without a successful prime, the entire assembly is floating, which leads to cracked grout lines in showers and bouncy planks in laminate installs. While most people want the thickest underlayment, too much cushion actually causes the locking mechanisms on LVP to snap under pressure. The same logic applies to your primer and leveler. You want a thin, dense, high-strength bond. If your primer bubbles and you pour leveler over it, those bubbles become voids. When you walk across the finished floor, you are stepping on a hollow space. Eventually, that leveler will collapse into that void. You will hear a crunch. Then you will see a dip. Then you will be calling me to come fix it, and it will cost you three times as much to tear it out as it would have cost to do it right the first time. The primer is the most important five percent of the job. It is the handshake between the old house and the new floor. If that handshake is weak, the whole deal falls apart. Treat your subfloor with respect or it will humiliate you. It is that simple. There are no shortcuts in flooring. Only long roads back to the beginning. Keep your tools clean, your slab dry, and your head in the game. That is how you build a floor that lasts a century. { “@context”: “https://schema.org”, “@type”: “HowTo”, “name”: “How to Fix Bubbling Subfloor Primer”, “step”: [ { “@type”: “HowToStep”, “text”: “Test the concrete for moisture and temperature to ensure it is within the product’s operating range.” }, { “@type”: “HowToStep”, “text”: “Grind the surface to remove all contaminants and open the concrete pores.” }, { “@type”: “HowToStep”, “text”: “Mix primer at low speed and apply during a period of stable or falling temperatures to prevent outgassing.” } ] }