How to Stabilize a Wobbly Toilet on an Uneven Floor
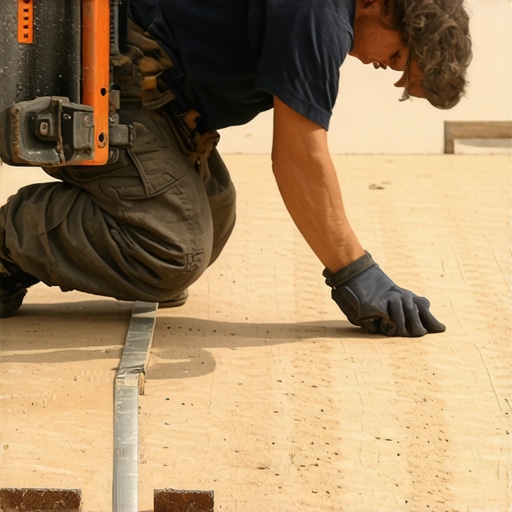
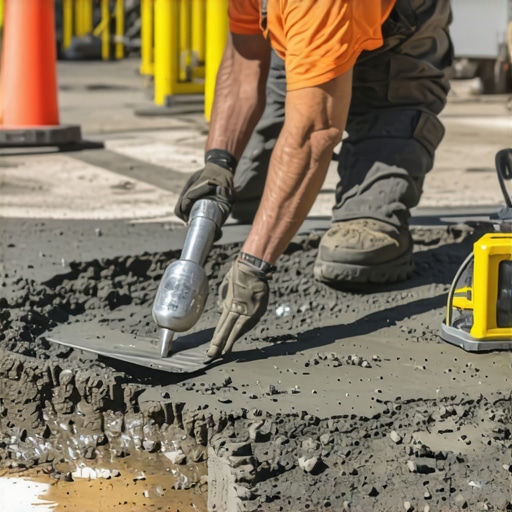
I spent three days grinding concrete on a job last month just so the floor wouldn’t click like a castanet. Most guys skip the leveling compound. They think the underlayment will hide the dip. It won’t. I walked into that bathroom and saw a toilet that rocked like a cradle. The homeowner thought it was a loose bolt. It wasn’t. The subfloor was a disaster of high spots and valley floors. When you ignore the structural reality of your bathroom floor, you invite more than just a wobble. You invite a slow, silent leak that will rot your joists before you even smell the mold. I have seen fifteen thousand dollar wide plank walnut floors ruined by similar negligence in moisture management. A toilet must be an immovable object resting on an unyielding plane. Any deviation from this physical law results in mechanical failure. The wax ring, designed to provide a gas tight seal, cannot survive the constant shearing forces of a rocking ceramic base. It will fail. It will leak. It will cost you thousands.
The physics of the porcelain interface
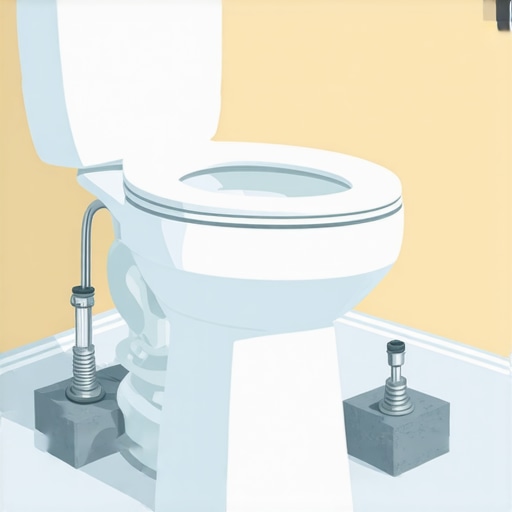
To stabilize a wobbly toilet on an uneven floor you must identify the high points of the subfloor using a digital level and apply non-compressible plastic shims. This process ensures the ceramic base remains static, preventing the wax ring from deforming and causing catastrophic water damage to the subfloor. Porcelain is a brittle material with incredibly high compressive strength but zero flexibility. When you place it on a subfloor that is not perfectly flat, you create a point load. Imagine a person standing on a sheet of ice with high heels. All the pressure is concentrated on a tiny area. If that area happens to be a high spot in your concrete slab or a crown in a floor joist, the toilet will pivot. This movement is the enemy. Every time a person sits down, they apply several hundred pounds of force. If the toilet moves even a sixteenth of an inch, the closet bolts begin to pull against the flange. If your flange is plastic, it might crack. If it is cast iron, the bolts might snap. This is why we don’t just tighten the nuts. Tightening a nut on a wobbly toilet is the fastest way to crack the porcelain base. You are essentially trying to bend glass. It does not bend. It shatters.
“A floor is only as good as the subfloor beneath it; deflection is the enemy of every joint.” – Master Flooring Axiom
The nightmare of the shifting flange
The toilet flange must sit at the correct height relative to the finished floor to maintain a permanent seal. If your floor leveling was done poorly, the flange might sit too low or too high, necessitating the use of specialized spacers or deep seal wax rings to prevent leaks. Most DIYers think the wax ring is a magical glue. It is not. It is a gasket. Its only job is to fill the void between the horn of the toilet and the flange. If the toilet moves, the wax gets squeezed out of position. Unlike rubber, wax has no memory. Once it is compressed, it stays compressed. When the toilet rocks back to its original position, a gap is left behind. That gap is where the sewer gas comes through. That gap is where the gray water from every flush begins to saturate your subfloor. If you have a laminate floor nearby, that water will travel under the planks through capillary action. It will cause the edges to swell and peel. If you have a carpet install in the adjacent hallway, that carpet will act as a wick, pulling the moisture into the pad where it will grow colonies of black mold. I have seen entire bathrooms gutted because a three dollar wax ring failed due to a two millimeter wobble.
Why plastic beats wood every single time
Using wooden shims for toilet leveling is a fundamental error because wood is an organic material that absorbs moisture and decays over time. Professional installers utilize high density plastic or composite shims which are non-porous and resistant to the humid environment of a bathroom or shower area. Think about the environment. A bathroom is a high humidity zone. You have showers running, creating steam that eventually condenses on the cold porcelain of the toilet tank. This condensation, known as sweating, drips down to the floor. If you used wood shims, they will soak up that water. They will soften. They will eventually compress or rot away. Then your wobble returns. Plastic shims are different. They are made of polymers that do not care about water. They provide a rigid, permanent support structure. When I shim a toilet, I use a stack of varying thicknesses. I slide them in until they are snug. I don’t hammer them. If you hammer a shim, you are lifting the toilet, which can break the seal you just tried to create. You want to fill the void, not create a new one.
[IMAGE_PLACEHOLDER]
| Material | Compressive Strength | Moisture Resistance | Longevity |
|---|---|---|---|
| Cedar Shims | Low | Low | 2-4 Years |
| Plastic Composite | High | High | 50+ Years |
| Metal Washers | Very High | Moderate (Rust Risk) | 20+ Years |
| Folded Cardboard | Zero | Zero | 1 Week |
The chemical reality of the seal
The final step of stabilizing a toilet involves the application of a high quality 100 percent silicone caulk around the base to provide lateral stability and aesthetic finishing. The plumbing code requires the front and sides to be sealed while leaving a small gap at the rear for leak detection. Some guys like to use grout. They think it looks cleaner. Grout is a mistake. Grout is rigid. The floor under your bathroom is always moving. It breathes with the seasons. It expands in the summer humidity of a place like Houston and shrinks in the dry winters. Because grout has no flexibility, it will crack within six months. Silicone is different. It is an elastomer. It can stretch and compress without losing its bond. When you apply a bead of silicone around the base, you are creating a secondary anchor. It helps prevent the toilet from sliding horizontally. But remember the gap. If you seal the entire circumference, you are trapping any future leak inside. You want that water to come out the back so you see it on the floor. If it stays trapped, it will rot the subfloor and you won’t know until your feet go through the plywood.
- Inspect the closet bolts for corrosion and replace with solid brass if necessary.
- Check the subfloor for deflection using a straight edge or laser level.
- Clean the porcelain base and the floor surface with denatured alcohol to ensure adhesive bond.
- Dry fit the toilet without the wax ring to determine the exact shim placement.
- Trim the shims flush with a sharp utility knife after the bolts are tightened.
- Apply silicone caulk and smooth the bead with a wet finger or profiling tool.
The ghost in the expansion gap
Proper expansion gaps at the perimeter of the bathroom floor are mandatory for floating floors like laminate or luxury vinyl to prevent the floor from buckling against the toilet. If the floor is locked tight against the toilet flange, the entire surface will lift as the temperature changes. This is where I see the most failures. People install their flooring right up against the flange. They think it looks better. Then the sun hits the floor through the window. The floor expands. It has nowhere to go because it is pinned by the heavy toilet and the walls. The floor buckles. Now your toilet is sitting on a moving mountain. You must leave at least a quarter inch gap around the flange. The base of the toilet will cover this gap. It is a hidden necessity. I once saw a carpet install where they tucked the carpet right under the toilet base. The compression of the carpet pad allowed the toilet to rock every time someone sat down. You never put a toilet on top of carpet. You never put a toilet on top of a floating floor without proper anchoring. You are fighting the laws of physics and you will lose.
“Proper floor leveling ensures the structural integrity of the ceramic fixture stays intact under load.” – Tile Council of North America Standard
The 1/8 inch that ruins everything
Precision in measuring the distance between the toilet horn and the flange is the difference between a dry floor and a flooded house. A gap larger than 1/8 inch requires a jumbo wax ring or a flange extender to bridge the distance securely. If you just put a standard wax ring on a flange that is recessed below the floor level, you have a disaster. The wax won’t touch the porcelain. You will have a zero percent seal. When you flush, the water will simply spill out onto the subfloor. I always tell my apprentices to look at the wax after a dry fit. If it isn’t compressed, you need more height. This is where floor leveling compounds are your best friend. They allow you to create a perfectly flat surface, but they also change the height of your floor. You must account for that change. If you add a half inch of self leveler and then a quarter inch of tile, your flange is now three quarters of an inch too low. You cannot just stack three wax rings. That is a hack move. You use a flange extension kit. You screw it into the subfloor. You make it permanent.
Final inspection and structural integrity
A stabilized toilet is the hallmark of a professional installation that respects the engineering requirements of the plumbing system. Neglecting the minor details of shimming and leveling leads to long term structural degradation of the home. I have spent my career fixing the mistakes of people who thought