How to Hide Transition Strips That Don’t Match Your Laminate
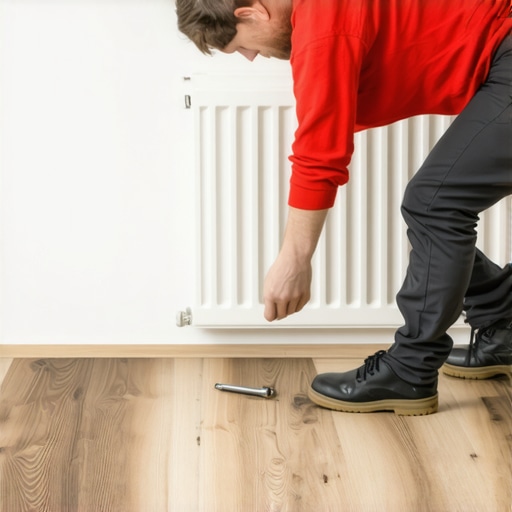
Most guys skip the leveling compound. They think the underlayment will hide the dip. It won’t. I spent three days grinding concrete on a job last month just so the floor wouldn’t click like a castanet. That job taught me that the transition is where the amateur is exposed. If your subfloor is uneven, your transition strip is going to sit high, look like a plastic eyesore, and eventually snap under the weight of a heavy foot. When that strip doesn’t match your laminate, it looks like a cheap bandage on a structural wound. You aren’t just looking for an aesthetic fix. You are looking for a structural integration that respects the expansion and contraction of HDF cores.
The ghost in the expansion gap
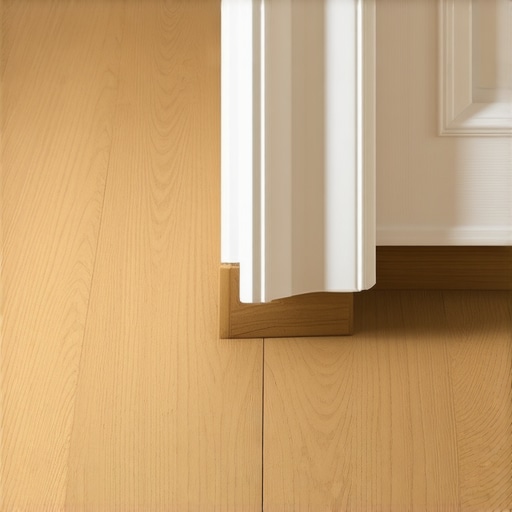
Transition strips serve as a bridge between two floor planes, allowing for the thermal expansion and moisture-induced swelling of laminate planks without causing buckling or joint failure. To hide a mismatched strip, you must first understand that the expansion gap is a non-negotiable engineering requirement of floating floors. I have seen too many homeowners try to eliminate the strip entirely by butting the laminate tight against a tile edge. Within one change of season, the floor will peak and the locking mechanisms will shear off. You need that gap. The goal is to make the bridge over that gap invisible or, at the very least, intentional in its design.
The 1/8 inch that ruins everything
Floor leveling is the primary reason transition strips look bulky and mismatched in the first place. If your subfloor has a deviation greater than 1/8 inch over a 10-foot radius, the T-molding will never sit flush against the floor surface. This height difference creates a visual shadow that highlights the color discrepancy between the transition profile and the laminate wear layer. When the strip sits proud of the floor, it catches light differently, making a 90 percent color match look like a 50 percent failure. You need to grind the high spots and fill the low spots with a high-quality self-leveling underlayment before the first plank is even unboxed.
“A floor is only as good as the subfloor beneath it; deflection is the enemy of every joint.” – Master Flooring Axiom
The chemistry of a perfect color match
Color matching laminate transitions requires an understanding of metamerism and pigment density in melamine resins. Laminate is not wood. It is a photograph of wood protected by a wear layer of aluminum oxide. If your transition strip is too light or too dark, you cannot simply slap a wood stain on it because the surface is non-porous. You need a toner-based aerosol or a polyurethane-modified graining pen. I often take a scrap piece of the floor to a professional paint shop to have them match the darkest grain line in the laminate pattern. By painting the transition to match the grain rather than the field color, you trick the eye into seeing the strip as a natural board break.
Why your subfloor is lying to you
Subfloor moisture affects how a transition strip seats into its metal track or adhesive bead. If the concrete slab is emitting more than 3 pounds of vapor per 1,000 square feet, the MDF core of a cheap transition strip will swell. This swelling changes the physical profile of the strip, making it stand out even more against the floor. I always use a calcium chloride test or an in-situ RH probe to verify the slab is dry. If you ignore the moisture, your transition will warp, the color will flake off, and the mismatch will be the least of your problems. You are dealing with physics, not just interior design.
| Transition Type | Required Gap Width | Common Failure Point | Visual Impact |
|---|---|---|---|
| T-Molding | 1/2 Inch | Track Release | High Profile |
| Reducer | 3/4 Inch | Over-nailing | Medium Profile |
| End Cap | 1/4 Inch | Adhesive Failure | Low Profile |
| Flush Mount | Zero (Fixed) | Subfloor Deflection | Invisible |
The hidden logic of metal profiles
Slim-line metal transitions are often the best way to hide a mismatch because they don’t try to imitate wood. In my experience, a brushed aluminum or matte black metal strip looks like a deliberate architectural detail rather than a failed attempt at matching a gray-wash oak. These profiles have a much lower vertical height, often sitting only 1 millimeter above the floor. This minimizes the shadow line. If you cannot find a matching laminate strip, stop trying to match the wood. Shift to a metal finish that matches your door hardware or your shower fixtures. It creates a cohesive look that feels engineered.
A hard truth about big box retailers
Inventory variance is the reason your transition strip doesn’t match the laminate you bought from the same store. Big box retailers source their transitions from third-party manufacturers who use different print films than the floor manufacturer. I have walked into jobs where the “matching” T-molding was three shades warmer than the floor. This happens because the dye lots are not synchronized. To fix this, you have to look for custom-wrapped profiles or solid wood transitions that you can stain-match yourself. A piece of white oak can be stained to match almost any laminate if you know how to layer your translucency.
The mechanics of a carpet install overlap
Carpet installs adjacent to laminate floors require a specific Z-bar transition or a tack strip shim to hide the height difference. When the transition strip doesn’t match, it is usually because the carpet pile height is forcing the strip to tilt at an angle. This angle exposes the underside of the strip, which is usually raw HDF. To hide this, you must ensure the subfloor leveling extends all the way to the carpet line. I use a ramp-up method with thin-set to elevate the laminate side slightly, allowing the transition to sit perfectly flat. A flat strip is a camouflaged strip.
The physics of adhesive bonds
Structural adhesives like silane-modified polymers are better for securing transitions than the plastic tracks they come with. Most tracks allow for too much vertical movement, which causes the strip to click and shift. This movement draws the eye to the mismatch. By using a high-grab adhesive, you can lock the strip in place. However, you must only glue the strip to the subfloor, never to the laminate itself. If you glue it to the laminate, you have created a fixed point that will cause the floor to separate at its weakest joints during the next humidity swing.
Transition Installation Checklist
- Measure the expansion gap for a minimum of 1/2 inch clearance.
- Verify subfloor flatness using a 6-foot straight edge.
- Check moisture levels in the slab using a pinless meter.
- Dry-fit the transition to check the shadow line height.
- Toner-match the strip using the darkest grain color of the laminate.
- Apply silane-modified adhesive to the subfloor only.
- Weight the strip down for 24 hours using sandbags or weights.
Waterproof claims and shower thresholds
Showers and wet areas present a unique challenge for laminate transitions because of hydrostatic pressure. Even if your laminate is marketed as waterproof, the core material is still susceptible to moisture from the edges. A mismatched transition strip in a bathroom is often the result of the strip being a different material, like PVC, which reflects light differently than melamine. To hide the mismatch here, I recommend using a silicone-filled color-match caulk. This creates a flexible, waterproof seal that blends the transition into the floor. It prevents water from getting under the strip and swelling the laminate core, which would make the mismatch look like a mountain.
“Every floating floor is a living entity that breathes with the atmosphere of the home.” – NWFA Technical Guidelines
The 1/8 inch that ruins everything
The 1/8 inch gap is the difference between a floor that lasts 20 years and one that fails in two. When you are trying to hide a mismatched transition, you have to realize that shadows are your enemy. A strip that sits too high because of a subfloor hump will always look like it doesn’t belong. I have spent hours with a diamond cup wheel on an angle grinder just to take down a high spot at a doorway. It is dirty, loud, and necessary. Once that subfloor is flat, the transition strip sits low and tight. The eye naturally skims over it. If you want to hide the color, you must first hide the height.
Advanced graining techniques for the DIYer
Faux finishing the transition strip is a lost art. If you have a strip that is too uniform in color, it will never match the high-variation of a modern laminate floor. I use a dry-brush technique with a dark walnut stain over a lighter base color to mimic the vessel structure of real wood. By adding these micro-lines to the transition strip, you break up the solid block of color. This makes the strip blend into the textural rhythm of the floor. It is about breaking the visual continuity of the error. A solid-colored strip is a red flag. A grained strip is a ghost.
Final thoughts on structural integrity
You have to respect the floor. If you try to hide a mismatch by using wood filler or caulk in a way that bonds the planks together, you are asking for a disaster. The floor must move. The transition is the mechanical joint that allows this movement. To hide the mismatch, focus on the geometry and the light refraction. Use low-profile metals, toner-matching, and perfect subfloor prep. Do not settle for the plastic junk that comes in the box. Spend the extra money on a solid hardwood reducer and stain it yourself. It is the only way to get the luster and the depth to match a high-end laminate. Your knees will thank you when you don’t have to come back in six months to fix a buckled floor.