The ‘Knee Kicker’ Mistake That Ruins Carpet Stretch Jobs
Most guys skip the leveling compound. They think the underlayment will hide the dip. It won’t. I spent three days grinding concrete on a job last month just so the floor wouldn’t click like a castanet. That job was actually for a high-end carpet install, and the previous installer had left the slab looking like a topographic map of the Ozarks. I have spent twenty five years with a moisture meter in my pocket and sawdust under my nails, and if there is one thing that gets my blood pressure up, it is seeing a so-called professional try to stretch a whole room with nothing but a knee kicker. You see it every day on residential sites. A guy comes in, slams his knee into a pad for an hour, and calls it a day. Six months later, the homeowner is tripping over ripples that look like ocean waves. That is not a flooring failure, it is a technician failure. A carpet is a tensioned membrane, and if you do not understand the physics of that tension, you should not be touching the tool.
The physics of the knee kicker failure
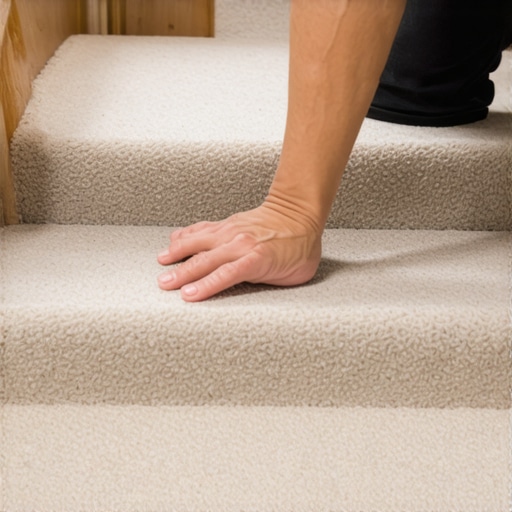
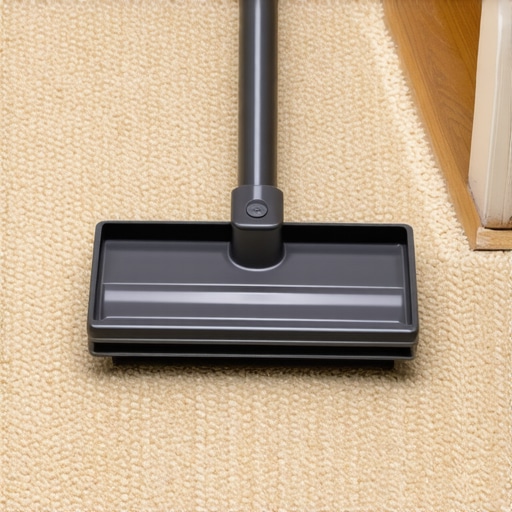
The knee kicker is designed exclusively for positioning carpet and engaging tack strips in small, tight areas like closets or stairs. It is not a tool for structural stretching or permanent tensioning. When an installer relies on a kicker for the main room, they only move the top surface of the carpet fibers without actually elongating the backing across the entire span of the subfloor. This results in localized tension that quickly dissipates, leading to wrinkles and delamination. I have seen fifteen thousand dollar walnut floors ruined by moisture, but a poorly stretched carpet is a more common heartbreak because it is entirely preventable. You are dealing with a material that has a specific elastic modulus. Most modern carpets use a polypropylene secondary backing. This material is stable, but it requires a consistent, measured force to reach its dimensional stability point. A knee kicker provides a percussive force, not a static force. It is like trying to tighten a guitar string by tapping it with a hammer instead of turning the tuning peg. You might get it tight for a second, but it will not hold a note. In a standard 12 by 15 room, you need to achieve a stretch of approximately one percent to one and a half percent in both directions. On a fifteen foot span, that is nearly two inches of actual growth. No human knee can generate that kind of uniform displacement without destroying the latex bond between the primary and secondary backing of the carpet.
“A floor is only as good as the subfloor beneath it; deflection is the enemy of every joint.” – Master Flooring Axiom
Why subfloor preparation dictates the stretch
The subfloor condition determines how well the tack strips hold under the mechanical stress of a power stretcher. If the floor leveling is ignored, the carpet backing will bridge over low spots, creating hollow sounds and premature wear. I am a stickler for the CRI 104 standards. If that slab is not flat to within three sixteenths of an inch over a ten foot radius, I am not laying a single yard of goods. You have to understand the chemistry of the bond. When you use floor leveling compounds, you are creating a uniform substrate that allows the tack strip nails to bite into the material without spalling the concrete. Most residential concrete is poured at 3000 to 4000 psi. If you use a cheap powder-actuated tool or the wrong masonry nails on a subfloor that is crumbling or unlevel, those strips will pop the moment you apply real tension with a tail-block stretcher. I once walked into a job where the installer thought he could hide a two inch dip with extra padding. The carpet felt like a trampoline for a week, then it started pulling away from the baseboards because the tension was pulling the carpet into the hole. It was a mess. You have to treat the subfloor like the foundation of a skyscraper. If it is not right, nothing on top of it will ever be right. This is especially true when you are transitioning to wet areas. Near showers or bathrooms, the subfloor moisture content can soften the wood or weaken the adhesive bond of the tack strip, making a proper stretch even more difficult to maintain over time.
The structural reality of floor leveling compounds
Proper floor leveling involves more than just dumping a bag of self-leveler on a concrete slab. You must measure the moisture vapor emission rate (MVER) and ensure the porosity of the substrate is ready to accept the primer. If the slab is too dry, it will suck the water out of the leveling compound before it can chemically cure, leading to a brittle surface that will crack under the tension of the carpet stretch. If the slab is too wet, the leveler will never bond. I use a calcium chloride test on every single job. I do not care if the builder says it has been curing for months. I have seen vapor emissions ruin carpets by causing mold growth in the padding and breaking down the synthetic latex in the backing. When that latex breaks down, the carpet loses its structural integrity. It becomes floppy. No amount of stretching will fix a carpet that has delaminated because of alkaline moisture coming up through the floor. You have to think about the molecular reality of the materials. The polymer chains in the adhesive are sensitive to pH levels. If your subfloor is hitting a pH of 11 or 12, that adhesive is going to turn into a viscous liquid. You will be able to pull the carpet off the floor with two fingers. That is why I spend so much time on the grinder. I want a clean, profiled surface that meets the ICRI concrete surface profile (CSP) 1 or 2 requirements. Only then can you trust the tack strip to hold the 250 pounds of force a power stretcher exerts.
| Material Backing | Stretch Percentage | Acclimation Requirement | Tool Requirement |
|---|---|---|---|
| Jute Fiber | 1.5% – 2.0% | 24 Hours | Power Stretcher |
| Polypropylene | 1.0% – 1.5% | 48 Hours | Power Stretcher |
| Urethane Integral | 0.5% | 24 Hours | Power Stretcher |
| Woven Wool | 1.0% | 72 Hours | Power Stretcher |
Power stretching versus the manual method
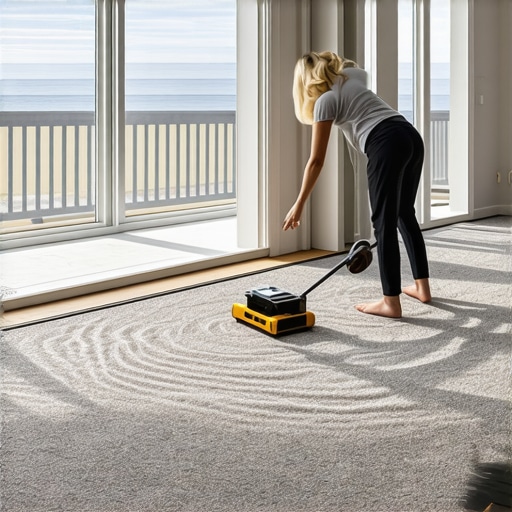
A power stretcher uses a long pole system to push against a stationary wall, allowing for even distribution of linear tension across the entire room. This tool is non-negotiable for any carpet install that intends to last more than a year. The mechanics are simple. You set the head of the stretcher about six inches from the wall you are stretching toward. The tail block is braced against the opposite wall. As you engage the lever, the tool stretches the backing itself, not just the yarn. This is where the molecular zooming comes in. Synthetic carpet fibers like nylon or polyester have a memory. If you do not stretch them past their elastic limit into their plastic deformation zone, they will simply recoil over time. A knee kicker can only provide enough force to move the top cloth. It cannot overcome the internal friction of the underlayment and the subfloor. Furthermore, a power stretcher allows you to perform an S-curve stretch. You start in one corner, secure it, and then stretch at an angle toward the opposite side. This ensures the weave of the carpet remains perfectly square. If your lines are crooked, the wear patterns will be uneven. I have seen laminate installers try to transition to carpet and fail miserably because they do not understand that carpet is a live material. It moves. It breathes. It reacts to humidity. In a high humidity environment, the fibers swell and the tension drops. If you did not use a power stretcher during the initial carpet install, that drop in tension will manifest as buckling immediately.
Dealing with transitions near showers and tile
The transition point between soft flooring and wet area tile requires a moisture-resistant barrier and a mechanical fastening system that can withstand lateral force. When you are carpet stretching toward a bathroom or shower entrance, you cannot just tuck the carpet into a gap. You need a Z-bar or a shimmed tack strip to ensure the tension does not pull the seam apart. I often see subfloor leveling issues at these thresholds. The tile guy builds up the floor with 1/4 inch backer board and thin-set, leaving a height variance that makes the carpet look like it is climbing a hill. I use tapered shims or feather-finish patches to create a slope that is imperceptible to the foot but geometrically sound for the carpet backing. If the slope is too abrupt, the power stretcher will pull the carpet off the tack strip because the angle of incidence is too high. You also have to worry about alkali pull. If the thin-set used for the tile is not fully cured, the moisture can migrate into the carpet padding. I always use a synthetic fiber pad near showers rather than a rebond pad, because synthetic pads do not wick moisture as aggressively. It is about managing the micro-environment of the floor assembly. Every eighth of an inch matters. If you are off by a hair, the transition will eventually fail, the carpet will fray, and you will be back on your knees repairing a job that should have been permanent.
“The power stretcher is a mandatory tool for all carpet installations to ensure long-term stability and prevent wrinkling.” – Flooring Standard Directive
The hidden cost of subfloor dips
A subfloor dip acts as a stress concentrator that accelerates the breakdown of carpet fibers and cushioning. When a heavy footfall lands on a low spot, the carpet is forced to deflect further than its tensile strength allows. This repeated mechanical stress causes fiber crushing and latex fatigue. You might think you are saving money by skipping the self-leveling underlayment, but you are actually halving the lifespan of the product. I have been in this game long enough to know that homeowners do not see the subfloor, but they feel it every day. I use a ten foot straight edge on every carpet install. If I see daylight under that rail, out comes the patching compound. I prefer Portland cement-based patches because they have higher compressive strength than gypsum-based products. You need that strength to support the localized pressure of furniture legs and high-traffic walking. It is the same logic as laminate or hardwood. While carpet is more forgiving of minor imperfections, it is less forgiving of structural movement. If the subfloor is bouncing because of improper joist spacing or thin plywood, the tack strips will eventually loosen. I have seen staples pull right out of OSB subflooring because the installer didn’t use a ring-shank nail or a screwed-down strip. Every component of the system has to work together.
A professional checklist for carpet stretching
- Verify subfloor moisture: Ensure concrete is below 5 lbs per 1000 sq ft or 80 percent relative humidity.
- Audit subfloor flatness: Use a straight edge to find dips exceeding 3/16 inch.
- Inspect tack strip integrity: Ensure strips are rated for the substrate and spaced 1/4 inch from the baseboard.
- Acclimate the material: Allow carpet to sit in a climate-controlled environment for at least 24 hours.
- Engage the power stretcher: Use a tail-block and head-assembly for all rooms over 10 feet.
- Seal all seams: Use a high-quality seam sealer to prevent unraveling at the edges.
- Check transition heights: Ensure carpet-to-tile or carpet-to-laminate heights are shimmed correctly.
The ripple effect of poor tensioning
The long-term consequences of a poorly stretched floor include tripping hazards, premature backing failure, and voided warranties. Most carpet manufacturers will not honor a claim if they find that a power stretcher was not used. They can tell just by looking at the tack marks. A knee kicker leaves a specific pattern of stress on the primary backing that is distinctly different from the uniform pull of a power stretcher. When ripples form, the yarn on the crests of those ripples abrades much faster than the troughs. This leads to visible dark lines known as soil filtration and mechanical wear. It looks like the carpet is dirty, but it is actually the fibers being shredded. I have had to re-stretch hundreds of rooms because the original installer was too lazy to set up the poles. It is a waste of time and money for the customer. If you want a performance surface, you have to install it like a pro. This means understanding the physics, respecting the tools, and never taking shortcuts on the subfloor. Whether you are dealing with laminate, hardwood, or plush carpet, the rules of engineering apply. You cannot cheat gravity and you cannot cheat tension. Do it right the first time or do not do it at all.
Final Professional Assessment
A high-quality carpet installation is defined by the unseen work performed before the carpet even enters the building. The knee kicker has its place, but its role is marginal compared to the heavy lifting required by power stretching and rigorous subfloor preparation. By focusing on the molecular bond of adhesives, the mechanical properties of synthetic backings, and the geometric precision of leveling, you ensure a floor that remains taut, safe, and beautiful for its entire service life. Stop treating flooring as a cosmetic layer and start treating it as the critical structural component it is. Your knees, your reputation, and your customers will thank you. If you see an installer walk in without a long yellow box containing his power stretcher, send him packing. There is no room for error in this trade, and the mistakes of today will always surface tomorrow. Stick to the standards, use the right tools, and never ignore the subfloor. That is the only way to build a floor that lasts.