The ‘Wet Thumb’ Secret for Perfectly Smooth Shower Silicone
I spent three days grinding concrete on a job last month just so the floor would not click like a castanet. Most guys skip the leveling compound. They think the underlayment will hide the dip. It will not. I was in a basement in the middle of July, the humidity was thick enough to chew, and the slab looked like a relief map of the Rocky Mountains. The homeowner wanted wide-plank laminate. I told him that if I laid that floor over those humps, every joint would snap within six months. He groaned about the cost of the prep work. People always do. But after seventy-two hours of diamond grinding and three bags of high-flow self-leveler, that floor was as flat as a billiard table. That is the difference between a floor that lasts thirty years and a floor that becomes a tripping hazard by Christmas.
The physics of the surfactant barrier in shower joints
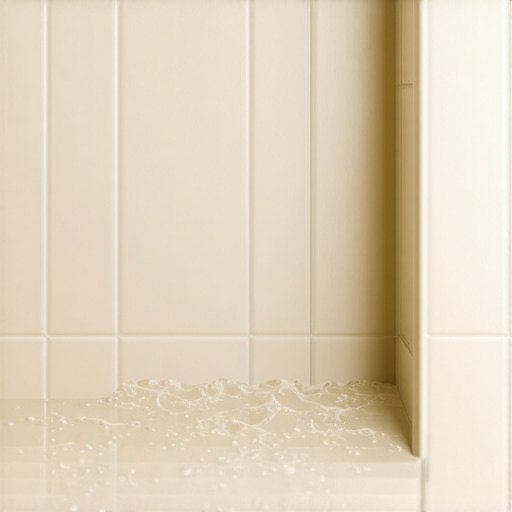
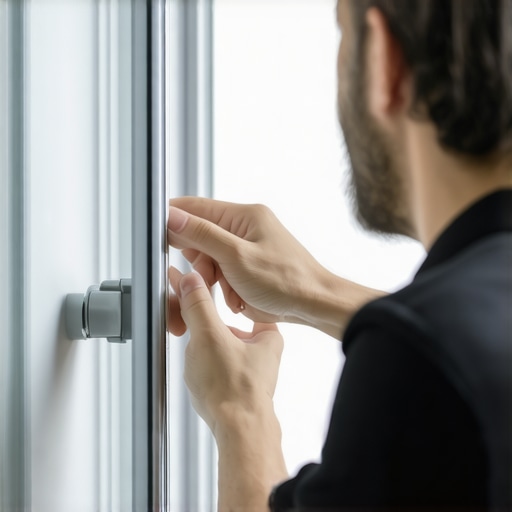
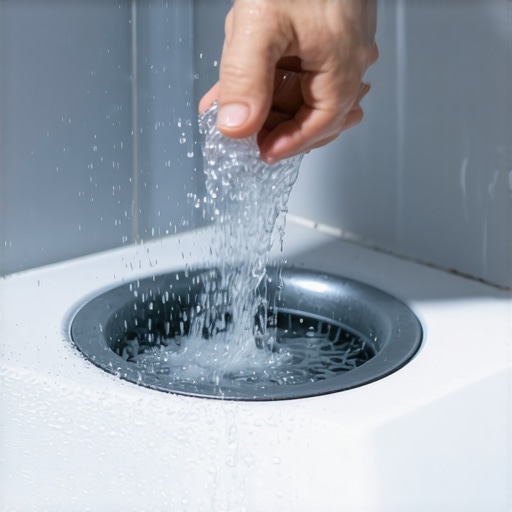
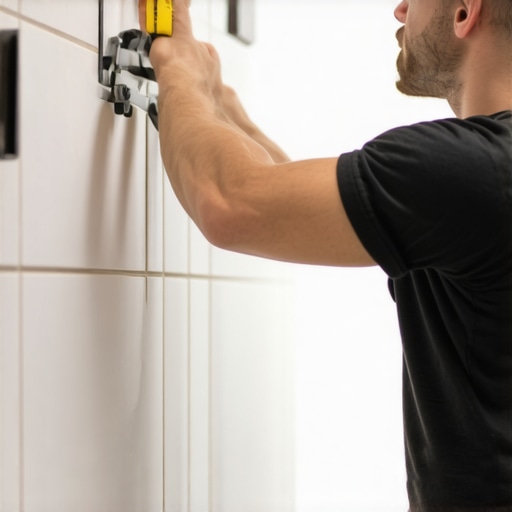
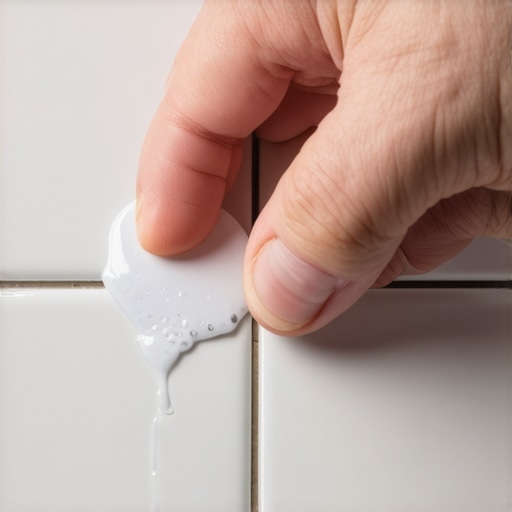
Perfectly smooth shower silicone requires a surfactant barrier to prevent the adhesive from sticking to the installer instead of the substrate. This technique relies on breaking the surface tension of the silicone bead before it begins to skin over. You apply the bead, mist it with a solution of water and dish soap, and use a lubricated finger to profile the joint. The soap prevents the silicone from smearing across the tile faces. It forces the material into the gap. This creates a concave meniscus that sheds water toward the drain. Without the soap, you end up with a ragged edge that traps mold and eventually peels away from the grout line. It is a structural seal, not a decoration. Most people use too much silicone. You want just enough to fill the void. Excess material creates a thick shoulder that catches soap scum. I have seen thousand dollar tile jobs ruined by a messy caulk line. It is the signature of an amateur. You must use 100 percent silicone. Do not touch the acrylic stuff in a wet environment. It will fail. It will shrink. It will turn black with mildew while you are busy patting yourself on the back.
“A waterproofing membrane is only as effective as the coverage achieved on the substrate; gaps in the seal are invitations for structural rot.” – Master Flooring Axiom
Why your subfloor is lying to you
A subfloor may look flat to the naked eye but contains microscopic undulations that compromise the locking mechanisms of modern flooring. You need a ten foot straightedge. Anything more than an eighth of an inch of deviance over ten feet is a failure. You cannot fix a valley with extra foam padding. If you try, you create a trampoline effect. Every time you step on the floor, the joint flexes. This friction generates heat and mechanical wear. Eventually, the tongue snaps off the groove. I have seen it a thousand times. You must address the high spots with a grinder and the low spots with a cementitious leveler. Leveling is a chemical process. You need to prime the wood or concrete first. If you do not prime, the dry substrate will suck the moisture out of the leveler too fast. The leveler will crack. It will delvate. It will sound like you are walking on potato chips. I use a high-strength calcium aluminate cement for my pours. It has a compressive strength that exceeds 4,000 PSI. That is harder than the slab it is sitting on. You have to work fast. You have about fifteen minutes before it starts to set. It is a high-stakes game that requires a spiked roller to release the air bubbles. If you leave the bubbles in, you leave weak points in the floor.
The chemical bond of modified thin-set in wet areas
Modified thin-set adhesives utilize liquid latex polymers to increase shear strength and flexibility in environments subject to moisture and temperature fluctuations. Standard thin-set is just sand and cement. It is brittle. In a shower, the house moves. The wood framing swells and shrinks. If your mortar is brittle, the tiles will pop. Modified mortar allows for that micro-movement. It grips the back of the tile like a vice. You must achieve 95 percent coverage in wet areas. You do not just glob it on. You use a notched trowel to create ridges. You collapse those ridges by sliding the tile into place. This eliminates air pockets. Air pockets are where water collects. Once water gets behind a tile, it is only a matter of time before the bond fails. I have pulled up entire bathroom floors where the mortar was still wet years after installation because it was trapped in a pocket. It smelled like a swamp. It is disgusting work. You have to do it right the first time because there is no second chance with thin-set.
Carpet installation and the myth of the thickest padding
Excessive cushion thickness in carpet installations leads to premature backing failure and increased physical strain on the seams. Homeowners think a thick, soft pad is a luxury. It is a trap. If the pad is too soft, the carpet stretches too much when you walk on it. This causes the backing to delaminate. You want a high-density pad, not a thick one. An eight-pound density pad at seven-sixteenths of an inch is the sweet spot. It provides support. It keeps the carpet from bottoming out against the subfloor. When I stretch a carpet, I use a power stretcher. A knee kicker is for positioning, not for the final stretch. If you do not use a power stretcher, the carpet will develop ripples within two years. Those ripples are not just ugly. They are trip hazards. They are the result of poor tension. You have to hook it on the tack strips with enough force that the carpet hums like a guitar string. If it does not hum, it is not tight enough.
| Flooring Type | Janka Hardness / Mil Wear | Acclimation Time | Max Deviation (10ft) |
|---|---|---|---|
| Solid White Oak | 1360 Janka | 7 to 14 Days | 3/16 inch |
| Engineered Maple | 1450 Janka | 48 to 72 Hours | 1/8 inch |
| Luxury Vinyl Plank | 20 mil Wear Layer | 24 to 48 Hours | 1/8 inch |
| Laminate Wood | AC4 Rating | 48 Hours | 1/16 inch |
The ghost in the expansion gap
Flooring materials expand and contract based on the relative humidity of the room, requiring a perimeter gap that remains hidden under the baseboards. If you push your laminate or hardwood tight against the wall, the floor has nowhere to go when it swells. It will buckle. It will lift the baseboards off the wall. I have seen floors rise six inches off the subfloor in the center of a room because the installer forgot the gap. You need a quarter inch at least. For large spans, you need more. This is why T-moldings exist. I know people hate them. They want a clean look. But physics does not care about your aesthetics. Wood is a hygroscopic material. It breathes. It moves. If you do not give it room, it will create its own room by destroying your walls. You also have to consider the undercut of the door jambs. You do not cut the flooring to fit the jamb. You cut the jamb to fit the flooring. This allows the floor to slide underneath. It is a clean, professional finish that accounts for the inevitable movement of the house.
“A floor is only as good as the subfloor beneath it; deflection is the enemy of every joint.” – Master Flooring Axiom
The 1/8 inch that ruins everything
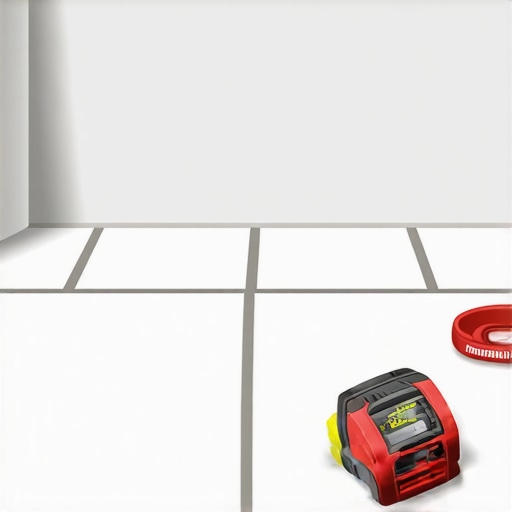
Precision in floor leveling is the only way to prevent the vertical deflection that causes click-lock systems to disengage over time. When you walk across a floor with a dip, the planks sink into that void. The tongue of the plank is made of high-density fiberboard. It is strong, but it is thin. If it flexes a thousand times a day, the fibers break down. The joint opens up. Once the joint is open, moisture gets in. The core swells. The floor is ruined. You cannot fix a blown joint. You have to replace the whole thing. This is why I spend so much time with the leveler. I do not care if it takes an extra day. I do not care if the customer is annoyed by the dust. I am building a foundation. You would not build a house on sand. Do not build a floor on a wavy slab. Use a straightedge. Check your corners. If the bubble is not dead center, you have work to do. I have spent my life on my knees making sure these surfaces are true. It is a matter of pride. It is a matter of engineering.
- Check subfloor moisture with a pin-less meter before starting.
- Remove all old adhesive residues to ensure a flat bond.
- Vacuum the substrate three times to remove all particulates.
- Ensure the room temperature is between 65 and 75 degrees.
- Always use a tapping block to avoid damaging the plank edges.
- Verify that the underlayment seams do not overlap.
The structural reality of shower pans
A shower pan must maintain a consistent slope of one quarter inch per foot toward the drain to prevent standing water and capillary wicking. If the slope is too shallow, water sits on the tile. It seeps into the grout. It finds its way behind the silicone. If the slope is too steep, the tile won’t lay flat. You get lippage. Lippage is when the edge of one tile is higher than the next. It is a toe-stubber. It makes the floor look like a staircase. You have to use a mud bed or a pre-sloped foam tray. I prefer the mud bed. I can customize the pitch. I can make sure the drain is the absolute lowest point in the room. I use a dry pack mortar. It is a mix of sand and portland cement. You pack it in tight. You screed it out. It is a craft that takes years to master. When you get it right, the water flows like a river straight to the pipe. When you get it wrong, you get a puddle in the corner that turns into a science project of black mold. Do not trust the house to be square. It never is. You have to make it square with your materials.