Why Your Shower Drain Is Clogged with Dried Mortar and How to Clear It
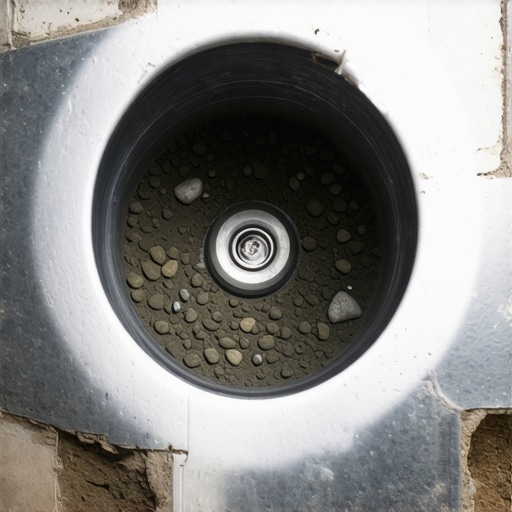
I spent three days grinding concrete on a job last month just so the floor wouldn’t click like a castanet. That job was supposed to be a simple porcelain tile installation but it turned into a structural rescue mission because the previous crew left a mess in the plumbing. I walked into that bathroom and saw the drain was filled to the brim with gray, rock-hard thin-set. Most guys skip the leveling compound or they get sloppy with the bucket wash. They think the water will just carry the residue away. It won’t. I had to explain to the homeowner that their brand-new shower was effectively a very expensive bucket because some installer used the drain as a trash can for their leftover mortar. It is a classic case of professional negligence that happens more often than you would think. When you are dealing with Portland cement and polymer additives, you aren’t just dealing with dirt. You are dealing with a chemical bond designed to last a century.
The physics of hydraulic cement in plumbing
A shower drain clogged with dried mortar occurs when thin-set or floor leveling compounds settle in the P-trap and undergo a hydration reaction. This chemical process transforms the slurry into a solid mass of calcium silicate hydrate. Because mortar is denser than water, it sinks to the lowest point of the plumbing. This is not a standard clog. You are not dealing with hair or soap scum. You are dealing with man-made stone. Most modern thin-sets are polymer-modified, meaning they contain latex or other resins that increase their bond strength and flexibility. When this material cures inside a PVC or ABS pipe, it creates a mechanical lock against the interior walls. The curing process is exothermic and does not require air to harden. It will cure underwater. It will cure in the dark. It will cure until it is as hard as the subfloor you just leveled. If you are lucky, the mortar didn’t bond perfectly to the plastic, but if the pipe was dirty or scuffed, you are looking at a permanent obstruction that requires surgical precision to remove without shattering the plumbing trap itself.
The 1/8 inch that ruins everything
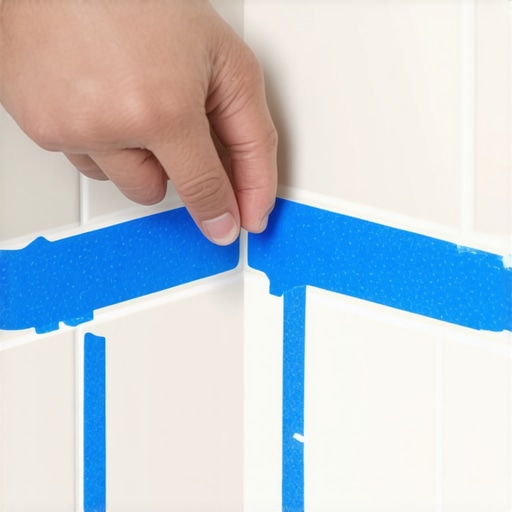
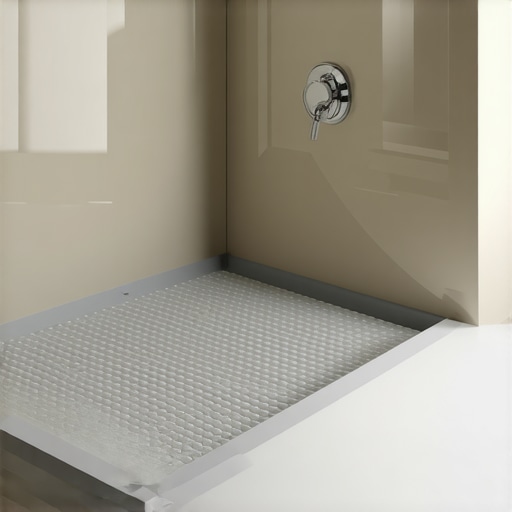
Precision is the difference between a functional shower and a plumbing nightmare. When we talk about floor leveling or shower pan construction, we usually focus on the slope. But the integration of the drain assembly is where most disasters start. If the mortar bed is packed too tightly around the drain throat without a protective plug, the vibration of the trowel will send ripples of wet mix into the pipe. It only takes a small amount. A layer of mortar just 1/8 inch thick at the bottom of a P-trap can act as a dam. Once that dam is established, every subsequent rinse of a bucket or tool adds another layer. It is a cumulative failure. You might not notice it on day one. You might not even notice it during the flood test if the water is moving slow enough. But eventually, the hair and the grime from daily use will snag on that rough mortar surface. Suddenly, your high-end walk-in shower is a swamp. This is why I obsess over masking. I tape every drain. I plug every pipe. I treat that 2-inch opening like it is the most fragile part of the house because, in many ways, it is.
“A floor is only as good as the subfloor beneath it; deflection is the enemy of every joint.” – Master Flooring Axiom
Chemical dissolution vs mechanical removal
Clearing dried mortar from a drain requires either mechanical force to break the bond or chemical acids to dissolve the Portland cement binder. Sulfamic acid is the standard choice for dissolving thin-set without destroying plastic pipes. Mechanical removal involves using a masonry bit or a specialized chisel to fracture the mass. You have to be careful here. If you go in swinging a hammer, you will crack the P-trap. If you crack the trap under a concrete slab, you are looking at a five-figure repair bill. I usually start with the chemical approach. Sulfamic acid is a mild white crystalline acid. It is safer than muriatic acid and won’t eat your lungs or your pipes as quickly. You mix it with warm water and pour it directly into the standing water in the drain. It works by attacking the calcium carbonate in the cement. You will see it fizz. That fizzing is the sound of the bond breaking. But don’t expect a miracle in five minutes. This is a game of patience. You might have to repeat the process ten times to move a two-inch thick plug. If the mortar is high-performance epoxy, however, chemicals won’t touch it. At that point, you are looking at mechanical extraction or pipe replacement.
| Mortar Type | Cure Time | Removal Difficulty | Recommended Solvent |
|---|---|---|---|
| Unmodified Thin-set | 24 Hours | Moderate | Sulfamic Acid |
| Polymer-Modified | 12-24 Hours | High | Phosphoric Acid |
| Epoxy Grout/Mortar | 8 Hours | Extreme | Mechanical Only |
| Self-Leveling Underlayment | 4-6 Hours | Very High | Sulfamic Acid |
The ghost in the expansion gap
We often talk about expansion gaps in laminate or hardwood, but the concept applies to shower drains too. There is a reason we use specific types of collars. The drain needs to be able to move independently of the subfloor. When mortar spills into this area, it creates a bridge. This bridge transfers the stress of the building’s movement directly into the plumbing. If your drain is clogged with mortar, you aren’t just losing water flow. You are risking a stress fracture in the pipe. I have seen drains that were so clogged with floor leveling compound that the weight of the water above it caused the entire assembly to sag. It is a structural engineering challenge. You have to remove the mortar to restore the movement capacity of the plumbing. Most DIY guides will tell you to just use a drain snake. That is terrible advice. A steel snake will just scrape the surface of the mortar and likely puncture your plastic pipe before it ever makes a dent in the cement. You need a targeted attack.
- Inspect the drain with a waterproof borescope to identify the thickness of the mortar plug.
- Remove any standing water using a shop vac to ensure the acid is not overly diluted.
- Apply a concentrated Sulfamic acid solution specifically designed for masonry cleaning.
- Wait at least one hour for the chemical reaction to penetrate the surface of the mortar.
- Use a small masonry chisel or a flat-head screwdriver to gently tap the edges of the clog.
- Vacuum out the loosened debris frequently to prevent it from washing further down the line.
- Flush the system with high-volume water only after the main obstruction is cleared.
Why your subfloor is lying to you
People think the subfloor is a static surface. It is not. It breathes. It shifts. When you are installing laminate or tile, you are fighting the moisture in that subfloor every step of the way. If you have a mortar clog in your drain, it can actually change the moisture profile of your entire bathroom floor. Slow-moving water seeps into the thin-set bed through the grout lines. If that water can’t get down the drain because of a mortar blockage, it sits under your tile. It saturates the subfloor. I have seen beautiful laminate installs in adjacent hallways fail because a shower drain was partially blocked with mortar, causing moisture to wick through the baseplates. You think you have a plumbing leak, but what you actually have is a drainage failure caused by poor installation hygiene. This is why I tell people that the most important tool in a flooring job isn’t the saw or the trowel. It is the shop vac and the roll of blue painter’s tape. If you keep the mortar where it belongs, the floor will perform. If you let it migrate into the plumbing, the house will eventually fight back.
“The integrity of the assembly is dependent upon the total exclusion of debris from the drainage system during the curing phase.” – TCNA Technical Bulletin
Final assessment of the mortar crisis
You cannot rush this repair. If you find yourself staring down a pipe full of dried cement, accept that your weekend is gone. Start by mechanical chipping if the clog is near the surface. Use a vacuum to pull out every piece you break off. Do not let the pieces fall down the drain. They will just settle in the next bend and create a new problem. If the clog is deep in the P-trap, use the acid method. Be consistent. Be methodical. If you find that the mortar is an epoxy-based product, call a professional plumber who has a high-pressure water jetting system. A hydro-jet can sometimes blast through mortar without destroying the pipe, but it requires a level of pressure that most homeowners cannot access. Above all, remember that the best way to clear a mortar-clogged drain is to never clog it in the first place. Tape your drains. Plug your pipes. Keep your subfloor prep clean. It is much easier to keep the mud out than it is to get the rock out later. The chemistry of construction is a powerful thing. Respect the bond, or the bond will break your budget.