Why Your New Shower Floor Tiles Are Starting to Crack and Pop
Why Your New Shower Floor Tiles Are Starting to Crack and Pop
Most guys skip the leveling compound. They think the underlayment will hide the dip. It won’t. I spent three days grinding concrete on a job last month just so the floor wouldn’t click like a castanet. That job reminds me of every failed shower floor I have ever seen. You walk into a bathroom that looks like a million dollars, but the moment you step on the mosaic, you hear that sickening crunch. It is the sound of a structural failure disguised as a cosmetic issue. If your tiles are cracking or popping, it is not because the tile is bad. It is because the assembly beneath it has failed. Most installers treat a shower like a kitchen floor, but a shower is a high-moisture pressure cooker. When you combine water, heat, and structural movement, any shortcut you took during the floor leveling phase will manifest as a cracked grout line or a loose tile. I have spent twenty-five years fixing these messes, and it always comes down to the same three things: deflection, poor bond strength, and moisture management. You cannot ignore the physics of a subfloor and expect the thin-set to hold everything together. It does not work that way.
The structural movement destroying your grout
Shower floor tiles crack because the subfloor deflection exceeds the rigid limits of the ceramic or stone assembly. If your joists flex more than the industry standard of L/360, the tile cannot bend with the wood. This creates shear stress that snaps the bond between the mortar and the substrate. Most modern homes are built to the absolute minimum code, which is fine for carpet install but a disaster for heavy tile. When I walk onto a job site, I do not look at the tile first. I look at the joist spacing and the thickness of the subfloor. If those joists are sixteen inches on center and you are using half-inch plywood, your floor is going to bounce. That bounce is a tile killer. You need a rock-solid base before you even think about opening a bag of thin-set. Most people think a thick layer of mortar will fix a bouncy floor. In reality, more mortar just adds more weight, which increases the deflection and makes the cracking even worse. You have to stiffen the structure from below or add a second layer of exterior grade plywood to reduce the vertical movement to almost zero. Natural stone requires even stricter standards, often demanding a deflection limit of L/720, which is twice as stiff as what is required for standard porcelain.
“A floor is only as good as the subfloor beneath it; deflection is the enemy of every joint.” – Master Flooring Axiom
The chemical reality of thinset and bond failure
Bond failure occurs when the mortar cannot chemically or mechanically anchor the tile to the substrate. This is often caused by using the wrong type of thin-set for the specific tile or by the substrate being too dry and sucking the moisture out of the mix. In the world of shower floors, you must understand the difference between modified and unmodified thin-set. Modified thin-set contains polymers that allow for a tiny bit of flexibility and a much stronger bond. If you are installing large format tile or porcelain, those polymers are what keep the tile from popping off when the temperature changes. I have seen guys use cheap, unmodified mortar on a plywood subfloor, which is a recipe for a total bond failure. The wood absorbs the water needed for the cement to hydrate, leaving behind a dusty, brittle layer that has the structural integrity of a cracker. You also have to consider the mil-thickness of your coverage. For a shower floor, you need at least 95 percent coverage. Anything less creates air pockets. When water gets into those pockets, it creates hydrostatic pressure that literally pushes the tile off the floor. It is basic chemistry and physics, yet it is the most common mistake I see on the daily.
| Material Type | Deflection Limit | Adhesive Requirement | Expansion Gap |
|---|---|---|---|
| Porcelain Tile | L/360 | Polymer Modified | 1/8 Inch |
| Natural Marble | L/720 | White High-Bond | 1/4 Inch |
| Ceramic Mosaic | L/360 | Type 1 Organic or Thinset | 1/8 Inch |
| Glass Tile | L/720 | Glass Specific Mortar | 1/4 Inch |
The failure of the uncoupling layer
Uncoupling membranes are designed to separate the movement of the subfloor from the tile assembly to prevent cracking. Without an uncoupling layer, any expansion or contraction in the wooden subfloor transfers directly into the tile, causing it to pop or shear. Wood and tile have vastly different expansion coefficients. When the humidity in your house rises, the wood expands. The tile does not. If they are bonded directly to each other without a shear-release interface, something has to give. Usually, it is the grout or the tile itself. I always recommend a liquid-applied waterproofing membrane or a fleece-backed sheet membrane. These products do two things. They keep the water out of your subfloor and they provide a small amount of movement capability. It is not about making the floor waterproof alone. It is about creating a buffer zone where the house can breathe without snapping your expensive marble mosaics. Most budget contractors skip this because it adds a few hundred dollars to the material cost, but they are the ones who will be gone when the floor starts crunching six months later.
- Always check the moisture content of the subfloor with a pin-meter before installation.
- Ensure the pre-slope under the waterproof liner is at least 1/4 inch per foot.
- Use a notched trowel that is appropriate for the size of the tile to ensure full coverage.
- Allow the thin-set to cure for at least 24 to 48 hours before walking on the tile.
- Mix the mortar with a low-speed drill to avoid introducing air bubbles into the mix.
The physics of the saturated mud bed
A saturated mud bed happens when water gets trapped between the tile and the liner because the pre-slope was ignored. This standing water rots the mortar bed from the inside out, leading to soft spots and tiles that eventually pop loose. Many installers think the waterproofing goes on top of the mud bed, but the primary liner should be on a sloped subfloor. If the liner is flat, the water just sits there. It becomes a stagnant pool of bacteria and rot. Over time, this moisture breaks down the chemical bonds of the thin-set. You might notice the grout turning dark or a musty smell that never goes away. That is the smell of a failing floor. Eventually, the structural integrity of the mortar bed is compromised, and the tiles lose their support. This is why floor leveling and proper sloping are the most technical parts of the job. You are not just laying tile. You are managing the flow of water and the dissipation of vapor. If you fail at the geometry, the chemistry will not save you.
“Mortar and grout are not waterproof; they are merely the decorative skin over a complex drainage system.” – Master Flooring Axiom
The 1/8 inch that ruins everything
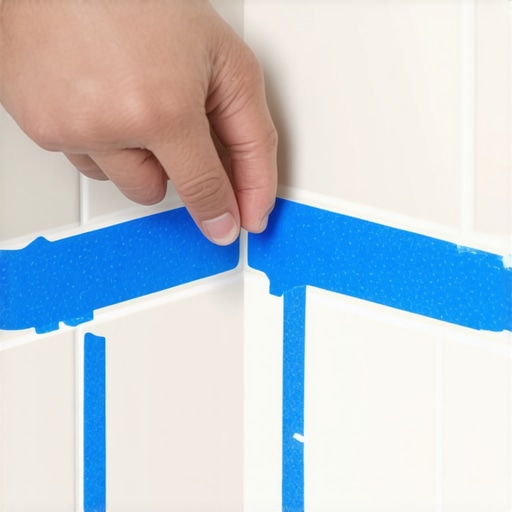
Expansion gaps at the perimeter of the shower floor are non-negotiable for preventing pressure-related tile popping. If you wedge your floor tiles tight against the wall studs or the wall tile, there is nowhere for the assembly to go when things expand. This is called tenting. The tiles push against each other until the pressure becomes so great that they lift off the floor in a V-shape. I see this all the time in new construction where the house is still settling. You need a minimum of 1/8 inch gap at the perimeter, which should be filled with 100 percent silicone sealant, not hard grout. Silicone is flexible. Grout is rigid. If you use grout in the corners, it will crack every single time. It is a simple rule that saves thousands of dollars in repairs. I tell my apprentices that if they do not see a gap, they are not finished. That small space is the safety valve for the entire floor. Without it, the whole system is under constant tension, waiting for the right temperature spike or humidity shift to explode. Professional flooring is about anticipating movement, not fighting it.