The ‘Plywood Shim’ Strategy for Leveling Low Spots in Old Houses
I smell like oak dust and the sharp tang of floor wax most days. My knees have a permanent layer of grit, and my hands tell the story of a thousand framing hammers. I spent three days grinding concrete on a job last month just so the floor wouldn’t click like a castanet. Most guys skip the leveling compound. They think the underlayment will hide the dip. It won’t. I have seen the most expensive laminate and hardwood fail because a contractor was too lazy to address a half inch sag in a floor joist. A floor is not a decoration. It is a structural engineering challenge that starts at the foundation and ends at the finish coat. If you ignore the subfloor, the subfloor will eventually destroy your investment. This is especially true in old houses where the wood has had eighty years to settle, warp, and breathe. You cannot just slap down new planks and hope for the best. You have to fight for every sixteenth of an inch.
The ghost in the expansion gap
Subfloor leveling in old homes requires identifying structural sags and using thin plywood shims or self leveling underlayment to create a flat plane. Achieving a flat surface within one eighth of an inch over ten feet prevents laminate locking systems from snapping and eliminates the hollow clicking sound of floating floors. Every old house has a ghost. It is the sound of a board rubbing against a nail or the feel of a soft spot under your heel. These ghosts live in the expansion gap. When you install a new floor over a dip, you are creating a trampoline. Every time someone walks across that room, the floor deflects. That vertical movement puts immense stress on the tongue and groove joints. Eventually, they crack. Once the joint is gone, the floor is junk. You have to pull it up and start over. That is why the plywood shim strategy is the only way to save a floor that has seen better days.
“A floor is only as good as the subfloor beneath it; deflection is the enemy of every joint.” – Master Flooring Axiom
Why your subfloor is lying to you
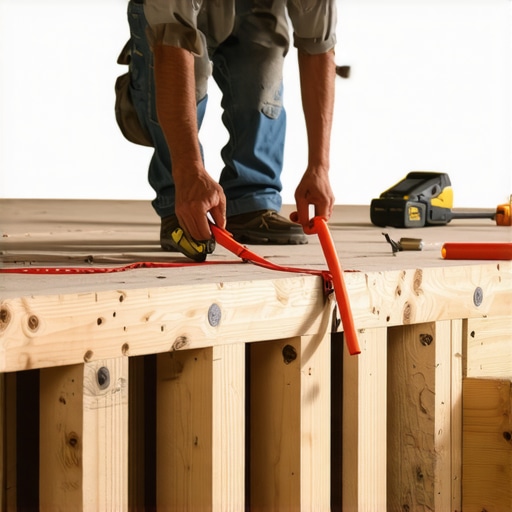
Your subfloor appears flat to the naked eye but often hides significant topographical variations caused by joist shrinkage and foundation settling. Using a long straightedge or a rotating laser level reveals these hidden valleys where moisture and structural stress concentrate to ruin modern flooring materials like laminate or tile. You take a four foot level and lay it down. It looks fine. But a four foot level is a liar. You need an eight foot or a ten foot straightedge to see the truth. In an old house, the joists often crown or sag in the middle of the span. Over decades, the weight of the house pulls the center of the floor down. If you are prepping for a carpet install, you might get away with a minor dip, but for anything rigid, you are asking for trouble. I have seen floors that looked perfect until we pulled the old carpet. Underneath was a landscape of peaks and valleys that looked like the rolling hills of Kentucky. You cannot fix that with a thicker pad. You fix it with wood and glue.
| Material Type | Thickness Precision | Best Use Case | Adhesive Compatibility |
|---|---|---|---|
| Luan Plywood | 1/8 inch to 1/4 inch | Broad shallow dips | Wood Glue and Staples |
| Roofing Felt | 1/32 inch per layer | Micro adjustments | Dry lay or staples |
| CDX Plywood | 3/8 inch plus | Structural sagging | Structural Screws |
| Self Leveler | Variable | Concrete or deep wood holes | Primer Required |
The 1/8 inch that ruins everything
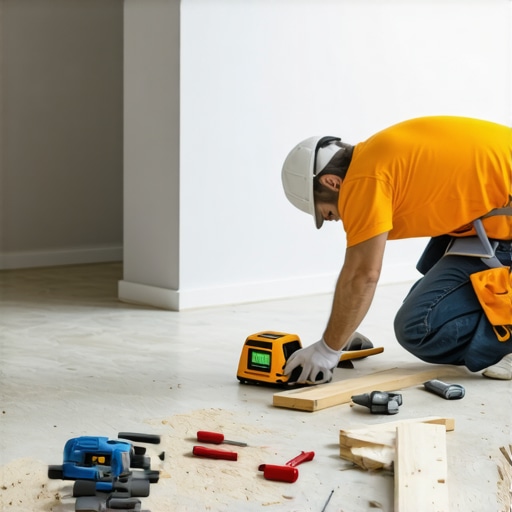
Maintaining a flatness tolerance of one eighth inch over a ten foot radius is the industry standard for most hard surface flooring installations. Exceeding this tolerance leads to mechanical failure of the floor’s locking system, localized wear on the finish, and audible popping sounds during temperature shifts. People think I am being difficult when I spend four hours shimming a corner. They want the planks down. They want the room finished. But that eighth of an inch is the difference between a floor that lasts thirty years and one that lasts three. When you are dealing with laminate, the core is usually high density fiberboard. It is strong but brittle. It does not like to bend. If the subfloor drops away beneath it, the plank has to bridge that gap. Physics dictates that the plank will eventually lose that battle. The locking mechanism will shear off, and you will be left with a gap that grows every time the humidity changes.
The mechanics of the feathered shim
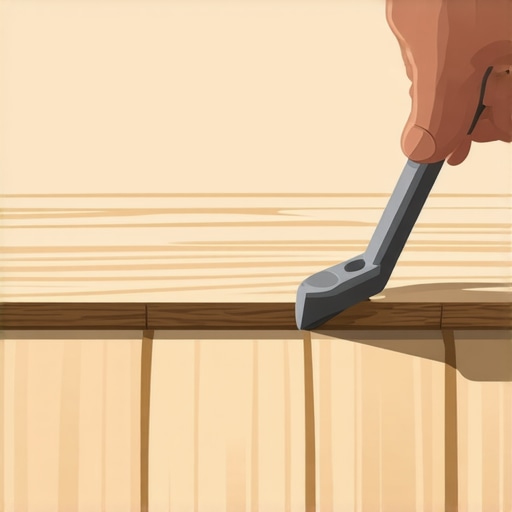
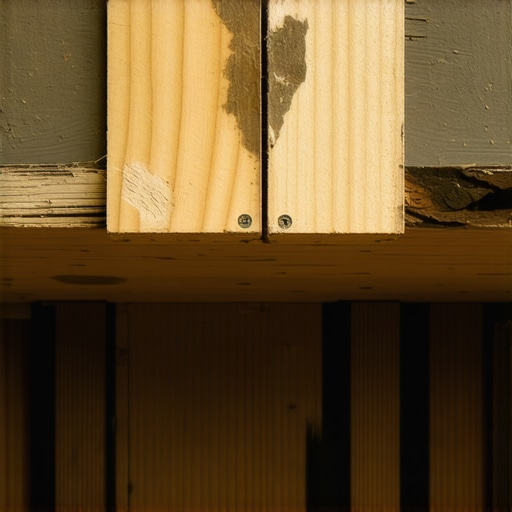
The feathered plywood shim strategy involves layering thin sheets of wood to create a gradual ramp that eliminates floor depressions without creating sharp edges. This method provides a rigid, structural repair that traditional liquid levelers sometimes fail to achieve in highly flexible old wood framed structures. You start at the deepest point of the dip. You cut a piece of luan or eighth inch plywood to fit that spot. Then you cut the next piece slightly larger, and the next piece larger still. You are building a pyramid in reverse. You glue each layer and staple it down. Then you take a belt sander with forty grit paper and you grind the edges of the plywood until they are flush with the surrounding floor. You want a transition so smooth that you can’t feel it when you run your hand across it. If you can feel a ridge, the floor will feel it too. This is especially vital when you are prepping near showers or wet areas where the subfloor needs to be perfectly pitched toward or away from the drain assembly.
Why liquid levelers fail in old houses
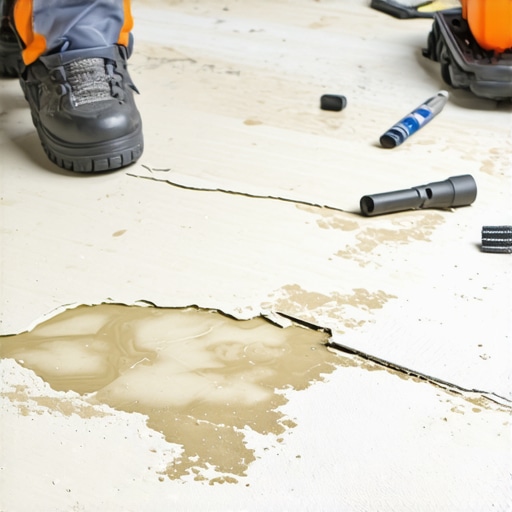
Liquid self leveling compounds often fail on old wooden subfloors due to excessive joist deflection and the lack of a proper moisture barrier or primer. In historic homes, the natural movement of the wood can crack brittle cementitious levelers, leading to crunching sounds under the new floor. I have seen guys pour five gallons of leveler into a hole and walk away. The next morning, the leveler has leaked through a crack in the planking and ended up on the basement floor. Or worse, it has dried and then cracked into a thousand pieces because the floor joists moved when someone walked in the room. Wood moves. Concrete doesn’t. When you put something rigid on something flexible, the rigid thing breaks. That is why I prefer the plywood shim method. Wood on wood makes sense. It expands and contracts at similar rates. It breathes together. If you must use a liquid, you better be using a fiber reinforced product and a lot of primer, or you are just making a mess for the next guy to clean up.
- Inspect joists for rot or insect damage before shimming.
- Use a laser level to map the entire room topography.
- Vacuum all dust and debris before applying any adhesives.
- Secure shims with both construction adhesive and narrow crown staples.
- Sand all transitions until they are imperceptible to the touch.
- Check moisture content of both subfloor and new material.
The chemistry of the bond
Selecting the correct adhesive for subfloor repairs involves understanding the chemical interaction between old growth resins and modern synthetic polymers. Using a high solids construction adhesive ensures that plywood shims remain fused to the subfloor even under the stresses of seasonal expansion and heavy foot traffic. You cannot just use school glue. You need something that will bite into that old pine. Old houses often have subfloors made of true dimensional lumber. That wood is dense, full of old sap, and often very dry. It will suck the moisture out of cheap glue before it has a chance to bond. I use a polyurethane based adhesive. It stays flexible. It doesn’t get brittle. When the house settles in the winter, the glue stretches. In the summer, when the humidity hits ninety percent and the wood swells, the glue compresses. It is a living bond. This is the same logic used in high end commercial carpet install where the adhesive must withstand the rolling load of heavy carts without delaminating.
“Failure to acclimate wood flooring to the job site environment is the primary cause of post-installation movement and noise.” – NWFA Technical Guidelines
The reality of moisture and humidity
Moisture management is the final hurdle in any subfloor leveling project, as improper humidity levels can cause even the most perfectly shimmed floor to cup or crown. Utilizing a pinless moisture meter to verify that the subfloor is within four percent of the finished flooring is a mandatory step. I once walked into a house where a fifteen thousand dollar wide plank walnut floor was cupping so bad it looked like a potato chip because the installer didn’t check the crawlspace humidity. The subfloor was at eighteen percent moisture. The walnut was at six. It was a sponge. It sucked up all that moisture and expanded with nowhere to go. No amount of plywood shimming will save you if you don’t address the water. You need a vapor barrier. You need to make sure your crawlspace is dry. If you are installing laminate in a kitchen or near showers, you need to be even more careful. Water is the enemy. It will find the smallest gap in your leveling job and sit there until the wood rots. You have to be a detective. Look for water stains. Smell for mold. If you find it, stop. Fix the leak before you fix the level.
The geometry of the perfect transition
Creating zero threshold transitions between different flooring types in old homes requires precise calculation of the finished floor height including all underlayments and shims. Planning these elevations at the subfloor stage allows for a professional finish that avoids the use of unsightly T-moldings and transition strips. Everyone wants that clean look. They want the hardwood to meet the tile in the bathroom with no bump. You can’t do that if you don’t plan ahead. You have to calculate the thickness of your tile, the thin-set, the backer board, and the subfloor shims. Then you have to match that to the hardwood and its underlayment. It is a game of math. I spend more time with a calculator and a pencil than I do with a saw sometimes. But when you walk through a house and your feet never hit a transition strip, you know it was done right. It feels like a solid, continuous surface. That is the mark of a master. It is not about how the floor looks in a photo. It is about how it feels when you walk on it in the dark. It should be silent. It should be level. It should be permanent.