The ‘Rubbing Alcohol’ Secret for Cleaning Grout Haze Off Tiles
I spent three days grinding concrete on a job last month just so the floor wouldn’t click like a castanet. Most guys skip the leveling compound. They think the underlayment will hide the dip. It won’t. I have seen it a thousand times. You spend ten grand on beautiful porcelain and it looks like garbage because the guy before you didn’t know how to use a straightedge. When it comes to tile work, the finish is only as good as the cleanup. If you leave grout haze on the surface for more than twenty-four hours, you are in for a world of pain. I have spent twenty-five years on my knees with a sponge and a bucket, and I have seen every mistake in the book. One of the most common issues is the stubborn, milky film that stays behind after the grout has set. This is where the rubbing alcohol secret comes into play. It is a trick I learned from an old-timer in the nineties, and it works better than any high-priced chemical you will find on a retail shelf.
Why grout haze ruins your finish
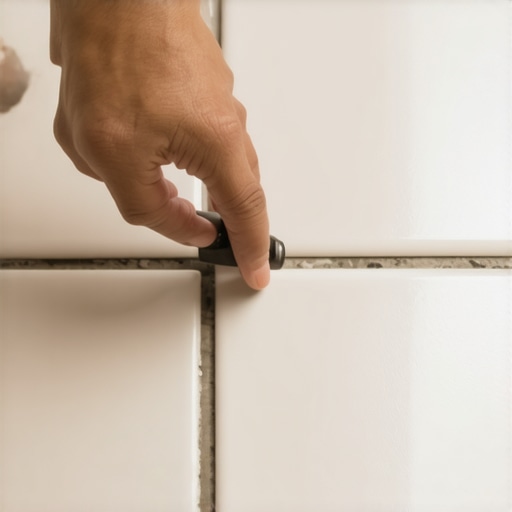
Grout haze is a milky residue left after installation. It consists of cement minerals and polymer additives that crystallize on the tile surface. If left too long, it bonds permanently, obscuring the tile color and creating a magnet for dirt and grime. This residue is a byproduct of the hydration process. When you mix grout, you are triggering a chemical reaction. The Portland cement begins to form microscopic crystals that lock together. The problem is that these crystals do not just stay in the joints. They spread across the face of the tile in a thin, microscopic layer. If you are working in a high-humidity environment like Houston or Miami, the moisture in the air can actually slow down the drying time of the haze, making it even stickier and harder to buff off. You need a solvent that can break the bond of the latex modifiers without damaging the integrity of the grout sitting inside the joints. That is exactly what isopropyl alcohol does.
The chemistry of isopropyl alcohol on cementitious residue
Isopropyl alcohol acts as a mild solvent that disrupts the surface tension of polymer-modified grout residues. It penetrates the microscopic pores of the tile to lift dried pigments and cement dust. Unlike harsh acids, it evaporates quickly and does not leave a secondary residue or damage the grout. Modern grouts are not just sand and cement. They are packed with polymers and latex additives designed to make them flexible and water-resistant. These same additives make the haze incredibly difficult to remove with plain water. When you apply rubbing alcohol, you are using a polar solvent. The alcohol molecules get under the polymer film and lift it away from the ceramic or porcelain surface. This is vital for showers where the tile is often textured to prevent slipping. Those tiny textures are perfect hiding spots for grout haze. If you do not clear it out, your shower will always look dusty, no matter how much you scrub it later.
“A floor is only as good as the subfloor beneath it; deflection is the enemy of every joint.” – Master Flooring Axiom
When to reach for the bottle of rubbing alcohol
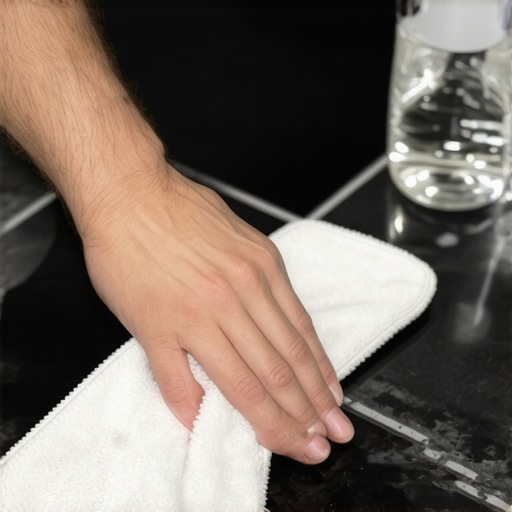
You should use rubbing alcohol when standard water-based cleaning fails to remove the cloudy film after the grout has cured for twenty-four hours. It is particularly effective on porcelain and glazed ceramic tiles where polymers have created a stubborn bond. Do not use this method on natural stone like marble or limestone without testing a small area first. Natural stone is porous and can react strangely to different solvents. But for your standard bathroom or kitchen tile, it is a lifesaver. You want to use a seventy percent or ninety-one percent isopropyl alcohol solution. Put it in a spray bottle and work in small sections. If you try to do the whole room at once, the alcohol will evaporate before you can wipe it up. This is a surgical process. Use a microfiber cloth. Do not use a paper towel. Paper towels leave behind lint that gets trapped in the very haze you are trying to remove.
Why your subfloor is lying to you
Floor leveling is the most neglected part of any tile or laminate installation. A subfloor that looks flat to the eye often contains dips and peaks that exceed the one-eighth inch tolerance required by industry standards. Without proper leveling, tile joints will crack and laminate planks will bounce. I have walked into jobs where the homeowner thought they were ready for tile, but the plywood was waving like the Atlantic Ocean. You cannot fix a bad subfloor with extra thin-set. That is a rookie move. Thin-set is an adhesive, not a filler. When it shrinks during the curing process, it will pull the tile down into the dip, creating lippage. Lippage is when one edge of a tile is higher than the neighbor. It is a trip hazard and it looks terrible. I always tell people to buy a ten-foot straightedge. If you see light under that bar, you need self-leveling underlayment. It is a messy, expensive step, but it is the difference between a floor that lasts and a floor that fails in six months.
How showers complicate the haze removal process
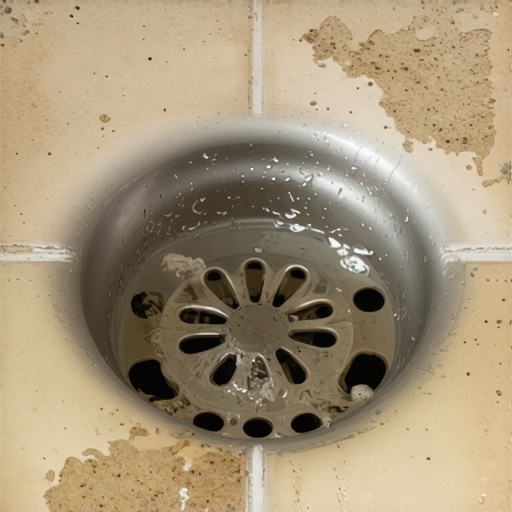
Showers present a unique challenge for grout cleanup due to the steep slopes and vertical surfaces. Gravity pulls the grout-laden water down toward the drain, often leaving a thicker layer of haze at the base of the walls and around the drain flange. In a shower, you are usually working with smaller tiles like mosaics. This means more grout joints and more opportunities for haze. The rubbing alcohol trick is great here because it can get into the tight corners around a bench or a niche. You have to be careful not to let the alcohol sit on the silicone sealant. Alcohol can degrade some types of cheap caulk. Always do your grout work and haze removal before you apply your final bead of silicone. This ensures the silicone bonds to a clean, bare tile surface rather than a layer of dust and alcohol residue.
Moving from tile to laminate or carpet
Laminate and carpet install projects require a different mindset regarding subfloor preparation. While tile needs a rigid substrate, laminate needs a flat one to prevent the click-lock mechanisms from snapping under the weight of foot traffic. If you are transitioning from a tiled bathroom to a carpeted hallway, you need to manage the height difference. This is where most people fail. They leave a giant trip hazard. I prefer to use a reducer or a T-molding that matches the floor. For a carpet install, you need to make sure the tack strips are not nailed into a pipe or a radiant heat line. I have seen guys flood a house because they hammered a masonry nail into a pex line while putting down carpet. It is a nightmare. Always know what is under your subfloor before you start swinging a hammer.
| Cleaning Method | Best For | Risk Level | Drying Time |
|---|---|---|---|
| Warm Water | Fresh Grout | Very Low | Slow |
| Vinegar Mix | Light Haze | Moderate | Medium |
| Rubbing Alcohol | Polymer Haze | Low | Very Fast |
| Sulfamic Acid | Heavy Build-up | High | Slow |
The Haze Removal Protocol
- Wait at least 24 hours after grouting to ensure the joints are fully set.
- Vacuum the floor thoroughly to remove any loose sand or construction dust.
- Spray a 70 percent isopropyl alcohol solution directly onto a 2-foot by 2-foot section of tile.
- Scrub the surface with a white nylon scrub pad or a clean microfiber cloth.
- Wipe away the dissolved residue immediately with a second, dry microfiber cloth.
- Inspect the tile at an angle with a bright flashlight to check for remaining streaks.
- Repeat the process if any cloudiness remains.
“A floor is only as good as the subfloor beneath it; deflection is the enemy of every joint.” – Master Flooring Axiom
While most people want the thickest underlayment for their laminate, too much cushion actually causes the locking mechanisms on LVP to snap under pressure. It is the same logic with grout haze. People think more water is the answer. It isn’t. More water just weakens the grout and spreads the mess. You need the right chemistry. The rubbing alcohol method is about efficiency and precision. It doesn’t soak the joints and it doesn’t leave the floor smelling like a chemical factory. It just works. I have used this on multi-million dollar builds and on small budget renovations. The physics of the bond don’t change based on the price of the house. You have to respect the materials. If you treat your floor like a structural engineering project, you will get a result that looks good for decades. If you treat it like a weekend DIY craft, you will be calling someone like me to tear it out and start over in two years. Do it right the first time. Clean your haze, level your floors, and never trust a subfloor that hasn’t been checked with a level.