The ‘Mirror’ Strategy for Checking Grout Coverage Under Shower Benches
I once spent three days grinding concrete on a job last month just so the floor wouldn’t click like a castanet. Most guys skip the leveling compound and think the underlayment will hide the dip. It won’t. If the subfloor isn’t flat to within an eighth of an inch over ten feet, your tile is going to crack. This is the hard truth of flooring that most big box retailers won’t tell you. They want to sell you boxes of laminate or rolls of carpet without mentioning that your foundation is a mess. When you are dealing with wet areas like showers, those mistakes don’t just cause noise, they cause catastrophic structural failure. I have seen water travel through a pinhole in grout and rot out a subfloor in six months. That is why the mirror strategy is the only way to ensure your shower bench is actually sealed. You cannot trust your eyes from a standing position. You have to get on your knees and look at the reflection to see the gaps you missed.
The mirror strategy for verifying grout density and coverage
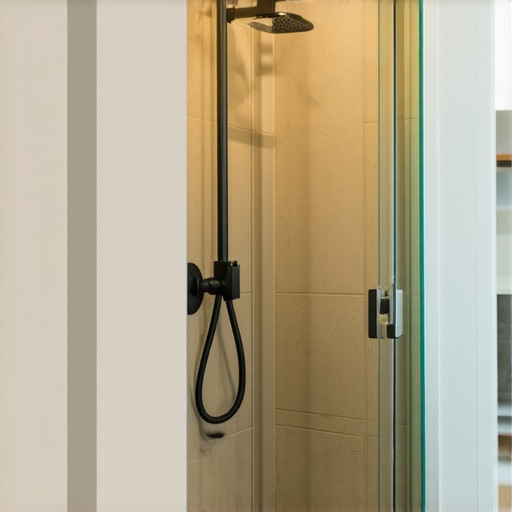
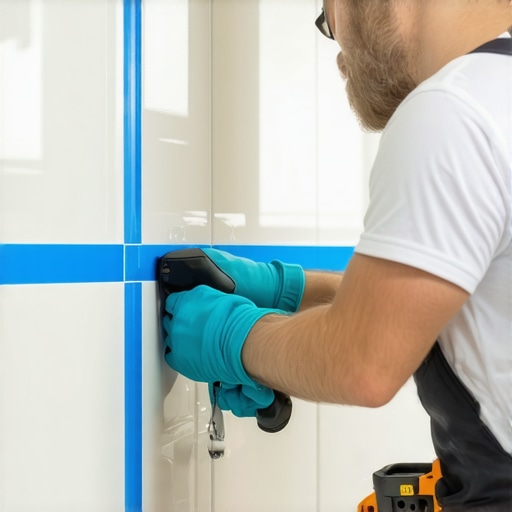
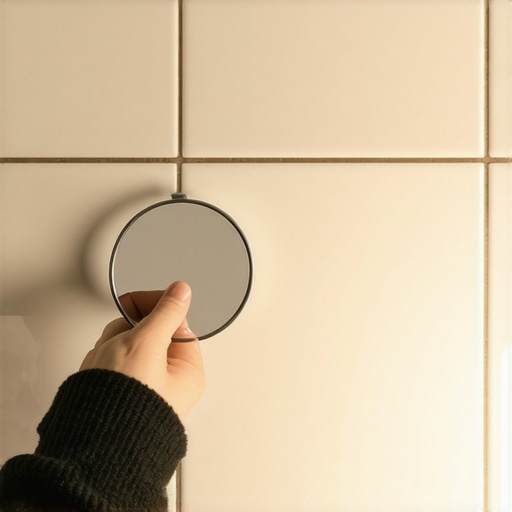
The mirror strategy involves using a small telescopic inspection mirror to view the underside of shower benches and recessed niches. This technique ensures that grout has reached the furthest recessed corners where water tends to pool. Verification of grout coverage prevents moisture from bypassing the primary waterproofing layer and saturating the mortar bed. Most installers work from the top down and assume gravity does the work. It doesn’t. Grout has a specific viscosity that can lead to air pockets. By placing a mirror beneath the lip of the bench, you can identify these voids before they become a highway for mold. I use a three inch round mirror with an extendable handle. It allows me to see the transition between the vertical wall tile and the horizontal bench underside. If I see a shadow, I know there is a void. I pack that void with more grout until the reflection shows a solid, continuous bead. It is about the physics of water. Water will find the path of least resistance every single time.
Why your subfloor is lying to you about levelness
Floor leveling requires a mechanical assessment of the subfloor using a ten foot straight edge to identify high spots and low valleys. Standard requirements for large format tile demand a flatness of one eighth inch over ten feet. Failure to address subfloor deflection results in lippage and eventual bond failure between the tile and the substrate. I see it all the time with a carpet install. People pull up old, nasty carpet and think they can just slap down some laminate or tile. They don’t realize that the floor has a two inch dip in the corner. You cannot fix a dip with more thin-set. Thin-set is an adhesive, not a filler. When thin-set is applied too thick, it shrinks as it cures. This shrinkage pulls the tile down and creates an uneven surface. I use a self-leveling underlayment with a high flow rate. I also use a primer that is specifically formulated for non-porous concrete. This creates a chemical bond that won’t let go. You have to understand the chemistry of the primer. It penetrates the pores of the concrete and provides a tacky surface for the leveler to grab onto. Without it, the leveler is just a floating sheet of rock that will eventually crack under the weight of the furniture.
“A floor is only as good as the subfloor beneath it; deflection is the enemy of every joint.” – Master Flooring Axiom
The ghost in the expansion gap and why it matters
Expansion gaps are mandatory perimeters left around the edges of a floor to allow for the natural expansion and contraction of materials due to humidity changes. For laminate and engineered wood, a gap of at least one quarter inch is required. Neglecting this gap causes the floor to buckle and peak as the planks have nowhere to expand. I’ve walked into houses where the laminate was literally lifting off the ground like a tent. The owner thought it was a moisture problem. It wasn’t. It was an installation problem. The installer ran the floor tight against the baseboards. When the humidity hit seventy percent in the summer, the wood expanded. Physics won. The floor had to go somewhere, so it went up. This is even more critical in bathrooms near shower benches. The moisture levels are constantly fluctuating. You need to leave that gap and then cover it with a silicone sealant that has at least twenty-five percent movement capability. This allows the floor to breathe without letting water get under the planks. If you lock a floor in place, you are asking for a callback. I don’t like doing jobs twice.
Molecular zooming into grout chemistry and water absorption
Grout chemistry determines the longevity of a shower installation through the use of polymers and portland cement ratios. High performance grouts use hydrophobic additives to reduce water absorption rates to less than zero point five percent. Choosing the right grout type depends on the joint width and the porosity of the tile material. Sanded grout is great for wide joints because the sand acts as a bridge. It provides structural integrity to the joint. Unsanded grout is for those tight sixteenth inch joints where sand won’t fit. But the real game changer is epoxy grout. Epoxy doesn’t need to be sealed. It is essentially a plastic bond that is impervious to chemicals and water. It is harder to work with because it has a short pot life. You have to be fast. If you leave a haze on the tile, you are going to be scrubbing with acid for a week. I tell people that the extra cost of epoxy is an insurance policy. It protects the subfloor better than any sealer ever could. When we look at the molecular level, the polymer chains in epoxy are tightly interlaced. This prevents water molecules from penetrating the surface. It is a solid barrier.
| Material Type | Janka Hardness | Acclimation Time | Max Moisture Content |
|---|---|---|---|
| Solid White Oak | 1360 | 7-10 Days | 6% – 9% |
| Engineered Maple | 1450 | 48 Hours | 7% – 10% |
| Laminate Core | N/A | 48 Hours | 12% Max |
| Porcelain Tile | N/A | None | 0.5% Absorption |
The structural reality of shower bench construction
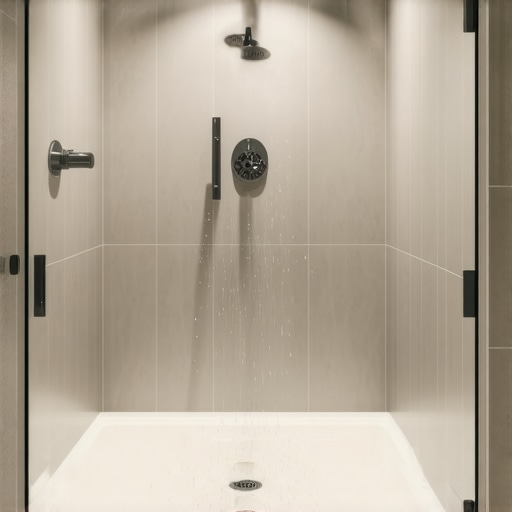
Shower bench construction must utilize moisture-stable materials like high-density extruded polystyrene or cement backer units wrapped in a waterproof membrane. Wood framing for benches is prone to rot if the smallest leak occurs in the grout or liner. Prefabricated benches offer the most reliable waterproofing because they are manufactured as a single seamless unit. I hate seeing wood-framed benches. Even if you wrap them in plastic, the wood still moves. Wood expands and contracts at a different rate than tile. This differential movement stresses the grout joints. Eventually, those joints crack. Once the crack is there, gravity pulls water into the wood. The wood rots. The bench becomes a sponge. I only use high-density foam benches. They are waterproof all the way through. Even if the tile breaks, the bench won’t rot. It is a redundant system. I also make sure the bench has a slight pitch. It needs to slope a quarter inch per foot toward the drain. If the bench is level, water will sit on it. Standing water is the enemy of grout. The mirror strategy confirms that the slope is consistent all the way to the edge of the tile.
- Check subfloor for deflection using a weighted load test
- Vacuum all dust from joints before applying grout
- Use a moisture meter to verify concrete slab dryness
- Apply a liquid waterproofing membrane in three coats
- Inspect all transitions with a high-lumen flashlight and mirror
The one eighth inch that ruins everything
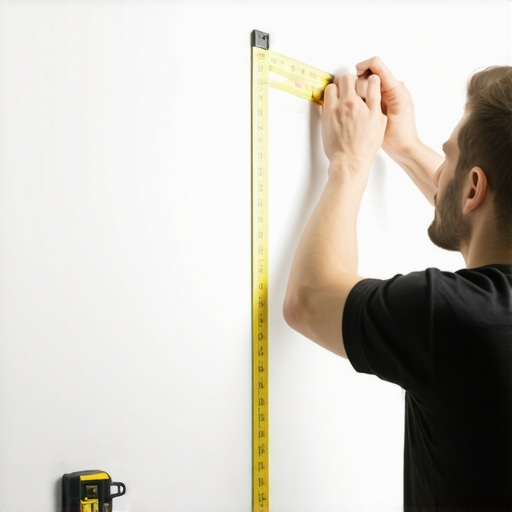
Precision in flooring is measured in increments of one eighth of an inch which determines the success of transitions and drainage. In shower floors, a pitch that is too shallow leads to pooling while a pitch that is too steep creates a slipping hazard. Accuracy at the subfloor level dictates the final aesthetic and functional outcome of the room. I’ve seen guys try to eyeball a slope. You can’t eyeball physics. I use a laser level. If the floor is off by an eighth of an inch, the water won’t move. It will just sit there and breed bacteria. This is why I spent those three days grinding that concrete. The homeowner thought I was crazy. Then they saw the final product. The tile laid perfectly flat. There was no lippage. The water flowed straight to the drain. That eighth of an inch is the difference between a master and an amateur. It is the same with the mirror strategy under the bench. That tiny gap you can’t see is where the failure starts. You have to be a stickler for the details. If you aren’t, you aren’t an installer, you’re just a guy with a bucket of mud. I take pride in the parts of the floor that no one ever sees because those are the parts that keep the house standing. Flooring is a structural engineering challenge that requires patience and the right tools.
“A floor is only as good as the subfloor beneath it; deflection is the enemy of every joint.” – TCNA Handbook Standards