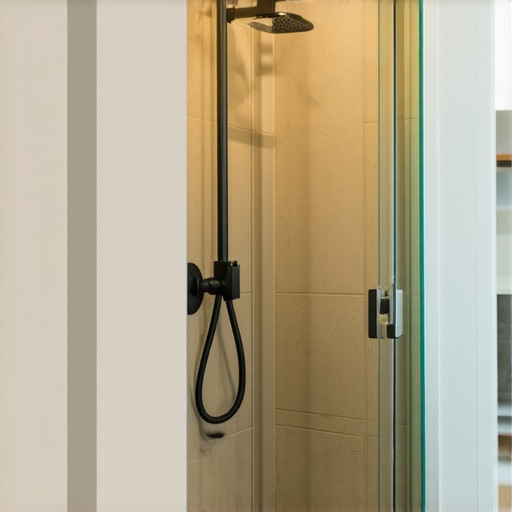
The Secret to Making a Small Shower Feel Twice as Large
Most guys skip the leveling compound. They think the underlayment will hide the dip. It won’t. I spent three days grinding concrete on a job last month just so the floor wouldn’t click like a castanet. That is the reality of a shower that lasts. You cannot build a cathedral on a swamp, and you cannot build a spacious shower on a subfloor that looks like a topographical map of the Ozarks. I have spent twenty five years on my knees with a straightedge, and if there is one thing I have learned, it is that space is an illusion created by the structural perfection underneath your feet. When you are staring at a five by five foot alcove, every fraction of an inch matters. Most people think they need more room, but what they actually need is better engineering. Making a small shower feel twice as large is not about moving walls, it is about removing the visual and physical obstacles that tell your brain the room is small. It starts with the concrete, it continues through the waterproofing, and it finishes with the chemical bond of the grout.
The foundation of the visual expanse
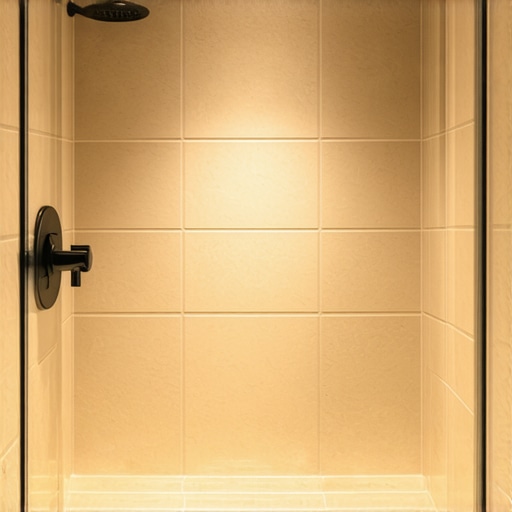
To make a small shower feel larger, you must eliminate visual breaks by using large format tile, matching grout colors, and installing a curbless entry. This approach extends the floor line from the main bathroom directly into the shower area, removing the physical boundary of the curb. When the eye can travel across the floor without hitting a curb or a high-contrast grout line, the brain registers the entire space as one single unit. This is not just a cosmetic choice, it is a structural commitment. Unlike a carpet install where the padding and pile can mask a subfloor that is out of level by half an inch, a shower requires a tolerance of 1/8 inch over 10 feet. If the floor is not dead level, your large format tiles will have lippage. Lippage creates shadows, and shadows create lines. Those lines break up the space and make it feel cramped. You need to use a high-quality self-leveling underlayment with a high compressive strength, usually around 4,000 PSI, to ensure that the foundation is rigid enough for the tile you are about to lay. Any deflection in the floor, which we measure as L over 360 for ceramic and L over 720 for natural stone, will lead to cracked joints and a visual breakdown of the room expanse.
Why your subfloor is lying to you
Subfloor irregularities of even 1/8 inch will cause tile lippage and broken grout lines, which shrink the perceived space of the room. When you walk into a shower and see shadows at the edges of the tiles, your eyes are catching the height difference between adjacent pieces. This is caused by a subfloor that was never properly prepped. I have seen guys try to fix this with more thin-set, but that is a rookie mistake. Thin-set is an adhesive, not a leveler. As it cures, it shrinks. If you have a thick bed of thin-set in one corner to hide a dip, that corner will pull down as the water evaporates from the mix, leaving you with a permanent lip. This is why floor leveling is the most important step in the entire process. You need to identify the high spots and the low spots using a 10 foot screed. I prefer to grind down the high spots on a concrete slab using a diamond cup wheel on a 7 inch grinder. It is a dusty, miserable job, but it is necessary. If you are working on a wood subfloor, you might need to add a second layer of plywood or a cementitious backer unit to ensure the assembly is stiff enough. A bouncy floor will ruin the aesthetic of a small shower faster than anything else. You are looking for a surface that is as flat as a billiard table before a single drop of waterproofing is applied.
“A floor is only as good as the subfloor beneath it; deflection is the enemy of every joint.” – Master Flooring Axiom
The physics of large format porcelain
Large format tiles minimize grout lines, creating an unbroken surface that tricks the eye into seeing more square footage than exists. We are talking about tiles that are at least 12 by 24 inches, or even 24 by 48 inches. The traditional four by four inch square tile creates a grid. A grid is a measurement tool. When your brain sees a grid, it automatically counts the squares and realizes the space is small. By using massive porcelain slabs, you reduce the number of grout joints by eighty percent or more. This creates a continuous surface. However, large format tiles are harder to install. They require a specific type of mortar, known as Large and Heavy Tile mortar, which is engineered to support the weight of the tile without sagging. The chemical composition of these mortars includes high concentrations of polymers that create a flexible yet incredibly strong bond. You also need to achieve 95 percent mortar coverage in a wet area, which means you better be back-buttering every single piece. If you leave voids, you get hollow sounds and potential cracking. In a small shower, one cracked tile is a disaster because it breaks the visual flow you worked so hard to create. You should also consider the Coefficient of Friction (COF). For a shower floor, you want a DCOF rating of 0.42 or higher to ensure it is not a slip hazard when wet, even with those larger tiles.
The zero threshold revolution
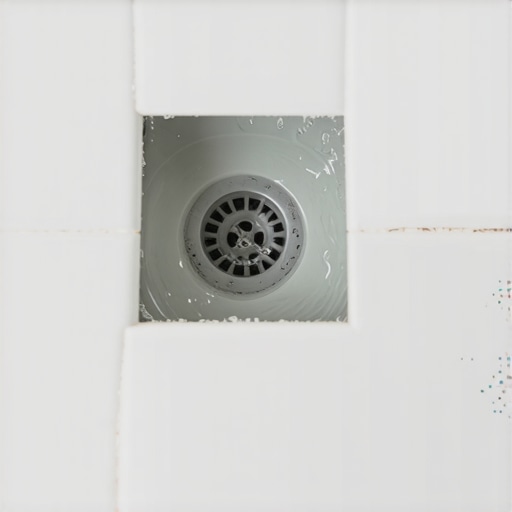
Removing the curb allows the bathroom floor to flow directly into the shower without interruption, extending the floor line to the back wall. The curb is a psychological wall. It tells your brain where the bathroom ends and the shower begins. By removing it, you merge the two spaces. This requires a recessed subfloor or a ramped transition. If you are on a concrete slab, you have to chip out the concrete to create the necessary slope for drainage. If you are on wood joists, you might need to notch the joists, though you should always check with a structural engineer before you start cutting into the bones of the house. You are aiming for a single slope toward a linear drain. This is the secret weapon of modern shower design. Traditional center drains require a four-way pitch, which forces you to use small mosaic tiles that can follow the curves. A linear drain only requires a one-way slope, which means you can run those 24 by 48 inch tiles right into the shower. It is a cleaner look and it makes the floor feel like it goes on forever. I have seen people try to cheat this with laminate in the dry areas and tile in the wet areas, but the transition strip kills the effect. Keep the material consistent from the bathroom door to the shower wall.
| Tile Size | Grout Joints per Sq Ft | Visual Perception |
|---|---|---|
| 2×2 Mosaic | 144 | Busy and Small |
| 12×24 Porcelain | 6 | Spacious |
| 24×48 Large Format | 1.5 | Infinite and Open |
Grout lines are the enemy of space
High-contrast grout creates a grid that emphasizes the small dimensions of the shower, whereas color-matched grout allows the surfaces to blend. If you pick a white tile and a black grout, you are drawing a map of how small your shower is. You want the grout to disappear. I always recommend a high-performance epoxy or a single-component grout that is stain resistant and color-matched to the tile. Epoxy grout is a different beast to work with. It is a chemical reaction, not a water-based mix. You have a limited working time before it turns into a rock, but once it is in, it is practically indestructible. It is non-porous, meaning it won’t harbor mold or mildew, which is the fastest way to make a shower look old and dingy. In a small space, you want 1/16 inch grout joints. This requires rectified tiles, which are tiles that have been mechanically finished to have perfectly straight edges. Standard pressed tiles have a slight bevel, which forces a wider grout joint. Wide joints are the enemy. They create more visual noise. You want the transition from one tile to the next to be as subtle as possible. When you match the grout color to the tile exactly, the floor and walls become a single, monolithic surface. That is how you win the game of perception.
“Movement joints must be installed in accordance with EJ171 to prevent stress-induced failure in tile assemblies.” – TCNA Handbook for Ceramic, Glass, and Stone Tile Installation
The 1/8 inch that ruins everything
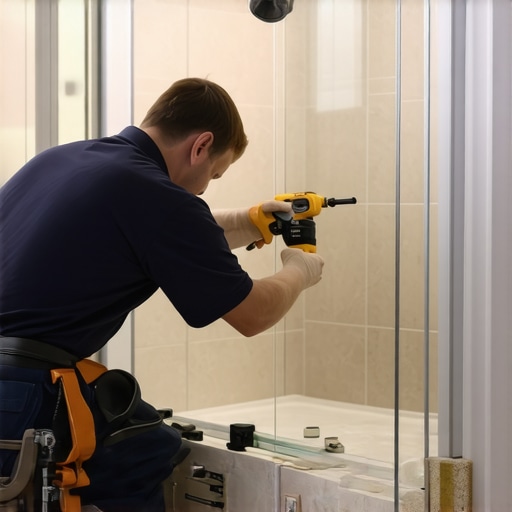
Precision in spacing and leveling is the difference between a high-end architectural finish and a DIY mess that looks cramped and cluttered. I have seen guys use those cheap plastic spacers and end up with a wall that is crooked by the time they hit the ceiling. In a small shower, you see every mistake. You need to use a tile leveling system, those clips and wedges that lock the tiles together while the mortar sets. This ensures that every tile is on the exact same plane. If you have even a 1/32 inch height difference, the light from the shower head will cast a shadow down the wall. That shadow is a line, and lines make the space feel smaller. You also need to think about your layout. You should never have a tiny sliver of tile in the corner. If you end up with a one-inch piece of tile, it looks like an afterthought. You should plan your layout so that the cuts are balanced on both sides. A balanced layout feels intentional and professional. It gives the room a sense of order. When things are in order, they feel more spacious. Chaotic tile patterns and random cuts make a small shower feel like it is closing in on you. I spend more time with a tape measure and a laser level than I do with a trowel, and that is why my floors look twice as big as the guy who just starts sticking tile in the corner.
Leveling and Prep Checklist
- Check subfloor deflection to ensure it meets L over 360 or L over 720 standards.
- Grind down concrete high spots or sister joists to create a perfectly flat plane.
- Apply a primer specifically designed for the self-leveling underlayment you chose.
- Pour leveling compound and use a spiked roller to remove air bubbles.
- Install a waterproof membrane like Schluter Kerdi or Laticrete Hydro Ban.
- Use a laser level to establish your first row of wall tiles for perfect horizontal alignment.
- Verify 95 percent mortar coverage by pulling up a tile occasionally during installation.
Linear drains and the art of the single slope
Linear drains allow for a single-plane slope, which enables the use of massive tiles that are impossible with traditional center drains. This is the most significant technological advancement in shower construction in the last fifty years. With a traditional drain, you have to create a