How to Undercut Door Casings for a Flawless Laminate Fit
The phantom gap and the undercut
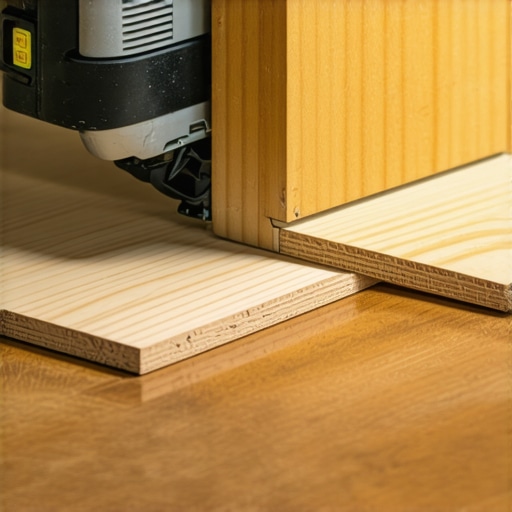
Undercutting door casings requires a sharp jamb saw and a scrap piece of laminate flooring to create a precise expansion gap. This process ensures the floating floor can slide underneath the molding, providing a professional finish that accounts for seasonal expansion and subfloor levelness.
Most guys skip the leveling compound. They think the underlayment will hide the dip. It won’t. I spent three days grinding concrete on a job last month just so the floor wouldn’t click like a castanet. That job was a lesson in humility for the homeowner who thought they could save a buck on prep. They had purchased a high-end European laminate with a high-density fiberboard core, but they forgot that a floor is only as stable as the surface it sits on. If that subfloor has a 3/16 inch dip over ten feet, your locking mechanisms are going to snap within six months. I had to explain that a floor is a performance surface. It moves. It breathes. It reacts to the moisture in your crawlspace. If you don’t undercut your door casings correctly, that movement has nowhere to go, and you end up with a floor that peaks at the doorways like a mountain range.
Why your subfloor is lying to you
Floor leveling is the primary requirement for a successful laminate installation because any subfloor deflection will cause the click-lock joints to fail under foot traffic. Using a self-leveling underlayment or Portland-based patch ensures the substrate meets the NWFA standards of 1/8 inch over a 10-foot radius.
You cannot trust your eyes when it comes to a subfloor. You need a ten-foot straightedge. I have seen slabs that look as flat as a pool table until you drop a marble and watch it accelerate toward the center of the room. When you are undercutting your door casings, the levelness of that subfloor becomes your baseline. If the floor is high at the doorway, your cut will be too high. If the floor is low, you will have a gap that no amount of caulk can hide. We are talking about the physics of load distribution. Every time you step on a laminate plank, the tongue and groove system transfers that energy. If there is a void underneath because you didn’t level the floor, that joint becomes a pivot point. Eventually, the wear layer cracks, and moisture enters the core.
“A floor is only as good as the subfloor beneath it; deflection is the enemy of every joint.” – Master Flooring Axiom
The tools for a structural surgeon
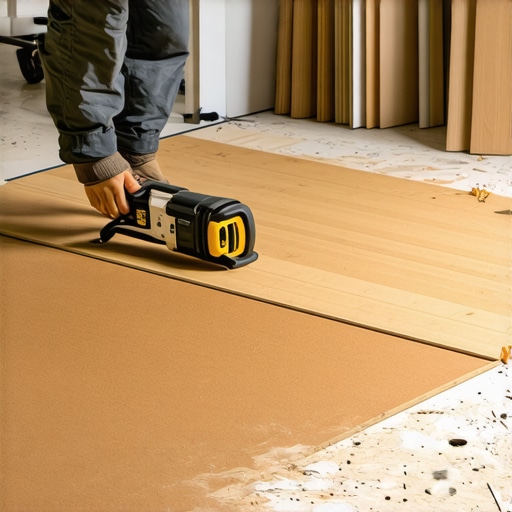
Manual jamb saws and oscillating multi-tools are the essential instruments for trimming door frames to the correct installation height. A carbide-tipped blade provides the precision cutting needed to slice through oak casings or MDF trim without splintering the visible wood grain or damaging the structural header.
I prefer a manual saw for the control it offers, but an oscillating tool is faster if you have a steady hand. You need a scrap piece of the actual laminate you are installing, plus a piece of the underlayment. Lay them flat against the subfloor right next to the casing. This is your guide. The blade should rest directly on top of the laminate scrap. This ensures the cut is exactly the thickness of the new floor. I see beginners try to measure with a tape. That is a mistake. Your tape measure cannot account for the slight variations in the HDF core or the way the underlayment compresses. You use the material itself as the jig. It is the only way to guarantee a zero-clearance fit. The sawdust will be fine, almost like flour, if your blade is sharp. If you see smoke, you are pushing too hard or your blade is dull. Replace it. A dull blade heat-welds the wood fibers and makes a mess of the finish.
The 1/8 inch that ruins everything
The expansion gap is a mandatory structural requirement for laminate floors to prevent buckling or peaking caused by relative humidity changes. Leaving a perimeter gap of at least 1/4 inch allows the floating floor system to expand and contract without pressing against the wall studs or door jambs.
People think waterproof means stable. It does not. Even the best waterproof laminate has a core that reacts to temperature. If you trap the floor against a door casing, it will find the weakest point to release that pressure. Usually, that is a joint in the middle of the hallway. It will pop. It will squeak. It will drive you crazy. When you undercut the casing, you are creating a hidden pocket where the floor can hide. The plank should slide under the casing, but it should not touch the 2×4 framing behind it. I leave a gap between the edge of the plank and the inner wall. The casing hides the gap from above, but underneath, the floor is free to move. This is the difference between an amateur job and a master installation. It is about foresight. You are building for the humid summers and the dry winters.
| Material Type | Janka Hardness | Acclimation Time | Required Gap |
|---|---|---|---|
| High-Density Laminate | N/A (Wear Layer Rated) | 48 Hours | 1/4 Inch |
| Engineered White Oak | 1360 lbf | 72 Hours | 1/2 Inch |
| Solid Brazilian Cherry | 2350 lbf | 7-10 Days | 3/4 Inch |
Avoiding the carpet installer trap
A carpet install typically involves tack strips and thick padding which hide subfloor imperfections that would be catastrophic for laminate flooring. When transitioning from carpet to laminate, you must remove all staples and adhesive residue to ensure the underlayment sits flush against the plywood or concrete.
I have followed too many carpet guys who just slapped down pad over a mess. You cannot do that with laminate. Laminate is unforgiving. If there is a single staple left in that subfloor, you will hear it every time someone walks over it. It sounds like a tiny hammer hitting a nail. Click. Click. Click. When you are undercutting door casings in a room that used to have carpet, check the height carefully. Carpet often hides the fact that the casing was cut too high or too low in the past. You might need to add a small piece of decorative molding if the previous installer was a hack. But if you are doing it right from scratch, you ensure that the subfloor is clean. I use a 4-inch scraper. I go over every square inch. If I find a hump, I sand it. If I find a dip, I fill it. Only then do I pull out the saw for the casings.
“Thermal expansion is a physical certainty; ignore it and the floor will remind you of your error.” – NWFA Installation Guidelines
Technical specifications for professional grade fit
The wear layer mil thickness and the AC rating of the laminate determine the durability of the floor near high-traffic doorways. Choosing an AC4 or AC5 rated laminate provides the abrasion resistance necessary to withstand the frictional forces of a sliding door or heavy footfall.
While most people want the thickest underlayment, too much cushion actually causes the locking mechanisms on LVP or laminate to snap under pressure. You want a high-density underlayment, not a thick one. A 2mm high-density foam is superior to a 5mm soft foam. Why? Because the 5mm foam allows the floor to bounce. That bounce puts stress on the groove you just tucked under that door casing. Over time, the groove shears off. Now you have a floating plank that is actually drifting. It starts to move away from the casing, exposing the subfloor. It looks terrible. Use a firm underlayment. It feels more like solid wood underfoot and it protects the integrity of your undercuts. I always tell my clients to buy the good stuff. Saving fifty cents a foot on underlayment is the fastest way to ruin a three-thousand-dollar floor.
- Clear the work area of all debris and existing carpet staples.
- Check subfloor levelness using a 10-foot straightedge or laser level.
- Vacuum the expansion gaps and under the cut casings to remove sawdust.
- Use a pull bar to seat the final plank under the door jamb.
- Verify that no nails or fasteners penetrate the laminate planks.
The chemistry of the transition
Transition strips and T-moldings bridge the gap between different flooring types while maintaining the expansion requirements of the floating system. Using a silicone-based sealant in wet areas like showers or laundry rooms prevents moisture infiltration into the laminate core.
In areas near showers, you have to be even more careful. Laminate is basically compressed sawdust and resin. If water gets into the cut edge under the door casing, the core will swell like a sponge. Once it swells, it never goes back down. You get what we call ‘volcanoing’ at the seams. I always run a bead of 100% silicone in the expansion gap at the doorway of a bathroom. This doesn’t lock the floor in place, it just creates a flexible waterproof gasket. It is an extra step. It takes more time. But it means I don’t get a phone call in six months because the floor is bubbling. Professionalism is about the details that the homeowner will never see until they fail. If I do my job right, they never notice the floor at all. It just performs. It sits there, flat and silent, exactly the way an engineered surface should. Check your moisture levels one last time before you click that last plank in. If the slab is over 4% moisture, you are asking for trouble. Put down a 6-mil poly vapor barrier. Do it right or don’t do it at all.