The ‘Newspaper’ Hack for Testing Concrete Subfloor Porosity
The structural reality of your concrete slab
Most guys skip the leveling compound. They think the underlayment will hide the dip. It won’t. I spent three days grinding concrete on a job last month just so the floor wouldn’t click like a castanet. That is the reality of a bad subfloor. A floor is a performance surface. It is a structural engineering challenge. If you treat it like a cosmetic choice, you are going to fail. Concrete looks solid but it is a breathing, porous sponge. It moves moisture from the earth into your home. It expands. It contracts. If you do not understand the molecular reality of the slab, your laminate or hardwood will fail within eighteen months. I have seen it a thousand times. The homeowner buys a high-end product but ignores the gray mass beneath it. They want the pretty finish. They do not want the dust of a grinder. But the grinder is where the quality lives. You must respect the slab. You must test the slab. Without a proper bond, your adhesive is just a layer of wet hope. We do not work on hope in this trade. We work on data. We work on physics. We work on the chemistry of the bond. If the concrete is too dense, the glue has nowhere to go. If it is too porous, it sucks the life out of your thin-set before it can cure. Both scenarios end in a hollow sound. Both scenarios end in a callback that costs more than the original profit.
“A floor is only as good as the subfloor beneath it; deflection is the enemy of every joint.” – Master Flooring Axiom
Why porosity determines your floor success
Concrete porosity determines how your floor leveling compounds and adhesives will interact with the slab. If a slab is too non-porous, adhesives cannot achieve a mechanical bond. If it is too porous, the concrete will absorb the moisture from your leveling agent too quickly, causing it to crack or debond. You need to know the absorption rate before you open a single bag of product. Most installers just pour and pray. They do not realize that the Calcium Silicate Hydrate gel in the concrete has its own agenda. When we talk about porosity, we are talking about the capillary network within the slab. These are tiny tunnels formed as the original mix water evaporated. If those tunnels are open, your primer will penetrate and lock in. If they are closed because the slab was power-troweled to a mirror finish, your floor is basically floating on a sheet of glass. This is why floor leveling is a science of adhesion. You have to create a profile. You have to ensure the slab can drink. If the slab cannot drink, it cannot hold. This applies to every finish. It applies to a high-end carpet install where the tack strips need a solid bite. It applies to laminate where the vapor pressure can build up and cause peaking at the joints. It applies to showers where the waterproofing membrane must be part of the substrate. If you miss the porosity check, you are building on a lie.
The newspaper test for subfloor assessment
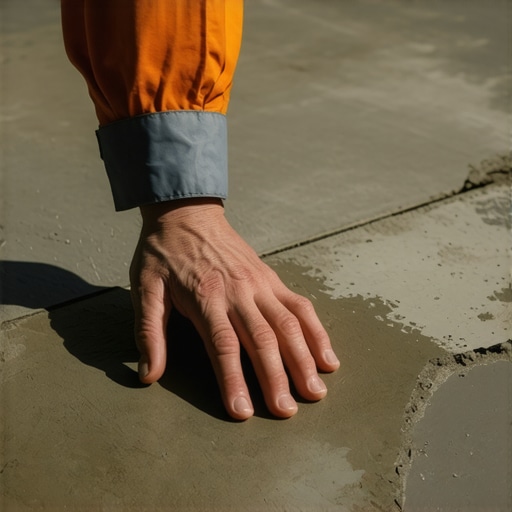
The newspaper test is a simple but effective method to determine if a concrete subfloor is porous enough for adhesives or leveling compounds. By placing a small amount of water on the slab and covering it, you can observe the rate of absorption into the concrete matrix. This is the old school way. You take a piece of newspaper and a few drops of water. You place the water on the concrete. You cover it with the paper to prevent surface evaporation. Then you wait. You are looking for the concrete to change color. You want to see that dark spot spread. If the water sits on top of the concrete like a bead on a freshly waxed car for more than ten minutes, you have a problem. Your slab is closed. It is non-porous. You might have a sealer on there. You might have a curing compound that the builders sprayed on and never told anyone about. You cannot glue to that. You cannot level over that. You have to break the surface. I usually take a diamond cup wheel to it. I want to see the aggregate. I want to see the pores open up. This is the difference between a floor that lasts thirty years and one that peels up in two. The newspaper hack tells you if the capillary action is functional. It is a quick field test that saves you from a massive liability. If the water disappears in less than a minute, the slab is too thirsty. You will need to prime it twice. If you do not prime a thirsty slab, it will suck the water out of your thin-set. The thin-set will then turn to dust. It will look like it bonded, but as soon as someone walks on it, the bond will snap. You will hear that crunching sound. That is the sound of a failed installation.
| Subfloor Condition | Absorption Time | Required Action |
|---|---|---|
| Highly Porous | Under 1 Minute | Double Prime with Acrylic |
| Moderately Porous | 2 to 5 Minutes | Standard Primer Application |
| Non-Porous | Over 10 Minutes | Mechanical Grinding Required |
| Sealed Surface | Infinite | Full Chemical or Bead Blast |
Chemistry of floor leveling compounds
Floor leveling compounds rely on a precise balance of polymers and Portland cement to create a flat surface. These materials require a specific moisture environment to cure without shrinking or curling away from the edges of the room. When you mix a bag of self-leveler, you are initiating a complex chemical reaction. The water does not just dry. It becomes part of the crystalline structure. If the subfloor is too porous, it steals that water. The crystals do not grow. The leveler becomes brittle. This is why I am a stickler for the 1/8 inch rule over ten feet. You cannot just dump the bucket and walk away. You have to prep the edges. You have to install the foam expansion strips. If the leveler touches the drywall, it will hump up. It has nowhere to go. The physics of expansion are non-negotiable. I have seen guys try to level a floor without checking for moisture first. That is a crime. If there is high vapor emission, the leveler will bubble. You will get these tiny craters that look like the surface of the moon. Then your laminate will have those little air pockets underneath. Every time you step, it will go puff. It drives homeowners crazy. You need a flat, dead floor. You need a floor that feels like a rock. That starts with the chemistry of the primer. The primer is the bridge. It connects the old concrete to the new leveler. It stops the air bubbles from rising. It stops the water from sinking. It is the most important part of the job that nobody ever sees.
Laminate failure and the subfloor connection
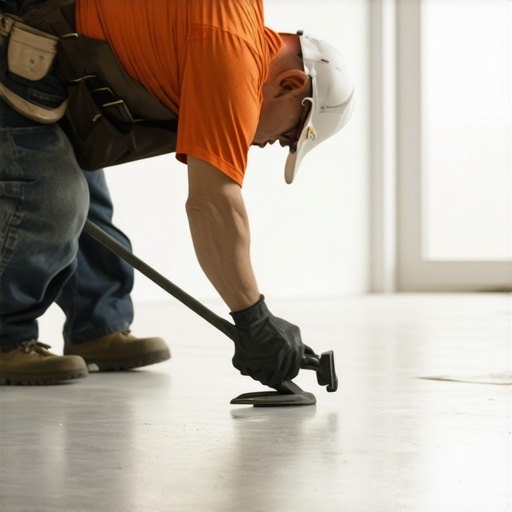
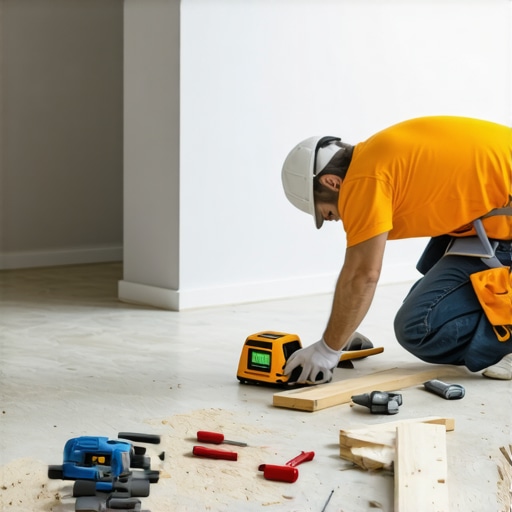
Laminate flooring failures are almost always caused by subfloor irregularities or moisture vapor transmission from the concrete slab. An unlevel floor causes the tongue and groove locking mechanisms to flex and eventually break under foot traffic. Laminate is basically sawdust and resin. It is a high-density fiberboard. It hates water. But it also hates movement. If your subfloor has a dip of a quarter inch, that laminate is going to bridge over it. Every time you step on that spot, the joint flexes. Do that a thousand times and the plastic lock snaps. Now you have a gap. Now you have a squeak. Most people think they need a thicker underlayment to fix this. They are wrong. Too much cushion actually causes the locking mechanisms on LVP and laminate to snap under pressure. You want a firm base. You want the leveler to do the work. The underlayment is just for sound and a tiny bit of thermal break. It is not a structural fix for a bad slab. I have pulled up entire floors where the installer used three layers of foam to try and hide a hole. The floor felt like a trampoline. It was a disaster. You have to grind the high spots. You have to fill the low spots. There is no shortcut. I use a laser level. I map the whole room. I want to see the topography of the slab. I want to know where the water is going to pool. If you do not do this, you are just guessing. And guessing is for amateurs.
“Subfloor preparation is the foundation of professional flooring; skipping it is a guarantee of future failure.” – TCNA Handbook Standards
Waterproofing showers and porous concrete
Waterproofing showers requires a subfloor that can support a bonded membrane without delamination. The porosity of the concrete or mud bed determines how well the thin-set will anchor the waterproof layer to the structure. In a shower, the stakes are higher. If the bond fails, you get a leak. If you get a leak, you get mold. If you get mold, you are looking at a thirty thousand dollar bathroom gut job. It all goes back to the porosity. When I am doing a shower pan, I check the slab twice. I need to know that my modified thin-set is going to bite. If the concrete is too smooth, the thin-set just skins over. It does not penetrate. I have seen waterproof membranes peel off a floor like a sticker. That is because the installer did not prep the slab. They did not do the newspaper test. They did not check for contaminants. You have to be surgical in a shower. You have to ensure that the capillary break is established. If the slab is drinking too much water, it will pull the moisture out of the thin-set before the polymers can cross-link. The result is a weak, powdery bond. You might not see it today. You might not see it tomorrow. But in three years, the tiles will start to crack. The grout will start to crumble. That is the slab telling you that you failed.
Carpet install requirements for slab prep
Carpet install projects still require a level and stable concrete subfloor to ensure the tack strips hold and the padding does not shift. High alkalinity or moisture in the slab can break down the adhesives used for transitions and pad glue. Most guys think carpet hides everything. They think they can throw pad over a moonscape and it will be fine. It won’t. You will feel those bumps under your feet. It will feel like you are walking on gravel. More importantly, if the slab is too porous and dusty, the tack strips will not stay down. You go to stretch the carpet with a power stretcher and the nails just pop out of the concrete. Now you have a loose carpet that ripples. Ripples lead to wear. Wear leads to a replacement in five years instead of fifteen. I always sweep and vacuum the slab until I can sit on it without getting dirty. Then I check for porosity. If the slab is honeycombed or soft, I use a densifier. I want that concrete to be hard. I want it to hold the anchor. If you are doing a glue-down commercial carpet, porosity is even more critical. If the slab drinks the glue, the carpet will bubble. You will have a tripping hazard on your hands. Prep is not just for hardwood. Prep is for everything. It is the signature of a pro.
- Check for surface contaminants like oil or wax.
- Verify the slab is at least 28 days old.
- Perform the water drop porosity test in multiple locations.
- Measure the floor for levelness using a 10-foot straightedge.
- Ensure the room temperature is between 65 and 85 degrees.
- Vacuum the subfloor to remove all micro-dust particles.