Why Your Shower Pan Liner is Bubbling and How to Flatten It
Most guys skip the leveling compound. They think the underlayment will hide the dip. It won’t. I spent three days grinding concrete on a job last month just so the floor wouldn’t click like a castanet. I have spent twenty five years on my knees with a moisture meter and a level, and I can tell you that a floor is not a decoration, it is a structural engineering challenge. I once walked into a luxury master bath where the homeowner complained of a spongy feeling under their feet. When I pulled up the tile, the shower pan liner looked like a mountain range. The installer had ignored the basic physics of moisture vapor and hydrostatic pressure. This is the reality of modern flooring. If you treat your subfloor like an afterthought, your finished surface will eventually fail. I smell like thin-set and oak dust most days, and I have learned that the bond between your materials is only as strong as your preparation.
The hidden physics of shower pan failure
Shower pan liner bubbling occurs when trapped air or moisture vapor becomes stuck between the subfloor and the waterproofing membrane, often due to improper bonding, lack of a pre-slope, or hydrostatic pressure. This phenomenon is a mechanical failure of the assembly. When water vapor moves through a porous concrete slab, it seeks the path of least resistance. If a PVC liner is laid flat without a proper mechanical bond or a sloped mortar bed beneath it, the vapor collects. It creates a pocket. This is not just a cosmetic issue. It is a sign that the entire drainage system is compromised. The water that should be moving toward the weep holes in your drain is instead sitting in stagnant pools. This leads to mold, wood rot in the joists, and a complete structural failure of the shower assembly. I have seen liners that were installed so loosely they shifted every time a person stepped into the stall. That movement eventually snaps the seal at the drain. You are then looking at a multi thousand dollar tear out because someone wanted to save an hour on the pre-slope.
“A floor is only as good as the subfloor beneath it; deflection is the enemy of every joint.” – Master Flooring Axiom
Why your shower pan liner is bubbling and how to flatten it
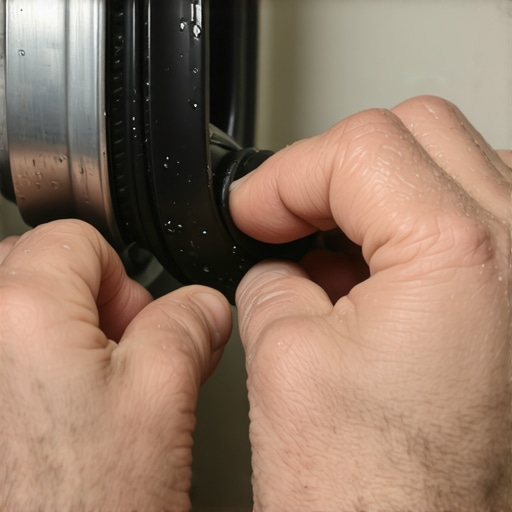
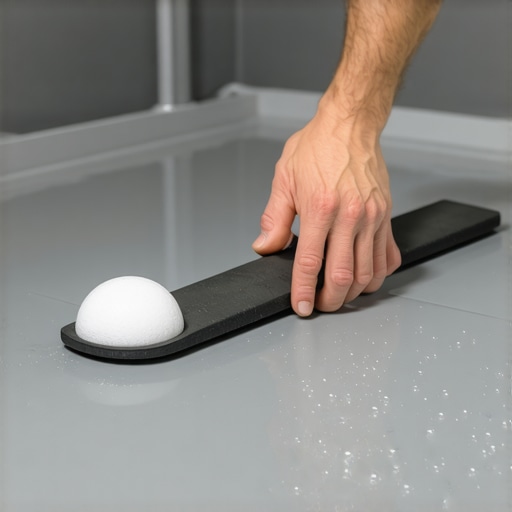
To flatten a bubbling shower pan liner, you must first identify the source of the air or water, ensure the pre-slope is correctly installed at 1/4 inch per foot, and use weighted rollers or re-adhesion techniques to secure the PVC or CPE membrane to the substrate. Flattening it is not always as simple as pressing down. If the bubble is caused by air, you might be able to work it toward the edges before the mortar bed is poured. However, if the liner is already under a mud bed, you have a much bigger problem. The structural integrity of the shower depends on the liner being taut and sloped. If you find a bubble during the installation phase, you need to check your adhesive coverage. Most installers use a solvent cement to bond the liner to the drain flange. If that cement was not applied evenly, air pockets form. You must pull the liner back, re-apply the bonding agent, and use a flat blade or a specialized roller to work from the center out to the perimeter. This ensures that the microscopic gaps where air can hide are eliminated. You cannot leave this to chance. A bubble is a void, and a void is a place where your floor will flex and fail.
The chemistry of the subfloor bond
Subfloor preparation requires an understanding of alkalinity, porosity, and moisture vapor emission rates to ensure that thin-set mortar or leveling compounds achieve a permanent mechanical bond with the structural deck. When we talk about concrete, we are talking about a living material. It breathes. If the pH level of the concrete is too high, it will eat the adhesive from the inside out. This is why I always carry a pH testing kit. You want to see a reading between seven and nine. If it is higher, you are looking at a chemical reaction that will liquefy your glue. For shower pans, the bond between the pre-slope and the liner is critical. We use modified thin-set because the polymers provide flexibility. The chemistry of these polymers allows the mortar to deform slightly without cracking. This is vital in a shower where temperature fluctuations cause the materials to expand and contract. Without those polymers, the bond is brittle. A brittle bond under a shower liner is a recipe for a leak. You need to understand the molecular weight of the resins in your thin-set if you want to call yourself a professional. It is not just mud; it is a high performance adhesive system.
The 1/8 inch that ruins everything
Floor leveling is the process of eliminating deviations in the subfloor to meet NWFA standards, which typically require a flatness of 1/8 inch over a 10 foot radius to prevent laminate clicking or tile cracking. I have walked onto jobs where the builder said the floor was level. It was not. I pulled out my straight edge and found a 3/8 inch dip over four feet. If you lay laminate over that, the tongue and groove joints will snap within six months. The floor will feel like a trampoline. People think underlayment is a magic blanket. It is not. Underlayment is for sound dampening and moisture protection. It does not provide structural support. To fix a dip, you need a high flow self leveling underlayment. You have to prime the floor first. If you don’t prime, the dry concrete will suck the moisture out of the leveler too fast. The leveler will crack and fail to bond. I spend more time with a floor grinder and a vacuum than I do with a trowel. That is the secret to a floor that lasts fifty years. You grind the high spots and fill the low spots until that floor is like a sheet of glass. If you see a guy just throwing down carpet or laminate without checking for flatness, fire him on the spot. He is a hack.
| Material Type | Permeability Rating | Best Application | Acclimation Time |
|---|---|---|---|
| PVC Liner | Low | Standard Showers | 24 Hours |
| CPE Membrane | Very Low | High End Custom | 24 Hours |
| Liquid Membrane | Variable | Complex Geometries | 12 Hours |
| Sheet Membrane | Fixed | Steam Showers | 0 Hours |
Measuring success with a moisture meter
Moisture testing is the only objective method to determine if a wood subfloor or concrete slab is dry enough for hardwood installation, carpet install, or tile work, preventing adhesive failure and mold growth. I don’t care if the slab looks dry. I don’t care if it has been sitting for a month. Concrete can hold a massive amount of water in its capillaries. I use an impedance meter for a quick scan and then a calcium chloride test for the final word. If you are putting down a solid wood floor, the subfloor moisture content must be within two percent of the flooring material. If it is not, the wood will cup. It will crown. It will scream as it pulls the staples out of the plywood. In a shower environment, moisture is the enemy we are trying to manage. If the subfloor under the shower pan is wet before you even start, you are sealing that moisture in a tomb. It will rot the wood. It will create a smell that you can never get out of the house. You have to wait for the dry. Patience is a tool just like a hammer.
“Waterproof does not mean vapor-proof; the smallest molecular leak will destroy a subfloor over time.” – TCNA Handbook Insight
The checklist for a flat liner
- Verify the pre-slope is a minimum of 1/4 inch per foot toward the drain.
- Inspect the subfloor for any protruding nail heads or sharp concrete aggregate.
- Apply a dedicated waterproofing primer to the substrate if using a liquid membrane.
- Check that the weep holes in the drain assembly are completely clear of debris and mortar.
- Ensure the liner extends at least 3 inches above the finished curb height.
- Perform a 24 hour flood test before any tile is installed to verify the integrity of the seal.
Regional humidity impacts on shower longevity
The local climate dictates the vapor drive of a building, meaning a shower install in the humid Southeast requires different moisture barriers than an installation in the arid Southwest. In a place like Houston, the air is thick with water. The vapor drive is often from the outside in. If you don’t have a continuous vapor barrier, the wall studs in your bathroom will be damp year round. Compare that to Phoenix, where the dry heat can actually shrink the wood framing so fast that it cracks the grout lines in a new shower. You have to account for these environmental stressors. In high humidity regions, I always recommend a topical liquid membrane over a traditional PVC liner. This allows the moisture to stay in the tile and grout where it can evaporate back into the room rather than soaking into the mud bed. In dry regions, you have to be careful with how fast your thin-set cures. If the air strips the moisture out of the mortar too quickly, the cement won’t hydrate properly. You’ll end up with a weak, powdery bond. I’ve seen guys in the desert misting their thin-set with water just to keep the chemical reaction alive. That is the level of detail it takes to beat the climate.
The ghost in the expansion gap
Expansion gaps are essential perimeter spaces required for floating floors and tile installations to accommodate the thermal expansion and hygroscopic movement of materials without buckling or tenting. Every material on this planet moves. Wood moves the most. Laminate moves a fair amount. Even tile moves. If you butt your tile or wood tight against the wall, you are creating a ticking time bomb. When the humidity rises, that floor is going to expand. If it has nowhere to go, it will push against the wall until it has no choice but to go up. That is how you get a hump in the middle of your living room. I leave a 1/2 inch gap around the entire perimeter for wood. For tile, I use a flexible sealant in the change of plane joints. Never use grout in the corners. Grout is rigid. When the house settles or the materials expand, grout will crack. Siliconized caulk or pure silicone is the only way to handle that movement. It is the ghost in the machine. You don’t see it, but it is working every day to keep your floor from destroying itself.
Myths about waterproof laminate in wet areas
Waterproof laminate is a top-down marketing term, but the locking joints and core material can still fail if standing water penetrates the perimeter gaps or subfloor moisture rises from below. I hate that term. Waterproof. Nothing is truly waterproof if you submerge it long enough. The surface of the laminate might be plastic, but the core is often high density fiberboard. That is just compressed sawdust and glue. If water gets into the joints, that core will swell like a sponge. Once it swells, it never goes back down. You are left with peaked edges that look terrible and trip you up. If you are putting laminate in a bathroom, you better be sealing the perimeter with 100 percent silicone and a foam backer rod. You have to treat every edge like a dam. And for the love of all that is holy, don’t put a heavy kitchen island on top of a floating floor. You are locking it down. You are killing its ability to breathe. It will buckle at the first sign of a season change. A floor is a system. You have to respect the system.