How to Patch a Hole in Your Carpet Using a Hidden Closet Scrap
I spent three days grinding concrete on a job last month just so the floor wouldn’t click like a castanet. That job taught me that most people ignore the foundation of the home while focusing on the surface. When you are looking at a hole in your carpet, whether it is from a cigarette burn or a hyperactive puppy, you are looking at a structural failure of the textile layer. A floor is a performance surface. It is not just something you walk on. It is a complex assembly of padding, primary backing, secondary backing, and tufted fibers. When you cut into it, you are performing surgery. I have seen countless homeowners try to fix a hole with a piece of scrap and a bottle of school glue. It always looks like a crime scene. A proper carpet repair requires an understanding of the pile direction, the tension of the weave, and the chemical composition of the adhesive. If you do not respect the physics of the floor, the patch will fail within weeks.
The brutal reality of carpet surgery
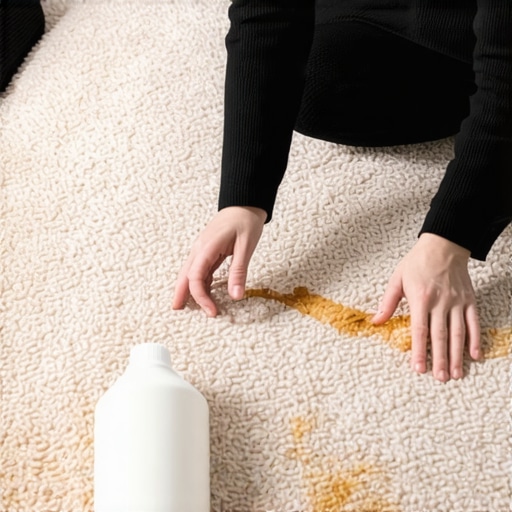
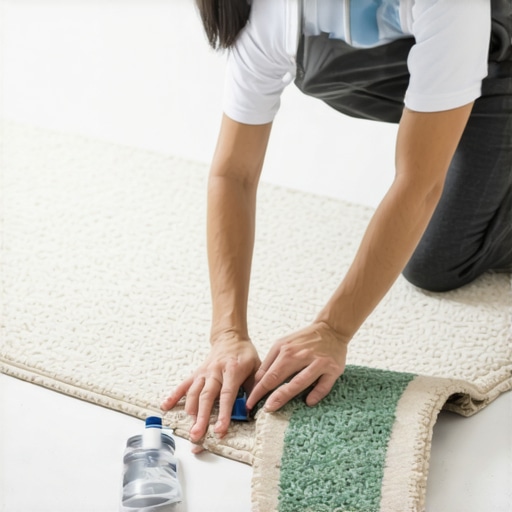
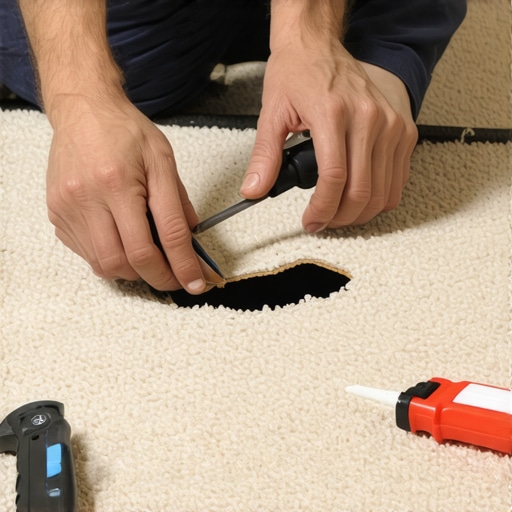
Carpet repair involves using remnants or closet scraps to replace damaged sections of flooring through a process called donor grafting. This requires a utility knife with a fresh blade, seam tape or pressure-sensitive adhesive, and a deep understanding of the nap direction to ensure the patch remains invisible. You cannot just slap a piece of fabric over a hole. You have to integrate it into the existing structure. This means matching the density of the fibers and ensuring the subfloor beneath is level and dry. If you have moisture issues in your slab, your patch will rot from the bottom up. Most carpet install failures happen because the installer ignored the environment. You need to check the humidity. You need to ensure the subfloor is not contributing to the problem. If you are dealing with a concrete floor, floor leveling might be necessary before you even think about the carpet. A dip in the floor will cause the patch to sink, creating a shadow that screams for attention. This is why professional installers carry a level even for carpet work.
“A carpet repair is a structural union between two separate manufacturing runs; treat the seam as the weakest link in the chain.” – Master Flooring Axiom
Why the subfloor ruins the repair
The subfloor condition determines the longevity of a carpet patch because deflection and moisture directly impact adhesive bonds. A level surface ensures that the patch sits flush with the surrounding pile, preventing premature wear on the edges of the repair site. Think about the physics. Every time you step on that patch, the fibers compress. If the subfloor has a 1/8 inch dip, the patch will flex more than the surrounding carpet. This movement breaks the adhesive bond. It is the same reason we worry about subfloor prep for laminate or tile in showers. If the base moves, the top cracks. In carpet, the top does not crack, it delaminates. The secondary backing peels away from the primary backing. This is why I always tell people to check their floor leveling before they start. If the floor is uneven, the patch will never look right. You will see a line where the light hits the uneven surface. It is a game of shadows and light. You have to be precise.
| Carpet Material | Average Janka (N/A) | Acclimation Time | Adhesive Type |
|---|---|---|---|
| Nylon | High Durability | 24-48 Hours | Thermoplastic Tape |
| Polyester | Medium Durability | 24 Hours | Pressure Sensitive |
| Wool | Natural Resiliency | 72 Hours | Latex Seam Sealer |
| Olefin | Moisture Resistant | 24 Hours | High-Bond Acrylic |
The chemistry of the bond and why retail glue fails
Adhesive chemistry is the difference between a permanent fix and a temporary band-aid for your flooring. Most store-bought glues lack the shear strength to hold carpet fibers under the lateral tension caused by foot traffic and vacuuming. You need a specialized seam sealer or hot-melt tape that creates a molecular bond with the latex backing. When you use a hot-melt iron, you are melting a thermoplastic resin into the fibers of both the patch and the original carpet. This creates a bridge. If you use a cold glue, it just sits on the surface. It does not penetrate the backing. Over time, the glue dries out and becomes brittle. Then you walk on it, and the patch pops out. It is a mess. I always use a professional-grade latex sealer on the edges of the cut. This prevents fraying. Fraying is the enemy of an invisible seam. If the edges start to shed, you will see a gap. That gap will collect dirt. Soon, you have a black ring around your patch. It looks terrible. Professional carpet install kits include these sealers for a reason. Do not skip this step.
- Identify the nap direction by rubbing a hand across the carpet surface.
- Cut the donor piece from a hidden corner of a closet or under a baseboard.
- Use a star roller to blend the fibers of the patch with the existing pile.
- Seal all cut edges with a thermoplastic or latex-based seam sealer.
- Weights should be placed on the patch for at least six hours to ensure a flat bond.
Surgical precision with the nap and the pile
The nap direction or pile sweep is the angle at which the fibers lean, and it must be perfectly aligned between the patch and the surrounding area. If the nap is reversed, the patch will appear a different color due to light refraction, even if the carpet scrap came from the same roll. This is basic optics. Every fiber has a shadow side and a light side. If you rotate the patch 180 degrees, the shadows will be on the wrong side. The patch will look dark while the floor looks light. It is the first thing a pro looks for. To find the nap, take a pencil and roll it across the carpet. It will roll easier in one direction. That is your North. Mark North on the floor and mark North on your donor scrap. When you cut the hole, use a template. Do not just hack away. I like to use a clean tuna can or a professional carpet cutter. You want a perfect circle or a perfect square. Circles are actually better because the human eye is less likely to pick up a curved seam than a straight line. Straight lines create shadows that look like cracks.
“Deflection is the enemy of every joint, whether it is a tile grout line or a carpet seam.” – Master Flooring Axiom
The invisible transition and the donor site
Selecting a donor site requires finding a low-visibility area such as a closet corner where the carpet has not been crushed by traffic or faded by UV rays. The scrap must match the wear level of the repair area to ensure a homogenous look across the floor surface. If you take a brand new piece of carpet from a closet and put it in the middle of a high-traffic hallway, it will stand out. The closet carpet is fluffy and tall. The hallway carpet is matted and worn. You have to groom the patch. Sometimes I take a wire brush to the donor piece to break it in. I want to match the misery of the existing floor. It sounds counter-intuitive, but a perfect piece of carpet looks like a mistake in an imperfect room. You also have to consider the pad. If the hole went through to the pad, you have to patch that too. You cannot have a void under your carpet. Use a piece of scrap padding and duct tape the seams. It provides the necessary resistance. Without it, the patch will feel soft and weird when you step on it.
Moisture and the silent killer of latex backings
Moisture vapor transmission from the subfloor can emulsify adhesives and cause the secondary backing of your carpet patch to delaminate. In areas like showers or laundry rooms, the relative humidity must be monitored to prevent mold growth under the repaired section. If you are patching carpet near a bathroom, check for leaks. Water travels. It can wick through the padding for ten feet. If the backing gets wet, the latex breaks down. It turns into a white powder. Once the latex is gone, the tufts just fall out. You are left with a bald spot. This is why I am so obsessed with moisture meters. I don’t care if it is a carpet install or a hardwood job. Moisture is the enemy. It ruins the chemical bond of the seam tape. It causes the subfloor to swell. If you are working on a slab in a humid climate, use a synthetic backing carpet. Stay away from natural jutes. They rot. A repair is only as good as the environment it lives in. Keep it dry. Keep it clean. That is the only way it lasts twenty years.