Why your grout is gritty and rubs off on your fingers
The gritty truth about failing grout joints
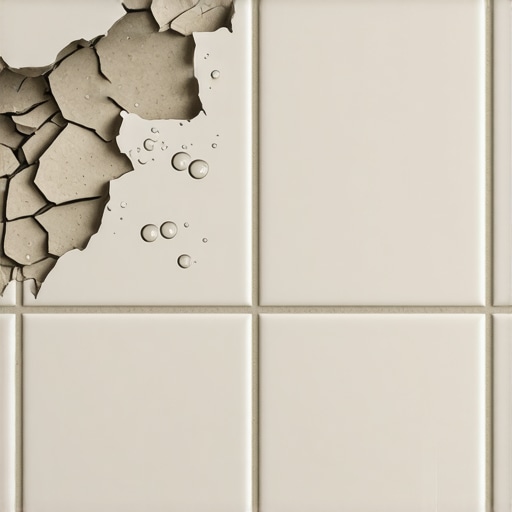
I spent three days grinding concrete on a job last month just so the floor would not click like a castanet. Most guys skip the leveling compound. They think the underlayment will hide the dip. It won’t. That same lazy philosophy is why your grout is currently turning into a pile of sand beneath your feet. I have spent 25 years on my knees fixing the mistakes of people who think a bag of grout is just dirt you mix with water. It is not. It is a chemical reaction. When you see grout rubbing off on your fingers or feeling like sandpaper that has lost its grit, you are looking at a structural failure. Usually, this is the result of a hydration crisis or a subfloor that has more movement than a bowl of jelly. A floor is a performance surface. If the chemistry is off, the performance ends in a cloud of dust.
The science of soft grout joints
Grout turns gritty and rubs off because the cementitious bond failed during the curing process or was compromised by excessive moisture during installation. This condition, often called soft grout, occurs when the polymer chains do not fully interlock, leaving the material brittle. It is a molecular failure caused by improper mixing, expired product, or environmental interference during the first 24 hours of hydration. Most homeowners assume the grout was just bad from the store. In reality, the installer likely added too much water or wiped the joints with a soaking wet sponge before the cement had time to set. This washes away the binder, leaving only the sand behind. It is exactly like trying to build a brick wall with mud instead of mortar. The structure lacks the internal cohesion required to withstand foot traffic or the simple friction of a finger swipe.
“A floor is only as good as the subfloor beneath it; deflection is the enemy of every joint.” – Master Flooring Axiom
Why your water to powder ratio is a lie
The water to powder ratio is the single most important variable in grout integrity and must be measured by weight rather than by sight. When you eyeball the water, you are inviting disaster into your showers and living rooms. Too much water creates microscopic voids in the grout as it evaporates. These voids weaken the overall matrix. Once the water leaves, there is nothing left but air and loose sand. This is why the grout feels gritty. It is literally a honeycomb of air pockets. I always tell my apprentices that the mix should look like heavy peanut butter. If it looks like a milkshake, throw it out. You cannot save a wet batch by adding more powder later. That ruins the chemical balance. You are better off wasting a ten dollar bag of grout than wasting a ten thousand dollar tile job.
The ghost in the expansion gap
Expansion gaps are non-negotiable perimeters around the edge of a room that allow the floor to breathe without putting pressure on the grout. If you do not leave a gap between the tile and the wall, the floor has nowhere to go when the house shifts or the temperature changes. This pressure translates directly into the grout joints. When the floor expands, it squeezes the grout. If the grout is already slightly weak from a poor mix, it will crumble. This is especially true when transitioning from a carpet install to a tile surface. The tension from the carpet tack strips and the lack of a proper transition strip can cause the edge tiles to vibrate. That vibration turns your grout into dust over time. Every floor needs room to move. If you lock it in, the floor will find a way to break free, usually at your expense.
When floor leveling becomes the silent killer
Floor leveling is the foundational step that prevents tile deflection which is the primary cause of grout cracking and powdering. If your subfloor has a dip of more than 1/8 inch over ten feet, your tile is going to flex. When you walk on a tile that is suspended over a hollow spot, the tile acts like a lever. This lever action grinds the grout against the edge of the tile. Over a few months, this mechanical friction turns the solid grout into a fine powder. I have seen guys try to use laminate underlayment to hide a bad subfloor under tile. It never works. You must use a self leveling compound to create a dead flat surface. Without a flat surface, the grout is doomed before you even open the bag. I have spent more time with a grinder and a level than I have with a grout float, and that is why my floors do not fail.
| Grout Type | Flexibility Rating | Moisture Resistance | Typical Use Case |
|---|---|---|---|
| Sanded Grout | Low | Medium | Joints wider than 1/8 inch |
| Unsanded Grout | Very Low | Medium | Vertical walls and thin joints |
| High Performance Cement | High | High | High traffic residential |
| Epoxy Grout | Extreme | Waterproof | Steam showers and commercial |
Showers and the hydraulic pressure problem
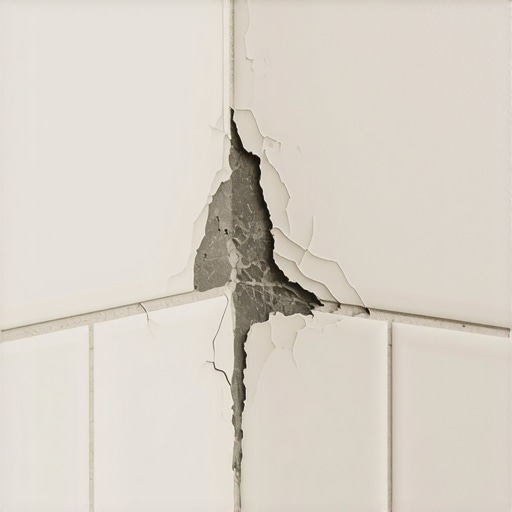
Showers experience constant thermal expansion and contraction which requires a high polymer grout to prevent the joints from becoming gritty. In a shower environment, water is the enemy. If you use a cheap, non modified grout, the water will eventually find its way into the pores. As the water sits there, it begins to break down the cement binder through a process of leaching. This is why you often see grout rubbing off in the corners of a shower first. It is not just the water from the shower head. It is the moisture trapped behind the tile. If the waterproofing membrane was not installed correctly, the moisture has nowhere to go. It sits against the back of the grout and rots it from the inside out. This is why I insist on using epoxy or high performance additives in every wet area I touch.
The 1/8 inch that ruins everything
The difference between a successful grout joint and a total failure is often as small as 1/8 inch of movement or thickness. People think that flooring is a rough trade. It is actually a game of millimeters. If your grout joint is too thin for the type of sand used, the sand will not sit properly. It will be top heavy. If the joint is too wide for unsanded grout, it will shrink and crack. Every manufacturer specifies a maximum and minimum width for a reason. Ignoring these specifications is a recipe for a gritty mess. You also have to consider the height of the tile. If you do not pack the grout all the way to the bottom of the joint, you leave a bridge. That bridge will collapse under the weight of a person walking across it. Pack the joints tight. No exceptions.
“Grout is not a decorative filler; it is a structural component of the assembly that distributes load across the floor.” – TCNA Handbook Standards
A checklist for grout that lasts a lifetime
- Verify the subfloor deflection meets L/360 standards for ceramic and L/720 for natural stone.
- Mix the grout using a low speed drill to avoid whipping air bubbles into the paste.
- Allow the mixed grout to slake for ten minutes to let the chemicals fully activate.
- Use a damp, not dripping, sponge for the initial cleanup to preserve the binder.
- Ensure the room temperature stays between 50 and 90 degrees Fahrenheit during the cure.
- Seal the grout only after it has fully hydrated, typically 48 to 72 hours later.
The chemistry of the final wash
The final wash of the tile surface is where most grout jobs are ruined by installers using too much water. If you see white streaks on your tile after it dries, that is efflorescence. It is a sign that salts are being pulled to the surface by excess water. This same water is diluting the top layer of your grout. This is why the grout might feel hard underneath but remains dusty on the surface. You are essentially creating a layer of weak, over hydrated cement on the very top where it needs to be strongest. I use a microfiber cloth for the final buffing once a haze has formed. It pulls the residue off without adding moisture back into the joint. It is a slow process, but it is the only way to ensure the surface of the grout is as hard as the tile itself.
Final verdict on floor performance
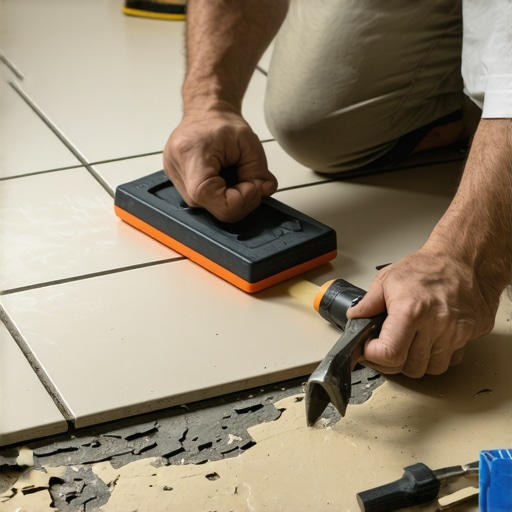
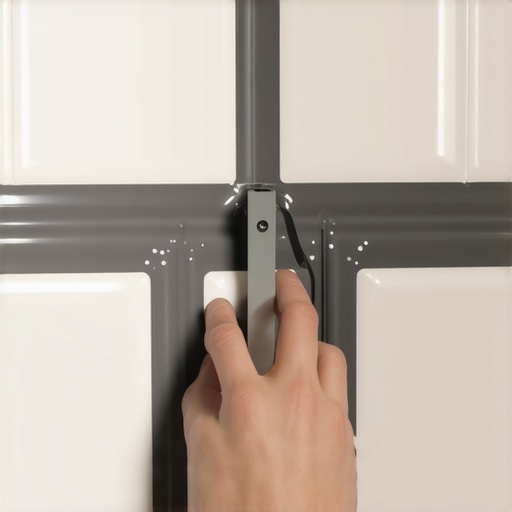
If your grout is rubbing off, you have a choice to make. You can try to scrape out the top 1/8 inch and re-grout, but that is often just a temporary patch. If the issue is subfloor movement or a lack of leveling, the new grout will fail just like the old stuff did. You have to address the root cause. Check for floor leveling issues. Ensure the water ratio was correct. Stop treating your floor like a cosmetic rug and start treating it like the structural engineered system it is. A good floor does not just look good. It stays solid for thirty years because the man who laid it understood the physics of the assembly. Anything less is just a pile of expensive trash waiting to be swept away.
{“@context”:”https://schema.org”,”@type”:”Article”,”headline”:”Why your grout is gritty and rubs off on your fingers”,”author”:{“@type”:”Person”,”name”:”Master Floor Installer”},”description”:”An expert breakdown of why grout becomes gritty and rubs off, focusing on chemical hydration, subfloor leveling, and installation errors.”,”articleSection”:”Flooring Construction and Repair”}