The ‘Bucket’ trick for mixing the perfect batch of grout
The subfloor secret and why your installation depends on it
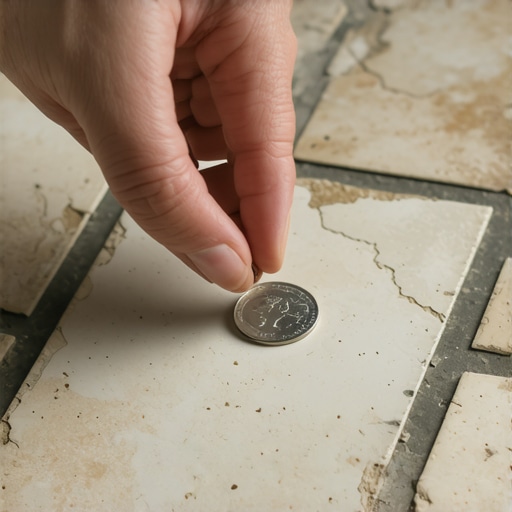
Floor leveling and moisture management are the invisible foundations of a successful installation. I spent three days grinding concrete on a job last month just so the floor would not click like a castanet. Most guys skip the leveling compound. They think the underlayment will hide the dip. It won’t. I have seen countless showers and laminate installs fail because the person behind the trowel was in too much of a hurry to check the substrate for flatness. A floor is a structural engineering project, not a weekend craft. If the base is not within an eighth of an inch over ten feet, your finish material is destined to fail. I remember a specific carpet install where the padding was expected to bridge a massive gap in the slab. Within six months, the high traffic areas had worn through because the subfloor was acting like a saw blade against the backing of the rug. This is the reality of the trade. You either respect the physics of the house or the house will destroy your work. We start with the subfloor because everything else is just decoration built on top of a lie. If you want a floor that lasts thirty years, you start with a grinder and a level, not a box of planks. [image_placeholder_1]
The bucket trick and the chemistry of grout hydration
Grout mixing requires a two-bucket system to ensure the chemical hydration process reaches peak strength without compromising the pigment or structural integrity. Most installers just pour water into a bucket and start spinning a drill. That is a recipe for soft joints and efflorescence. The bucket trick is a method of controlled hydration. You have one bucket for the initial mix and a second bucket of clean water for cleaning your tools and adjusting the consistency. You never add water to the grout after the initial mix. If the grout starts to stiffen, you re-mix it by hand to wake up the polymers. Adding water at that stage ruins the water-to-cement ratio and leads to color shading issues. You must understand the molecular reality of Portland cement. It does not dry. It cures through a chemical reaction. If you introduce too much oxygen with a high-speed drill, you create micro-bubbles. These bubbles turn into pinholes once the grout sets. You want a consistency similar to heavy peanut butter. It should hang on a margin trowel without sliding off, yet it must be plastic enough to be pushed into the deep recesses of a tile joint. This balance is the difference between a shower that stays waterproof and one that leaks into the floor joists within two seasons.
“A floor is only as good as the subfloor beneath it; deflection is the enemy of every joint.” – Master Flooring Axiom
The physics of deflection and the L360 standard
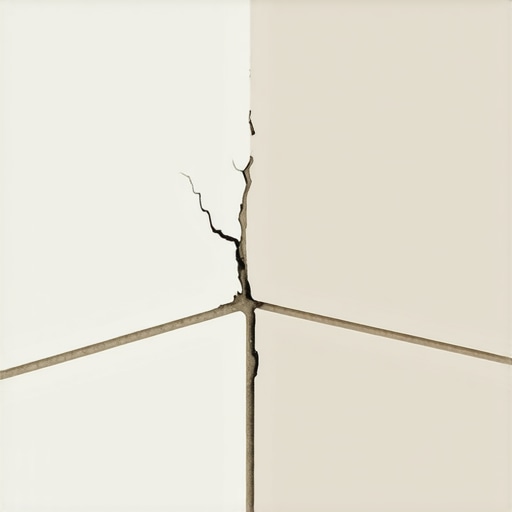
Subfloor deflection refers to the amount of vertical movement a floor system experiences under a load, which is measured by the L360 industry standard. This means the floor should not bend more than the length of the span divided by 360. For a ten-foot span, that is only a third of an inch. If you are laying large format tile, you actually need L720, which is half that movement. When a floor bounces, the grout joints are the first thing to snap. I have walked into homes where the laminate was separating at the butt joints. The homeowner thought it was a product defect. In reality, the floor joists were spaced twenty-four inches on center with only a single layer of five-eighths inch plywood. The floor was acting like a trampoline. To fix this, you have to add a second layer of underlayment grade plywood, glued and screwed to the first, but never through the joists. This allows the two layers to act as a monolithic slab. This structural rigidity is what prevents the clicking sound that people hate in floating floors. We are dealing with gravity and tension. If you ignore the span ratings of your lumber, your carpet install will eventually show ripples because the subfloor is shifting beneath the tack strips. This is the structural zooming that separates a master from a handyman.
The hidden danger of moisture vapor transmission
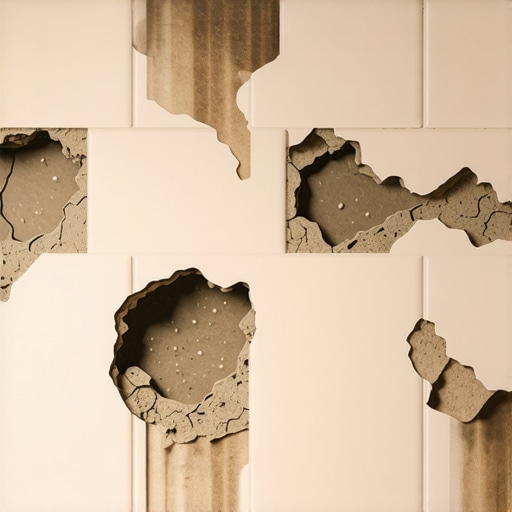
Moisture vapor transmission is the movement of water through a concrete slab in the form of a gas, which can delaminate adhesives. Even if a slab looks dry, it is breathing. I use a calcium chloride test or an in-situ probe to measure the internal relative humidity of the concrete. If the slab is pushing out more than three pounds of moisture per thousand square feet, your laminate or vinyl is going to bubble. The adhesive will emulsify and turn back into a liquid state. This is why a six-mil poly vapor barrier is not an option. It is a requirement. In showers, this moisture movement is even more aggressive. You have hydrostatic pressure pushing against the waterproofing membrane. If you do not have a pre-slope beneath your liner, the water sits in the mortar bed and becomes a stagnant pond. This leads to the smell of rotten eggs and the growth of black mold. The science of capillary action dictates that water will travel uphill if the pore structure of the mortar is tight enough. This is why we use high-performance modified thin-sets that block these pathways at a molecular level.
| Material Type | Janka Hardness | Max Deflection | Acclimation Time |
|---|---|---|---|
| Solid White Oak | 1360 | L360 | 10-14 Days |
| Engineered Maple | 1450 | L480 | 3-5 Days |
| Large Format Tile | N/A | L720 | Zero |
| Laminate Planks | N/A | L360 | 48 Hours |
The expansion gap and the ghost in the wall
Expansion gaps are the perimeter spaces left between the flooring and the vertical walls to allow for natural movement caused by humidity. Every organic material reacts to the atmosphere. Wood cells expand when they soak up moisture and shrink when the furnace turns on in the winter. If you run your laminate tight to the drywall, the floor has nowhere to go. It will eventually find the weakest point and pop up in the middle of the room. This is called crowning. I always leave at least a half-inch gap. People worry about the gap being ugly, but that is what baseboards and shoe moldings are for. You are building a floating raft. That raft needs to be able to drift. I have seen heavy kitchen islands pinned down on top of a floating floor, which effectively anchors it in place. When the floor tries to expand, the locking mechanisms simply snap. This is a common failure in modern open-concept homes. You must treat every room as an independent field of movement. If the span exceeds thirty feet, you need a transition strip, even if the homeowner hates the look. Engineering requirements do not care about your aesthetic preferences.
“Failure to provide adequate expansion space is the leading cause of floating floor failure in residential construction.” – NWFA Technical Guidelines
The precision of carpet stretching and lateral tension
Carpet stretching is the process of using a power stretcher to pull the textile to its maximum tension to prevent future ripples. A knee-kicker is a tool for positioning, not for stretching. If an installer shows up with only a knee-kicker, send them home. You need the mechanical advantage of a long-pole power stretcher that pushes off the opposite wall. We are looking for roughly one to one-and-a-half percent stretch in both directions. This keeps the primary and secondary backings of the carpet locked together. If the carpet is loose, the latex bond between those backings will break down as people walk over it. This is why you see those ugly waves in old carpet. It is not just old. It was never installed with the correct lateral tension. The pad underneath also plays a role. A pad that is too thick or too soft will allow the carpet to flex too much, which pulls the yarns out of the backing. I prefer a high-density rebond pad for most residential jobs. It provides support for the backing while still giving that soft feel underfoot. It is the balance of cushion and resistance. [image_placeholder_2]
The master installer pre-grout protocol
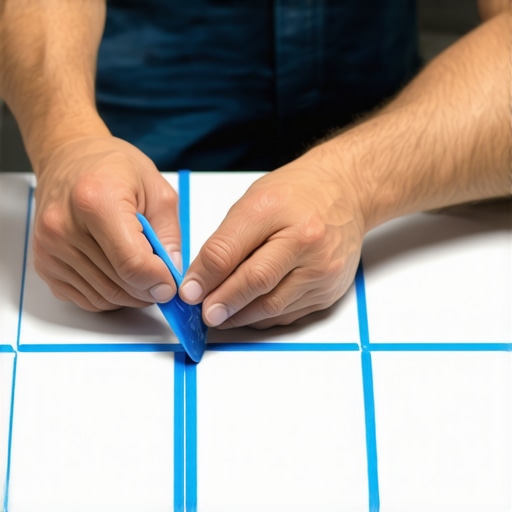
- Vacuum every single joint to remove spacers and construction debris.
- Wipe the tile faces with a damp sponge to prevent the grout from sticking to the surface.
- Check the weather and humidity to adjust the slaking time of the mixture.
- Verify that the thin-set has cured for at least twenty-four hours to prevent moisture entrapment.
- Select a high-quality grout float with a sharp rubber edge for clean scraping.
The chemical bond versus the mechanical bond
Adhesive bonds in flooring come in two primary forms which are mechanical and chemical. A mechanical bond is like Velcro. The adhesive flows into the pores of the substrate and the backing of the floor and hardens into a physical lock. A chemical bond happens when the molecules of the adhesive actually fuse with the material. In floor leveling, we use primers to bridge these two worlds. The primer penetrates the dusty concrete to create a solid surface that the leveler can then grab onto. If you skip the primer, the dry concrete will suck the water out of the leveling compound too fast. This prevents the polymers from forming their chains. The result is a brittle layer of sand that will eventually crumble under the weight of the furniture. This is why I am obsessed with the bucket trick and proper mixing. You are not just moving mud. You are managing a chemical reaction. When you mix grout or thin-set, you are acting as a chemist. The temperature of the water matters. The speed of the paddle matters. Even the minerals in the local tap water can affect the final color of your joints. This is why I often bring my own filtered water to a high-end job site. It sounds crazy until you see a twenty-thousand-dollar marble floor ruined by iron stains from well water.
The atmospheric reality of acclimation
Material acclimation is the vital process of allowing your flooring to reach an equilibrium moisture content with the environment of the home. You cannot take wood from a cold warehouse and install it in a humid house the same day. The wood will swell after it is nailed down, which leads to cupping. The edges of the boards will sit higher than the centers. You cannot sand this flat because once the wood dries out, it will crown. You have to wait. I use a pin-type moisture meter to check the boards and the subfloor. I want them within two percent of each other before I even open a box of staples. For laminate, the core is usually high-density fiberboard which is essentially a sponge made of sawdust. It needs at least forty-eight hours to settle. We are managing the relationship between the cellular structure of the material and the relative humidity of the room. If the HVAC system is not running, do not install the floor. The house needs to be at living conditions. If the homeowner is saving money by leaving the AC off during construction, they are costing themselves a floor. I have seen entire levels of hardwood buckle and lift four inches off the subfloor because the installer didn’t wait for acclimation. It looked like a mountain range in the middle of the living room. It was a total loss. All because someone wanted to save three days of waiting. Flooring is a game of patience and physics. If you try to cheat either one, you lose.{“@context”:”https://schema.org”,”@type”:”HowTo”,”name”:”The Bucket Trick for Mixing Perfect Grout”,”step”:[{“@type”:”HowToStep”,”text”:”Fill a clean five-gallon bucket with the exact amount of cool, clean water specified by the manufacturer.”},{“@type”:”HowToStep”,”text”:”Slowly add the grout powder to the water while mixing at a low speed of less than 300 RPM to avoid air entrainment.”},{“@type”:”HowToStep”,”text”:”Mix until the consistency resembles thick peanut butter with no dry clumps remaining.”},{“@type”:”HowToStep”,”text”:”Allow the mixture to slake for ten minutes to let the chemicals fully hydrate.”},{“@type”:”HowToStep”,”text”:”Re-mix the grout by hand with a margin trowel to break the initial set and restore plasticity without adding more water.”}]}