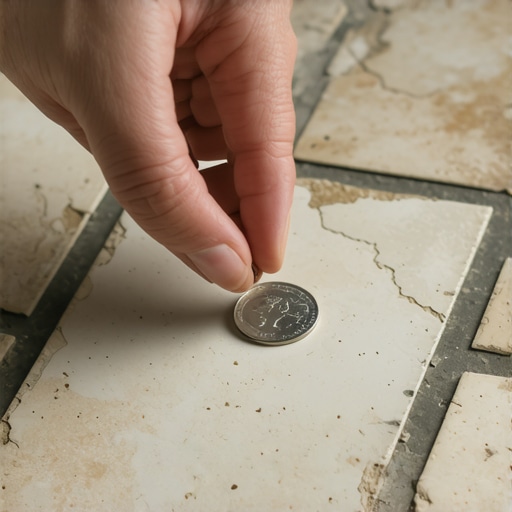
The ‘Coin Drop’ Strategy for Identifying Loose Tiles on a Concrete Slab
The hollow ring of a failed installation
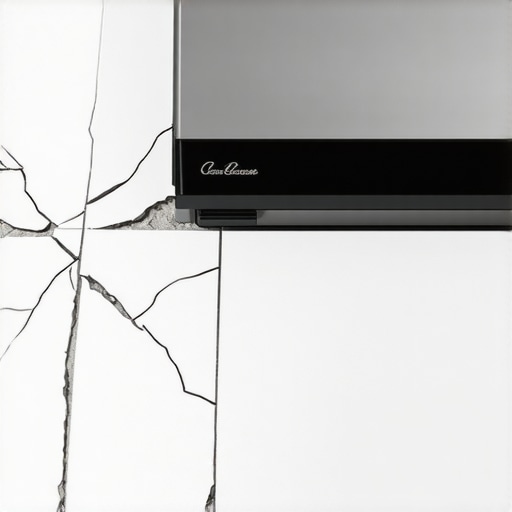
Identifying loose tiles on a concrete slab requires a discerning ear and a heavy silver coin to detect the acoustic shifts that signal a debonded substrate. This method, known as sounding, relies on the physics of vibration where a solid bond produces a high-pitched ‘tink’ while a void sounds like a dull, thudding ‘clack’. When the mortar fails to grab the concrete or the tile, an air pocket forms, creating a drum effect that eventually leads to cracked grout and snapped porcelain.
I spent three days grinding concrete on a job last month just so the floor wouldn’t click like a castanet. The homeowners thought I was being obsessive, but they had previously seen a fifteen thousand dollar wide-plank walnut floor cup like a potato chip because the installer didn’t check the crawlspace humidity or the subfloor levelness. Most guys skip the leveling compound. They think the underlayment will hide the dip. It won’t. I had to show them the science of the bond before they understood why I was covered in grey dust for seventy-two hours. Whether you are dealing with showers or a standard kitchen floor, the substrate is the only thing that matters.
The physics behind the sounding method
A properly installed tile is a composite structure. The concrete slab, the thin-set mortar, and the tile should function as a single monolithic unit. When you drop a coin or a specialized sounding rod, the energy travels through the tile and into the slab. If there is a void, the energy is reflected back, vibrating the tile independently of the slab. This is why the sound changes. It is a primitive but effective form of non-destructive testing. In high-end commercial projects, we might use ultrasonic pulse velocity, but for a residential carpet install transition or a laminate prep, a coin or a golf ball is the gold standard of the trade.
“A floor is only as good as the subfloor beneath it; deflection is the enemy of every joint.” – Master Flooring Axiom
Why your subfloor is lying to you
Subfloor leveling is the most neglected phase of flooring because it is invisible once the finished material is down. A concrete slab may look flat to the naked eye, but it is often a landscape of micro-peaks and valleys that will cause any rigid material to bridge over gaps. When you walk over these bridged areas, the tile flexes. Since ceramic and porcelain have zero tensile strength, they crack. If you are preparing for a carpet install, those dips might just feel like a soft spot, but under laminate or tile, they are catastrophic. The Tile Council of North America specifies that for large format tiles, the floor must not vary more than one-eighth of an inch over ten feet.
| Subfloor Characteristic | Tile Requirement | Laminate Requirement | Carpet Requirement |
|---|---|---|---|
| Maximum Dip (10ft) | 1/8 inch | 3/16 inch | 1/4 inch |
| Moisture Limit (RH) | 80% | 75% | 85% |
| Surface Profile | CSP 3 | CSP 1-2 | N/A |
The chemical bond that holds your world together
Modified thin-set is not just ‘mud’. It is a complex polymer-modified cementitious adhesive designed to handle the shear forces of a drying concrete slab. When we talk about floor leveling, we are talking about creating a surface where the mechanical bond can transition into a chemical bond. The polymers in the mortar act as bridges, reaching into the microscopic pores of the concrete. If the slab is too smooth or contaminated with old carpet adhesive, the bond fails. This is often where the ‘hollow’ sound originates. The mortar is stuck to the tile, but it has popped off the slab like a scab.
The 1/8 inch that ruins everything
Expansion gaps at the perimeter are the lungs of the flooring system, allowing the entire assembly to breathe as temperatures fluctuate. Many installers think that because they are working on concrete, they do not need to worry about expansion. This is a lie. Concrete expands. Tile expands. Grout does not. If you push your tile tight against a wall or a heavy kitchen island, the force has nowhere to go but up. This creates ‘tented’ tiles that sound like a drum when you perform the coin drop. Always leave that gap. Hide it with your baseboard or a shoe molding, but never fill it with hard grout.
- Check for slab moisture using a calcium chloride test before any floor leveling starts.
- Use a 10-foot straightedge to identify high spots that need grinding.
- Vacuum all dust; even a thin layer of dust acts as a bond breaker.
- Back-butter every tile larger than 12×12 to ensure 95% coverage in wet areas like showers.
The ghost in the expansion gap
I have seen luxury laminate floors fail in six months because the installer didn’t understand the physics of a floating floor. They pinned the floor down with heavy transition strips or cabinets. A floor needs to move. If you use the coin drop and hear hollow spots near the edges, it might be the floor lifting because it is compressed against a wall. This is especially true in humid environments where the core of the laminate or the wood expands significantly. You have to respect the gap. If you do not, the floor will eventually find its own way to expand, usually by popping the joints or snapping the locking mechanisms.
“Deflection and moisture are the two Horsemen of the Flooring Apocalypse; ignore them at your own peril.” – Master Flooring Axiom