The ‘Tape’ trick for protecting your walls from leveler
I spent three days grinding concrete on a job last month just so the floor wouldn’t click like a castanet. The homeowner thought a thick underlayment would mask the half inch belly in the slab. It won’t. Most guys skip the leveling compound because they are afraid of the mess or the cost. They think the foam will hide the dip. I had to explain that the physics of a click-lock floor do not care about your budget. If that floor flexes every time you walk on it, the tongue and groove will snap. I’ve seen fifteen thousand dollar wide plank walnut floors ruined because the installer didn’t check the crawlspace humidity or the subfloor flatness. This is not about aesthetics. This is about structural engineering at the ground level. You cannot build a house on sand, and you cannot lay a floor on a roller coaster.
The physics of a perfectly flat surface
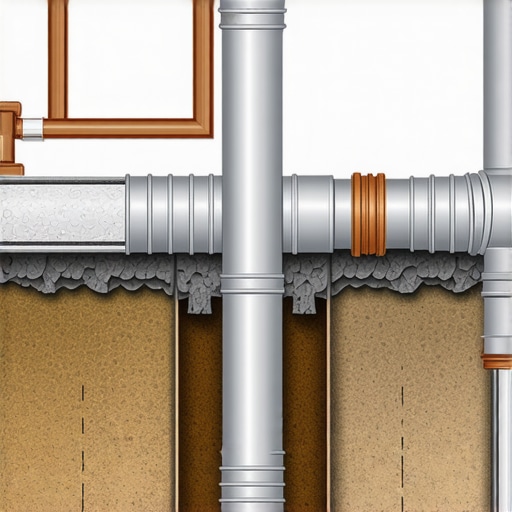
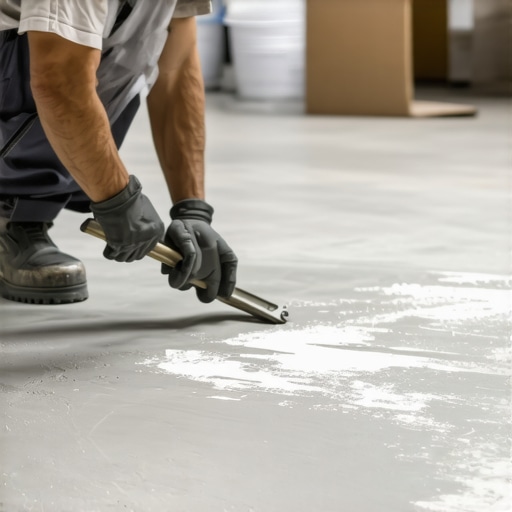
Subfloor leveling is the process of creating a controlled plane to support the structural integrity of your finished floor. Whether you use laminate, showers, carpet install, or floor leveling techniques, the goal is to eliminate deflection and provide a stable base that meets the 1/8 inch tolerance. A floor is not just a surface to walk on. It is a system of layers that must work in harmony. When you pour a self leveling compound, you are essentially creating a liquid stone that finds the absolute center of gravity. This liquid must be contained. Without a proper perimeter seal, the leveler will find every crack, every gap under the drywall, and every hole around the plumbing. It will vanish into the abyss of your crawlspace or ruin the carpet in the next room before it ever has a chance to harden.
“A floor is only as good as the subfloor beneath it; deflection is the enemy of every joint.” – Master Flooring Axiom
The science of the perimeter seal
The tape trick involves the use of closed cell foam or high grade painter tape to create a watertight dam around the entire room. This barrier prevents the liquid leveler from escaping the intended pour area and protects the drywall from moisture wicking. It is the only way to ensure the leveler stays where it belongs. When you pour leveler, you are dealing with a material that has a viscosity similar to pancake batter but the weight of liquid lead. The pressure it exerts on the edges of the room is significant. If you do not seal the gap between the floor and the wall, the leveler will migrate. This causes two problems. First, you lose the volume of material needed to hit your level marks. Second, you create a rigid bridge between the floor and the wall. Most modern floors require an expansion gap. If the leveler fills that gap, the floor has nowhere to go when the humidity spikes. The result is a buckled floor that resembles a mountain range.
The disaster of the neglected subfloor
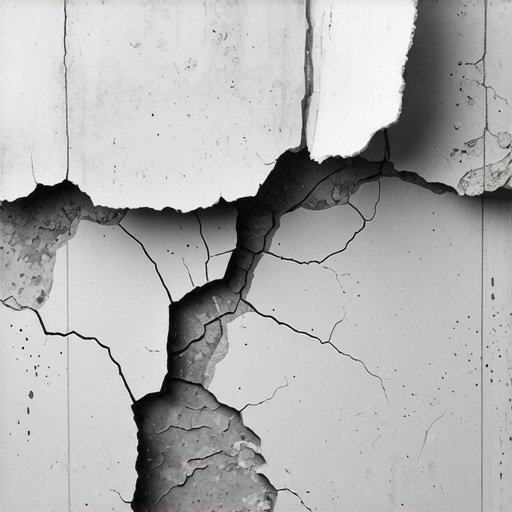
Ignoring subfloor preparation leads to the eventual failure of the locking mechanisms in floating floors like laminate and luxury vinyl. The constant micro movement of the planks over a dip wears down the plastic or wood joints until they separate. This creates unsightly gaps and allows moisture to penetrate the core. I have seen people try to fix a dip with extra layers of carpet padding. This is a hack move. The extra cushion actually makes the problem worse because it increases the vertical travel of the joint. You need a substrate that is flat to within 3/16 of an inch over a 10 foot radius. In many cases, the industry standard is even tighter at 1/8 of an inch. To achieve this, you must be a master of the pour. You must understand the chemistry of the primer. Without a primer, the dry concrete or wood subfloor will suck the water out of the leveler too fast. This ruins the chemical cure and leaves you with a brittle, dusty mess that will crack under the weight of a refrigerator.
[image_placeholder]
The application of the perimeter barrier
Professional installers use a specialized foam expansion strip or a heavy duty tape to dam the perimeter of the room before the pour begins. This strip acts as a gasket that prevents leaks and provides a built in expansion gap for the finished flooring material. It is a non negotiable step for any quality job. To perform this trick correctly, you must first vacuum the entire perimeter with a high efficiency particulate air filter. Any dust left behind will prevent the tape from sticking. I prefer to use a two inch wide tape. I run half of it up the wall and the other half across the floor. In the corner, you have to be precise. If you leave a tiny hole in the corner, the leveler will find it. I often add a small bead of silicone or a specific foam gasket on top of the tape for extra security. This creates a bathtub effect. You can pour the leveler with confidence, knowing it will stay in the room and level itself out according to the laws of physics.
| Subfloor Type | Moisture Limit | Leveler Type | Primer Required |
|---|---|---|---|
| Concrete Slab | 3 lbs / 1000 sqft | Portland Based | Porous Primer |
| Plywood | 12% MC | Fiber Reinforced | Wood Primer |
| OSB | 10% MC | High Flex | Mechanical Sanding |
| Radiant Heat | Follow Manufacturer | High Heat Rated | Non Porous Primer |
The failure of the cheap underlayment
Many homeowners believe that a thicker underlayment will compensate for a poor subfloor, but the opposite is often true. Too much compression under a floating floor puts immense stress on the click lock edges, leading to premature breakage. A flat subfloor is more important than a soft underlayment. You have to look at the mil thickness of the wear layer and the density of the core. If you are putting laminate over a subfloor that looks like the rolling hills of Kentucky, no amount of foam will save you. You will hear a clicking sound every time you walk across the room. That sound is the sound of your investment failing. The tape trick ensures that your leveler stays at the height you calculated. It allows you to fill those deep bellies without losing material into the wall cavities. It is a simple step that separates the pros from the guys who are just winging it.
“Substrate preparation is the most significant factor in the longevity of a tile installation.” – TCNA Industry Standard
The technical checklist for floor leveling
A successful pour requires a systematic approach to cleaning, priming, and sealing the work area. Missing a single step in the preparation phase can lead to a complete bond failure or an uneven finish that requires expensive grinding. Follow these steps for a professional result.
- Grind down all high spots with a diamond cup wheel and a vacuum shroud.
- Identify all low spots using a ten foot straight edge or a laser level.
- Seal every perimeter gap and plumbing penetration with the tape trick and foam.
- Apply the correct primer based on the porosity of the substrate.
- Mix the leveler with a high speed drill and the exact amount of water specified.
- Pour the leveler starting at the furthest point and work toward the exit.
- Use a spiked roller to release trapped air and improve the surface finish.
The final verdict on subfloor preparation
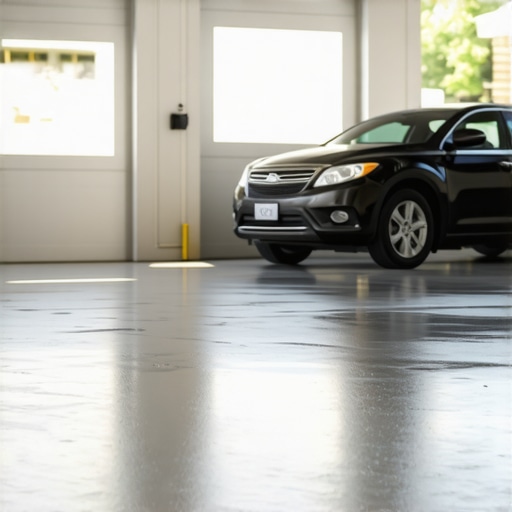
The smell of floor wax and the sound of a properly installed floor are the marks of a job well done. You cannot take shortcuts when it comes to the foundation of your home. The tape trick for wall protection is a small detail, but it is the detail that prevents a major disaster. It keeps the leveler where it needs to be and protects the structure of your walls. Do not listen to the people who tell you that a little bit of leveler behind the drywall is fine. It isn’t. It is a sign of a lazy installer. Take the time to prep the room correctly. Take the time to seal the edges. Your floor will last for decades if you give it the flat, stable home it deserves. In the end, the physics of the installation will always win. You either do it right the first time, or you do it twice. I prefer to do it right.