How to remove old carpet glue from a concrete floor
Most guys skip the leveling compound. They think the underlayment will hide the dip. It won’t. I spent three days grinding concrete on a job last month just so the floor wouldn’t click like a castanet. That job started with a simple request to remove old carpet. What we found underneath was a graveyard of yellowed, fossilized adhesive that had bonded with the concrete on a molecular level. If you think you can just slap a new laminate floor over that mess, you are in for a world of hurt. The subfloor is the soul of the room. If it is dirty, the whole project is tainted. My hands still feel the vibration of the 7-inch grinder from that week, but the result was a slab so flat you could play billiards on it. That is the standard. Anything less is just a hobby.
The ghost in the concrete pores
Carpet glue removal requires a systematic approach to breaking the chemical and mechanical bonds between the adhesive and the concrete substrate. You must first identify if you are dealing with water-based latex glue or the older, more stubborn solvent-based varieties. The concrete surface is not a solid sheet but a porous landscape of microscopic valleys. When a carpet install happens, that glue is pressed into these pores. Over twenty years, it hardens into a plastic-like substance. To remove it, you are not just cleaning the surface. You are excavating the pores of the concrete. If you leave even a thin film, your new floor leveling compound will fail to bond. It will delaminate and crack. You will hear it every time you walk across the room. It sounds like dry leaves crunching under a rug.
“A floor is only as good as the subfloor beneath it; deflection is the enemy of every joint.” – Master Flooring Axiom
The dangerous reality of black mastic
Black mastic adhesive used before 1984 often contains asbestos fibers that become airborne and hazardous if you use mechanical grinding or aggressive sanding. You cannot just start grinding if you see black, tar-like ribbons on the floor. This stuff is the villain of the flooring world. If you find black glue, stop everything. Get a test kit. If it contains asbestos, you need to use a chemical mastic remover specifically designed to keep the fibers wet and encapsulated. Never use a high-speed buffer on dry black mastic. The risk to your lungs is not worth the price of a new floor. Even if it is not asbestos, black mastic is a petroleum-based product. It will bleed through almost any new adhesive or primer you put over it. You have to strip it down to the grey stone.
Mechanical force vs chemical solvents
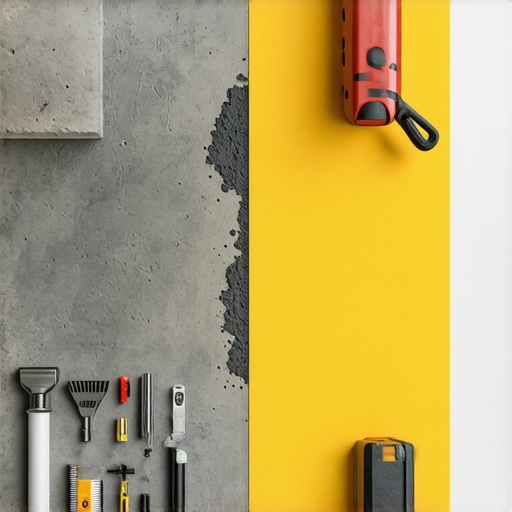
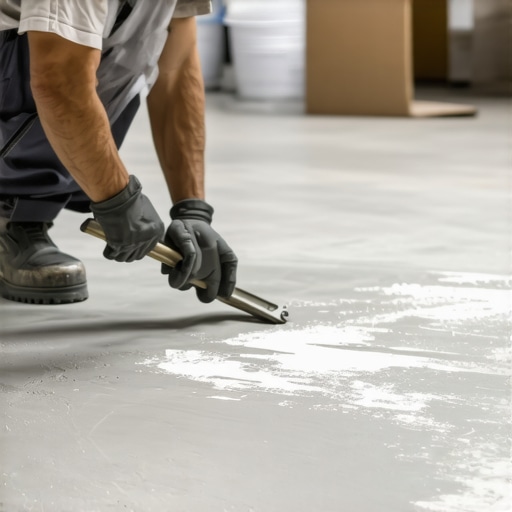
Mechanical removal involves physical scraping or grinding to shear the glue from the concrete while chemical removal uses solvents to liquify the adhesive for easier extraction. My preference is always mechanical when the glue is brittle. A heavy-duty floor scraper with a replaceable 4-inch steel blade is your best friend here. You want to get under the edge of the glue and pop it off in shards. If the glue is still tacky, scraping is a nightmare. It just smears like warm peanut butter. That is when you need the chemistry. You can use a soy-based or citrus-based stripper. These are better for your nose than the old methylene chloride strippers, but they work slower. You have to let them sit. Let the chemicals do the heavy lifting while you go grab a coffee. If you rush it, you are just moving the mess around.
The physics of the diamond cup wheel
Diamond grinding is the most effective way to prep a slab for high-end flooring because it removes the glue and opens the concrete pores simultaneously. For a big job, you need a 7-inch angle grinder with a dust shroud and a vacuum system. This is not optional. The amount of dust created by grinding glue could fill a barn. The diamond segments on the cup wheel act like tiny chisels. They hit the concrete at ten thousand RPM, shattering the bond of the old carpet glue. This process creates a specific surface profile known as a CSP-2 or CSP-3. This is what the pros want. It gives the floor leveling compound something to bite into. If the concrete is too smooth, the leveler has nothing to grab. It is like trying to glue two pieces of glass together with school glue. It just won’t hold.
| Removal Method | Efficiency | Mess Factor | Best For |
|---|---|---|---|
| Hand Scraping | Low | Low | Small rooms, brittle glue |
| Chemical Stripping | Medium | High | Tacky glue, no dust allowed |
| Diamond Grinding | High | Medium (with vacuum) | Large areas, prepping for leveler |
| Boiling Water | Low | Extreme | Water-soluble latex glue only |
The chemistry of adhesive failure
Adhesives fail when their polymer chains are broken by heat, chemical intervention, or mechanical shear force. When you apply a chemical stripper, you are introducing a solvent that migrates through the glue layer to the interface of the concrete. It swells the adhesive, pushing it away from the stone. This is why you see the glue bubble and lift. If you are working in a basement, be careful with water-based strippers. If the concrete has a high moisture-vapor transmission rate, the water in the stripper can get trapped. This can lead to efflorescence, which is that white salty powder that grows on concrete. It will ruin a laminate install by pushing the planks up from the bottom. Always check the slab for moisture before you move to the next step.
The path to a flat subfloor
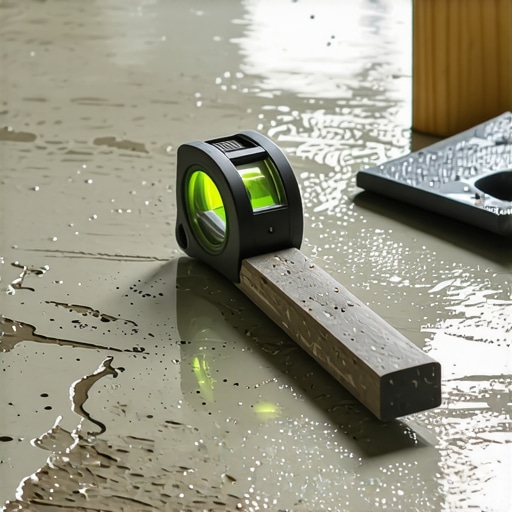
Preparing a subfloor for laminate or tile requires removing every trace of old adhesive to ensure the surface is flat within 3/16 of an inch over a 10-foot radius. Once the glue is gone, take a long straightedge. If you see light under that bar, you have a dip. This is where floor leveling becomes a requirement. You cannot bridge a half-inch hole with laminate. The locking tabs will snap within six months. People think underlayment is a magic foam that fixes holes. It is not. Too much cushion is actually a bad thing. If the underlayment is too soft, the floor flexes too much. That flex puts stress on the tongue and groove joints. Eventually, they fail, and your beautiful floor starts to gap. You want a solid, flat, and clean base. No exceptions.
- Check for asbestos if the glue is black or dark brown.
- Use a floor scraper with a fresh blade every 50 square feet.
- Apply chemical strippers in small sections to prevent drying.
- Use a HEPA vacuum when grinding to protect your lungs and the house.
- Wash the floor with a pH-neutral cleaner after using chemicals.
- Test for moisture before installing any moisture-sensitive flooring.
The 1/8 inch that ruins everything
A single glob of remaining carpet glue can telegraph through thin flooring or prevent a shower transition from sitting flush with the bathroom floor. I once saw a guy try to do a shower remodel where the new tile met the bedroom concrete. He left a patch of glue near the door. The transition strip sat just a hair high. Every time the homeowner walked in, they tripped. It seems small, but in this business, a hair is a mile. You have to be meticulous. Use a hand-held stone or a coarse sanding block to get into the corners where the big machines can’t reach. The edges are where most people get lazy. Don’t be that person. Clean the corners. Scrape the baseboards. Make sure the transition points are perfect. If you are going into a wet area like showers, the bond between your waterproofing and the slab is the only thing keeping your house from rotting.
“Deflection in the subfloor is the primary cause of ceramic tile failure; a rigid base is a permanent base.” – TCNA Handbook Summary
Final cleaning and preparation steps
The final step in removing carpet glue is a thorough scrubbing with a stiff brush and clean water to remove any chemical residue or fine dust particles. If you used a solvent, you must neutralize it. If you don’t, that solvent stays in the concrete. When you go to glue down your new floor or apply a primer, the old solvent will attack the new stuff. It is a slow-motion disaster. Use a shop vac to pull the dirty water out of the pores. Do not just mop it. Mopping just moves the dirt around. You want to lift the contaminants off the floor. Once it is dry, run your hand across it. It should feel like clean sidewalk. No sticky spots. No dusty residue. Just pure, grey concrete. Now you are ready to build something that will last a lifetime.