How to Fix a Loose Shower Handle Without Breaking the Tile
A loose shower handle is never just a minor annoyance. It is a blinking red light on the dashboard of your home maintenance. I once walked into a high-end property where a $20,000 marble floor was lifting and turning a sickly shade of grey. The homeowner thought it was a bad grout job. It was not. The culprit was a loose shower handle that had been wobbling for two years. Every time they turned the water on, a micro-amount of moisture sprayed behind the escutcheon plate. That water traveled down the wall studs, hit the subfloor, and turned the plywood into a wet sponge. The floor was ruined because a five-minute fix was ignored. I spent three weeks tearing out that floor and grinding the concrete subfloor back to a level state just because of a set screw.
The structural threat of a wobbly handle
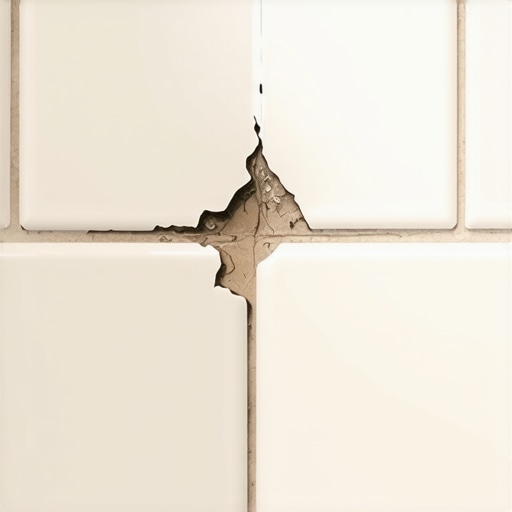
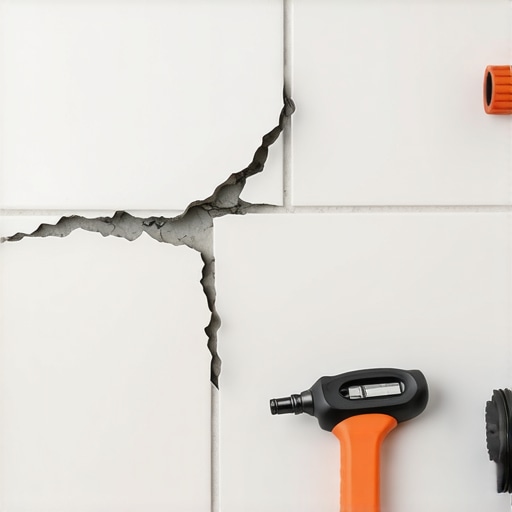
Fixing a loose shower handle involves identifying the specific mechanical failure point within the valve assembly to prevent moisture penetration behind the tile. Most handles loosen due to the set screw backing out of the handle body or the internal cartridge adapter stripping. Addressing this promptly ensures that the waterproof seal between the plumbing fixture and the tile remains intact. This prevents subfloor rot and the failure of floor leveling compounds in adjacent areas. If you ignore a loose handle, the vibration alone can eventually crack the grout lines around the valve. Once that grout cracks, your shower is no longer a sealed system. Water will find a way to the joists. It will rot your carpet install in the master bedroom. It will destroy your subfloor.
Why your valve is dancing in the wall cavity
A loose shower valve handle usually stems from a backing out of the internal set screw or the degradation of the plastic cartridge adapter. These components are subject to constant torque and thermal expansion. Over time, the metal of the valve stem and the metal of the handle expand and contract at different rates. This leads to the mechanical loosening of the hardware. In many cases, the installer failed to apply a thread-locking compound during the initial build. When I am doing a floor leveling job in a bathroom, I always check the plumbing. If that valve is moving, the tile will eventually pop. You cannot have a stable floor if the walls are weeping. The physics of the lever arm means that every time you pull that handle, you are applying significant force to a very small set screw. If that screw is loose, the handle acts as a pry bar against your expensive tile.
“A floor is only as good as the subfloor beneath it; deflection is the enemy of every joint.” – Master Flooring Axiom
The hidden set screw beneath the grime
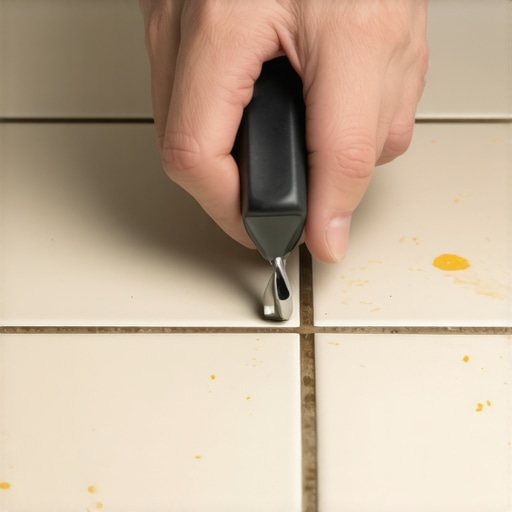
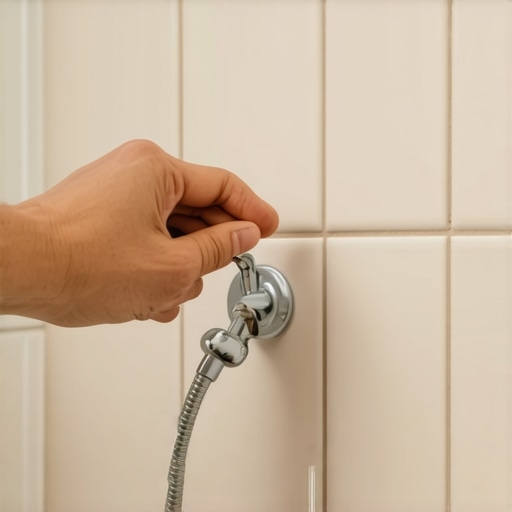
To fix the handle you must first locate the access point which is typically a small hole on the underside of the handle or behind a plastic decorative cap. Most modern faucets from brands like Moen, Delta, or Kohler use a hex head set screw. You will need a specific size of Allen wrench to engage the screw. This is where most people fail. They use the wrong size and strip the head. Then you are looking at a much more expensive repair that might actually involve breaking the tile. I keep a full set of metric and SAE hex keys in my truck because you never know what the plumber decided to install. Before you turn that screw, you need to clear out any mineral deposits. Calcium and lime love to live inside that little hole. I use a small pick to scrape it out. If you do not, the hex key will not seat properly and you will round out the screw. That is a nightmare scenario.
Chemical solutions for seized metal components
Using a penetrating oil or a white vinegar solution is often necessary to dissolve the galvanic corrosion between the brass valve stem and the zinc handle. When two different metals touch in a wet environment, they effectively weld themselves together over time. This is why the handle feels loose but won’t come off. You might feel the handle move on the stem, but the screw is seized. Do not force it. I have seen guys snap the valve stem right off because they were too impatient. If it is stuck, spray some WD-40 or a specialized penetrant into the set screw hole. Let it sit for at least thirty minutes. I prefer to wait an hour. While that is working, I usually go check the moisture levels in the subfloor near the shower. It gives the chemicals time to work their magic on the molecular bonds of the rust.
The relationship between tile integrity and plumbing stability
A stable shower handle protects the integrity of the waterproofing membrane which is the most critical component of any bathroom tile installation. Whether you have a Schluter-Kerdi system or a traditional mud bed, the penetration point for the valve is a vulnerability. If the handle is loose, the escutcheon plate—the big metal circle behind the handle—moves. This plate usually has a foam or rubber gasket. When it moves, the gasket fails. Water then runs down the face of the tile and directly into the wall cavity. I have seen laminate flooring in hallways buckle because a shower valve two rooms away was loose. The water travels along the bottom plate of the wall and finds the lowest point. Usually, that is your subfloor. This is why we floor installers get so cranky about plumbing. Your “quick fix” is actually a structural preservation task.
| Valve Brand | Required Tool | Common Failure Point |
|---|---|---|
| Moen Posi-Temp | 7/64 inch Hex Key | Plastic adapter fatigue |
| Delta Monitor | 1/8 inch Hex Key | Set screw backing out |
| Kohler Rite-Temp | Phillips #2 Driver | Loose internal screw |
| Generic Import | 2.5mm Hex Key | Low-quality metal threads |
Steps to secure the handle without damage
- Turn off the water supply to the shower to prevent accidental spraying while the handle is removed.
- Plug the drain with a rag so you do not lose the tiny set screw down the pipe.
- Remove the decorative index cap if your handle has one using a thin flathead screwdriver.
- Insert the correct size hex key and turn counter-clockwise to loosen the screw enough to remove the handle.
- Clean the valve stem and the interior of the handle with a stiff brush and vinegar to remove buildup.
- Apply a small drop of blue thread-locker to the set screw before reinstallation.
- Slide the handle back onto the stem and tighten the screw firmly but do not over-torque.
- Check the caulking around the escutcheon plate and replace it if the seal is broken.
Protecting your shower floor during the repair
Always place a heavy moving blanket or a piece of thick cardboard over the shower floor to protect the tile or the fiberglass pan from dropped tools. I have seen too many guys drop a heavy wrench and chip a tile that cannot be replaced. If you are working over a custom tile floor, that chip is a permanent scar. If you have a carpet install that runs right up to the bathroom door, be careful not to track grease or plumbing grease onto the fibers. I keep a pair of indoor-only shoes for this reason. A plumber might not care about your carpet, but a floor guy does. We know how hard it is to get a stain out of a high-pile nylon. The same goes for floor leveling. If you are in the middle of a remodel, do the plumbing before you pour your leveler. You do not want to be dripping water onto a fresh bag of self-leveling compound. It ruins the chemistry and prevents a proper bond.
“Proper moisture management in wet areas requires a continuous thermal and moisture barrier that is never compromised by mechanical vibrations.” – Tile Council of North America Standard
The 1/8 inch gap that ruins your waterproofing
Maintaining a consistent 1/8 inch gap between the valve body and the tile is essential for allowing the escutcheon plate to seal correctly. If the tile is cut too tight to the valve, the handle might rub. If the hole is too large, the gasket won’t cover it. This is where the precision of the architect meets the reality of the job site. When I am setting tile around a valve, I use a diamond hole saw. It gives a clean edge. If your handle is loose because the tile is interfering with its movement, you might need to carefully trim the tile back using a dremel with a diamond bit. Be extremely careful not to nick the valve itself. A small nick can lead to a pinhole leak under pressure. This is the microscopic reality of home maintenance. Precision matters. A sixteenth of an inch is the difference between a dry subfloor and a mold farm.
When to call a pro versus doing it yourself
If the set screw is stripped or the handle is fused to the stem, you should stop and call a licensed plumber to avoid breaking the valve or the tile. There is no shame in knowing your limits. If you have applied penetrant and used the correct tools but the handle won’t budge, you are risking a catastrophic failure. I have seen homeowners try to use a hammer to knock a handle loose. They ended up shattering the tile and the cement board behind it. Now they are calling me to fix the wall and the floor. That five-minute fix just became a $4,000 bathroom remodel. If you see water dripping from the handle even when it is off, the cartridge is shot. Replacing a cartridge is a step above simply tightening a handle. It requires deeper knowledge of the specific valve model. Don’t gamble with your subfloor. If you can’t fix it with a hex key and some vinegar, get some help.
The physics of the handle leverage
The length of the shower handle creates a leverage effect that multiplies the force applied to the internal cartridge and the surrounding tile. Long, heavy handles look great in a minimalist curator’s bathroom, but they are hard on the hardware. If that handle is even slightly loose, that leverage is concentrated on the set screw threads. It will eventually strip them. This is why I prefer handles with a shorter throw or a more balanced weight distribution. When you are picking out new fixtures, think about the mechanics, not just the aesthetics. A heavy brass handle on a plastic cartridge stem is a recipe for a loose handle within a year. Match the materials. Brass on brass is always the best bet for longevity. It handles the torque better. It keeps the vibration away from your grout. It protects your investment in that beautiful floor leveling and tile work you just paid for.