Why Your Shower Waterproofing Failed Behind the Faucet
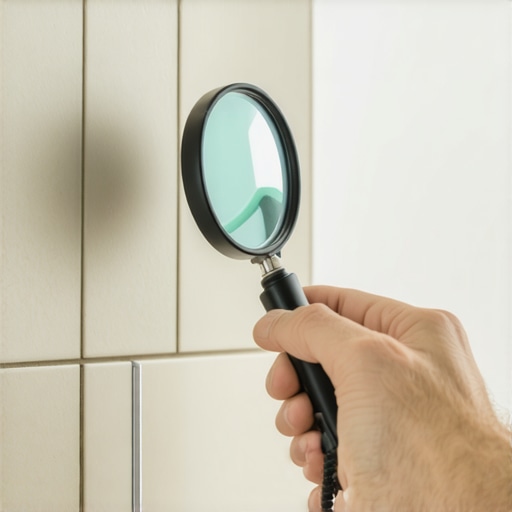
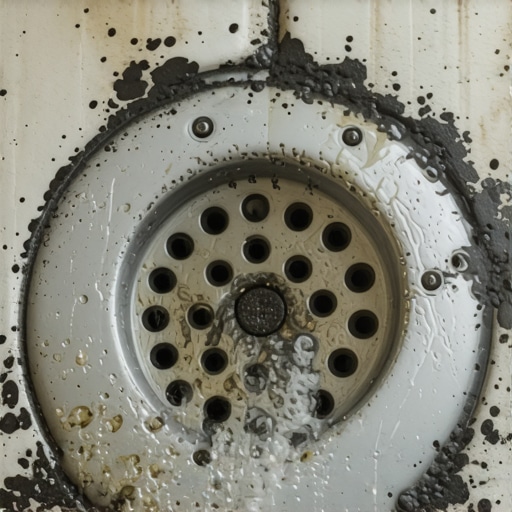
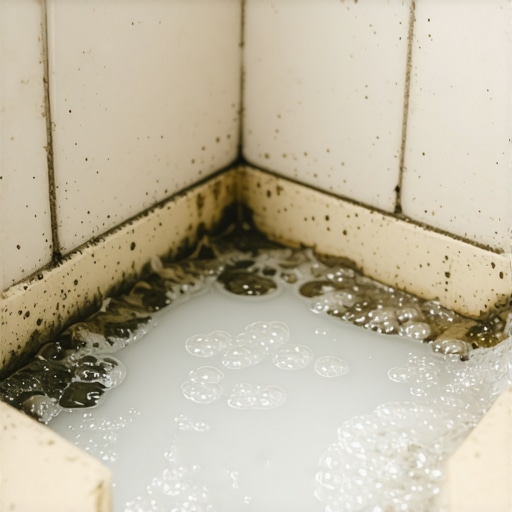
I spent three days grinding concrete on a job last month just so the floor wouldn’t click like a castanet because the previous installer ignored the shower leak that had been feeding moisture into the slab for two years. Most guys skip the leveling compound and they think the underlayment will hide the dip but it won’t. When I pulled the tile around that faucet I saw the mold had traveled six feet into the hallway under the laminate. It was a mess of rotted plywood and salt deposits that looked like a science experiment gone wrong. You smell the dampness before you see it. It is that heavy scent of wet dirt and old copper. This is what happens when you treat a shower like a decorative box instead of a high-pressure hydraulic environment. Most people think tile is waterproof. It is not. Grout is a sponge. The real work happens at the molecular level where the membrane meets the plumbing fixtures.
The hidden failure of mixing valve penetrations
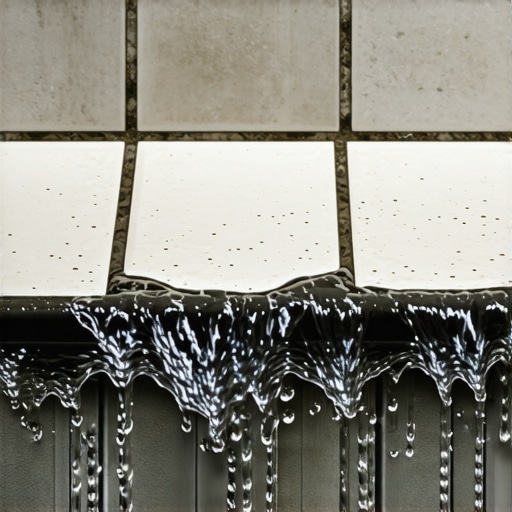
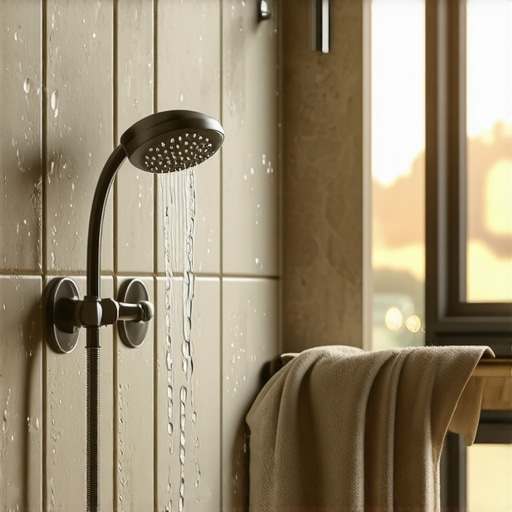
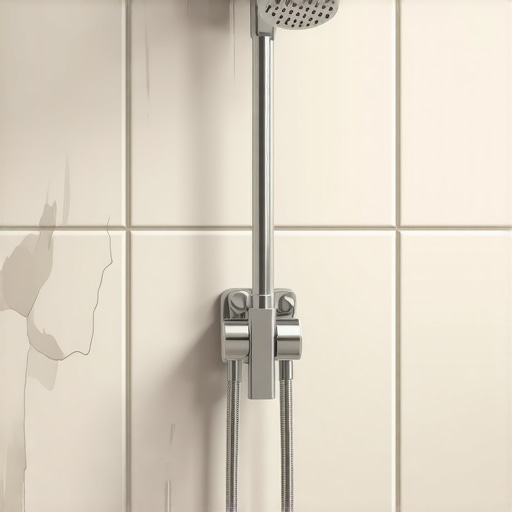
The failure of shower waterproofing behind the faucet occurs because mechanical penetrations through the wall membrane remain unsealed or rely on unstable caulking. Plumbers often cut oversized holes for mixing valves which allows steam and splashes to enter the wall cavity. Without a proper gasket or flashing tape the moisture bypasses the tile and rots the studs. This vapor drive creates a microclimate inside the wall. Water follows the path of least resistance down to the subfloor. I have seen solid oak floors cup twenty feet away from a bathroom because the homeowner did not realize the shower valve was weeping into the crawlspace. You need a seal that can handle the expansion and contraction of the pipes. When hot water flows the pipe expands. If the sealant is rigid it will crack. If the sealant is cheap it will peel. You need a high-solids polyurethane or a specific waterproofing gasket designed for the valve body. Anything less is just a prayer. It will fail.
“A floor is only as good as the subfloor beneath it; deflection is the enemy of every joint.” – Master Flooring Axiom
Why your subfloor is lying to you
The subfloor might look flat to the naked eye but a moisture meter will tell the truth about the structural integrity of your home. Capillary action draws water from the shower leak through the subfloor material and into the adjacent rooms. This causes the wood fibers to swell and lose their grip on the fasteners. If you are planning a carpet install or laying down laminate you must verify the substrate is dry and level. A saturated subfloor will never hold a tack strip and it will definitely cause laminate to peak at the seams. I have walked onto jobs where the installer tried to use floor leveling compound over a damp subfloor. The compound just turns into mush because it cannot bond to the wet wood. You have to kill the leak at the source before you ever think about the finish floor. The physics of water migration mean that a leak behind your shower handle is actually a threat to your living room carpet. Water does not stay put. It travels through the grain of the plywood and the pores of the concrete slab until it finds a place to evaporate.
| Waterproofing Method | Perm Rating | Drying Time | Structural Movement Cap |
|---|---|---|---|
| Liquid Applied Membrane | 0.45 | 12 to 24 Hours | Moderate |
| Bonded Sheet Membrane | 0.01 | Immediate | High |
| Traditional PVC Liner | 1.20 | 72 Hours | Low |
The chemistry of the bond breaker and the grout joint
The chemical bond of your thin-set is only as strong as the surface it is sticking to which is why the 1/8 inch gap is the most important part of the install. A bond breaker must be used in all change of plane areas to allow the shower walls to move independently from the floor without tearing the membrane. If you skip the bond breaker the movement will rip a hole in your waterproofing right at the base of the faucet wall. This is where the molecular zooming becomes real. We are talking about microscopic shifts in the wood and metal that occur every time the temperature changes. While most people want the thickest underlayment too much cushion actually causes the locking mechanisms on LVP to snap under pressure because the floor flexes too much. The same logic applies to your shower. If the wall moves and the membrane is too rigid it will snap. You need the right chemistry. You need a polymer-modified mortar that meets ANSI A118.15 standards. This provides the shear strength required to keep the tile attached while the house breathes. If you use a cheap bucket mastic in a shower you are basically asking for the tiles to fall off the wall within three years. Mastic is organic. It is food for mold. When it gets wet it turns back into glue. It has no place behind a faucet.
The checklist for a dry structural floor
- Check the mixing valve for a pre-installed rubber gasket or use a specialized pipe seal.
- Verify the subfloor moisture content is within 2 percent of the joists before starting.
- Use a 10-foot straight edge to find dips and apply floor leveling compound if the floor deviates more than 3/16 of an inch.
- Ensure the waterproofing membrane extends at least 6 inches above the highest shower head.
- Perform a flood test for 24 hours to ensure the pan and the walls are watertight.
How water migration destroys laminate and carpet install quality
A leak behind the faucet will travel under the wall plate and saturate the padding of your nearby carpet install. Moisture wicking into the carpet pad leads to permanent odors and the growth of black mold beneath the fibers. This is why a bathroom leak is never just a bathroom problem. For laminate floors the moisture causes the core to swell which results in a raised edge known as peaking. Once the core is blown the floor is ruined. You cannot fix it with a fan or a dehumidifier. You have to rip it out. The geometry of the floor leveling must be perfect at the transition between the bathroom and the hallway. If there is a height difference the water will pool at the threshold and sit there until it soaks into the subfloor. Most installers think a T-molding will hide the gap but it actually creates a trap for moisture. I always recommend a flush transition with a high-quality sealant. It keeps the water where it belongs. It keeps the structure sound. You have to think like an engineer and act like a mechanic. Check the seals. Check the level. Do not trust the drywall to keep the water out. It won’t. Only a properly installed system with the right chemistry can stand up to the daily abuse of a shower.
“Modern waterproofing relies on the continuity of the membrane layer; a single gap at a pipe penetration nullifies the entire system.” – TCNA Handbook Logic
The physics of the expansion gap and the ghost in the wall
The expansion gap is the most ignored rule in the book but it is the reason why your shower tiles crack near the faucet. Materials expand and contract at different rates based on their thermal mass and moisture absorption levels. The copper pipe in your wall expands more than the ceramic tile on the face. If they are touching the pipe will eventually crack the tile or break the grout seal. This allows water to enter the wall cavity every time you turn on the hot water. You need a 1/8 inch gap between the tile and any plumbing fixture. This gap must be filled with 100 percent silicone sealant and not grout. Grout is rigid and will fail. Silicone is flexible and will move with the pipe. This is the difference between a floor that lasts 50 years and one that fails in five. I have seen the results of ignoring these tiny details. I have seen the rot that eats through 2×4 studs until they are as soft as wet cardboard. It all starts with that one hole behind the handle. Fix the seal and you fix the floor. Ignore the seal and you will be calling me to grind your concrete and replace your laminate in two years. It will buckle. It will smell. It will cost you a fortune. Do it right the first time and keep the water in the drain where it belongs.