The Sanding Mistake That Ruins Your Floor Leveling Prep
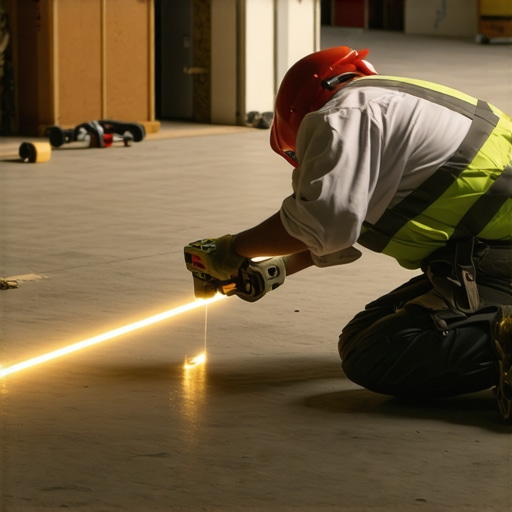
I spent three days grinding concrete on a job last month just so the floor wouldn’t click like a castanet. Most guys skip the leveling compound. They think the underlayment will hide the dip. It won’t. I walked into a project in the suburbs where the homeowner had tried to prep his own slab for a laminate install. He thought he was doing the right thing by sanding down the high spots. He used a high-grit diamond wheel and polished the concrete until it shone like a marble countertop. When I arrived, the self-leveling underlayment was peeling off in sheets like a bad sunburn. He had accidentally created a bond breaker by closing the pores of the concrete. My hands still vibrate from the hammer drill I had to use to strip his mistake away. That is the reality of floor leveling. It is not about looks. It is about the mechanical bond and the physics of deflection. If you do not understand the Concrete Surface Profile, your expensive new floor is already failing before the first plank is laid.
The hidden physics of a flat room
Floor leveling requires a substrate with a Concrete Surface Profile (CSP) of 1 to 3 to ensure polymer-modified underlayments can achieve a permanent mechanical bond. If the capillary structure of the concrete is clogged by dust or polishing, the tensile strength of the leveler will pull itself off the floor during the hydration process.
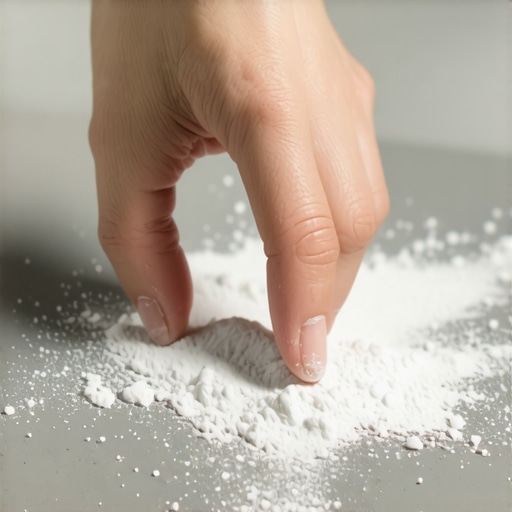
When we talk about floor leveling, we are dealing with the structural integrity of the building envelope. A slab is a living thing. It breathes moisture. It moves with the thermal expansion of the seasons. If you take a sander to a high spot and use a grit that is too fine, you are effectively burnishing the surface. This burnishing action generates friction heat that melts surface contaminants and laitance back into the micro-pores. You might think you have a smooth surface, but what you actually have is a hydrophobic barrier. I have seen laminate floors bounce like a trampoline because the leveler underneath delaminated from a polished slab. It creates a hollow pocket that traps moisture vapor, leading to mold and mildew colonies that you will smell long before you see.
“A floor is only as good as the subfloor beneath it; deflection is the enemy of every joint.” – Master Flooring Axiom
The bond breaker you never saw coming
Mechanical adhesion depends on surface area and the ability of the primer to penetrate the porous matrix of the calcium aluminate or portland cement. When you over-sand, you reduce the effective surface area at a molecular level, which prevents the chemical cross-linking required for a high-strength bond.
Many installers think they are being thorough by sanding the entire subfloor to a smooth finish. This is a catastrophic error. You want the floor to feel like medium-grit sandpaper, not a polished stone. If you are prepping for a carpet install, you might get away with some irregularities, but even then, a lumpy subfloor will cause premature wear on the carpet backing. The fibers will rub against the concrete ridges, creating bald spots in high-traffic hallways. For showers, the stakes are even higher. A shower pan or curbless entry requires perfectly sloped or level transitions. If the thin-set does not grab the substrate because you over-sanded the pre-slope, the waterproofing membrane will eventually shear, leading to structural rot in the joists below. I have seen joists that looked like wet cardboard because an installer forgot that adhesion is a chemical and mechanical partnership.
Technical metrics for substrate success
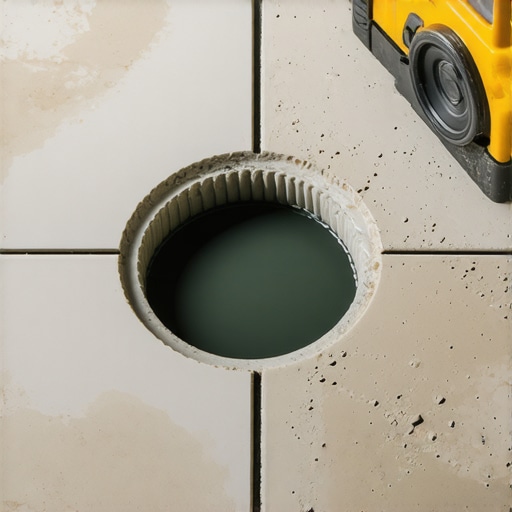
Subfloor flatness must meet the industry standard of 1/8 inch deviation over 10 feet for large format tile or 1/16 inch for certain thin-gauge laminate. Using a straightedge and a feeler gauge is the only way to quantify the highs and lows before pouring compound.
| Subfloor Type | Recommended Grit | Target CSP | Acclimation Time |
|---|---|---|---|
| Concrete Slab | 16-24 Grit Diamond | CSP 2-3 | 28 Days Minimum |
| Plywood/OSB | 36-40 Grit Open Coat | N/A | 48-72 Hours |
| Existing Terrazzo | 24 Grit Carbide | CSP 3 | 24 Hours |
The molecular weight of self-leveling underlayment is designed to flow into valleys. However, surface tension can be the enemy. If the pore structure is occluded by fine dust from improper sanding, the air cannot escape the concrete as the liquid moves in. This results in pinholes. Those tiny bubbles might look innocuous, but they represent voids in the structural support. When a heavy refrigerator or a kitchen island is placed over a pinhole-riddled leveler, the locking mechanisms of laminate planks will snap under the point load. I have replaced entire kitchens of click-lock flooring because the installer ignored the bubbles in the leveler. It is a mechanical failure that starts at the atomic level and ends with a frustrated homeowner and a voided warranty.
Why laminate clicks and showers fail
Laminate flooring requires a dead-flat substrate because the tongue-and-groove joints have a flexibility tolerance of less than one millimeter. In showers, the hydrostatic pressure of standing water will find every micro-crack in a poorly bonded leveler, leading to efflorescence and tile failure.
A common myth in the flooring industry is that thick underlayment can bridge the gap of a wavy floor. This is falsehood. Too much cushion actually creates vertical movement. Every time you walk across the room, the joint is stressed. Eventually, the HDF core of the laminate will crack. This is why floor leveling is vital. In showers, the TCNA (Tile Council of North America) handbook is very clear about deflection. If your subfloor has bounce, your grout will crack. If your grout cracks, water enters the system. If water enters the system, your house starts to decay. It all goes back to that sanding mistake. If you sand the plywood until it is paper-thin to try and level a hump, you have compromised the structural modulus of the subfloor. You should have ground the joist or used leveling compound instead.
“The integrity of a tile installation is directly proportional to the rigidity and cleanliness of the substrate.” – TCNA Standards Manual
The roadmap to a flat floor
Successful floor prep follows a hierarchical protocol starting with mechanical profiling, followed by industrial vacuuming, and ending with a high-solids primer. Skipping any phase of this workflow will result in a failed installation that manufacturers will not reimburse.
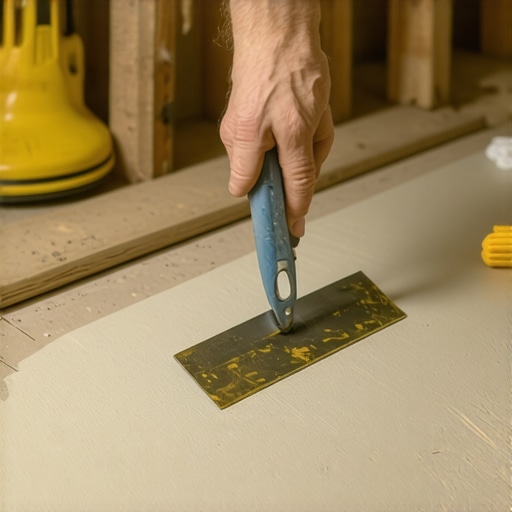
- Identify high spots using a 10-foot magnesium straightedge and mark with builder’s crayon.
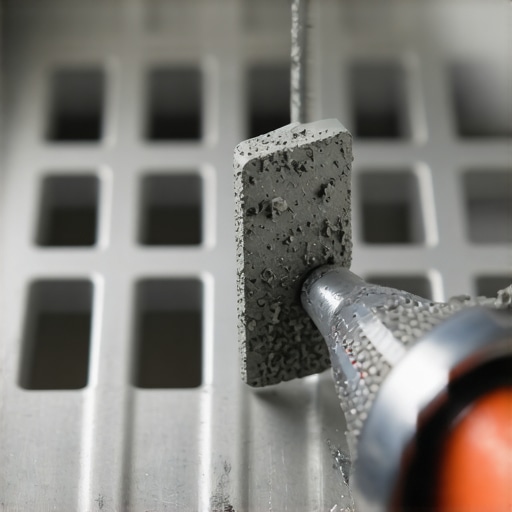
- Use a low-speed grinder with vacuum shroud and 16-grit diamonds to open the pores.
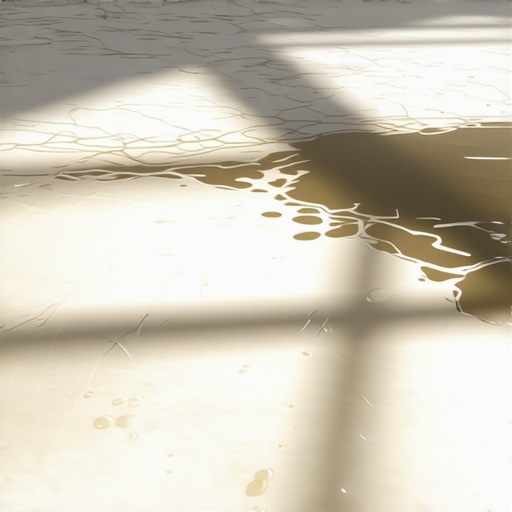
- Perform a water drop test to ensure the substrate is absorbent and free of sealers.
- Apply a diluted acrylic primer with a soft-bristle broom to prevent puddling.
- Mix self-leveling underlayment with a high-torque drill to avoid introducing air.
- Use a gauge rake and spike roller to homogenize the pour and release trapped gases.
The moisture vapor emission rate (MVER) must also be measured using calcium chloride tests or in-situ RH probes. If your concrete is wet, no amount of sanding or leveling will save you. The alkalinity will eat the adhesive and destroy the laminate core. Most installers are in such a rush to lay the planks and get paid that they ignore the science. They eyeball the level. They sweep the dust into the corner. They ignore the sanding grit. And six months later, they are blocking the homeowner’s phone number because the floor is failing. Do not be that installer. Respect the chemistry. Understand the physics. The subfloor is the foundation of your reputation. If the foundation is rotten, the house will not stand. Spend the time on your knees with the grinder and the level. Your back will hurt, your lungs will burn, and your hands will shake, but the floor will stay flat for fifty years.