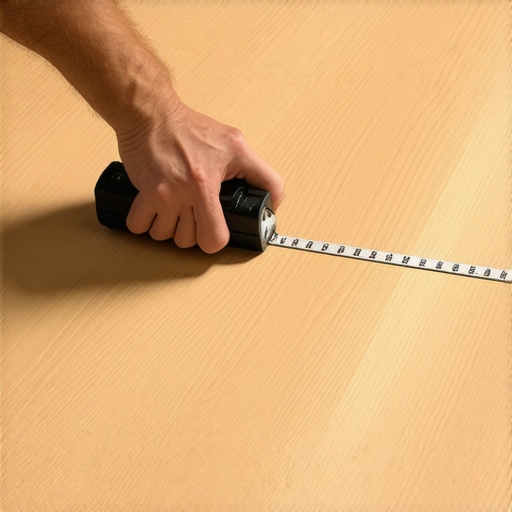
The Tapping Method for Checking Laminate Expansion Gaps
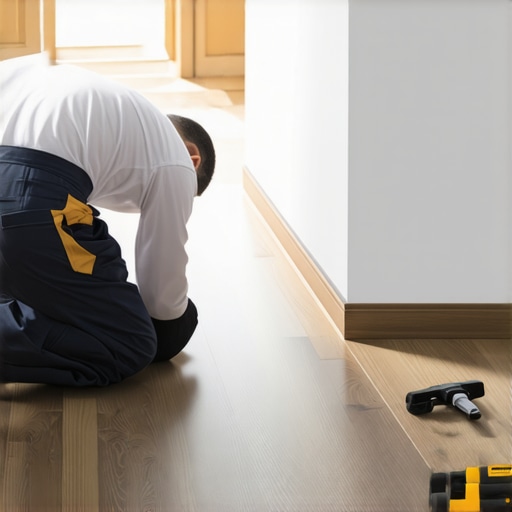
I have spent twenty-five years on my knees with a moisture meter in one hand and a tapping block in the other. My hands smell like oak dust and WD-40, and my back tells the story of ten thousand planks laid in every climate from the humid coast to the dry plains. Most homeowners see a floor as a cosmetic choice, but to me, it is a structural engineering challenge with zero margin for error. I once walked into a house where a luxury laminate floor was peaking so high in the center of the room that the kids were using it as a ramp for their toy cars. The installer had pinned the floor under a heavy kitchen island and left zero expansion gap at the north wall. That floor was literally screaming under the pressure of its own molecules. It was a hardwood heartbreak that could have been avoided with a simple understanding of the physics of wood fibers. To prevent this, we use the tapping method, a diagnostic technique that identifies if your floor is trapped before the boards start to buckle and the joints begin to fail.
The ghost in the expansion gap
Laminate expansion gaps are mandatory perimeter voids of at least three-eighths of an inch that prevent the floor from binding against vertical surfaces. These gaps allow the High-Density Fiberboard core to expand and contract as Relative Humidity and temperature fluctuate. Without this physical space, the internal pressure of the floor assembly has nowhere to go but up, resulting in buckling or peaking at the seams. I have seen the most expensive planks in the world fail because a guy was too lazy to pull the baseboards. You cannot skip this. The core of your laminate is essentially compressed cellulose. It acts like a sponge on a microscopic level. When the air gets heavy with moisture, those fibers swell. If they hit a wall, they will exert enough force to crack the locking mechanisms or pop the molding right off the wall.
How the tapping method reveals hidden pressure
The tapping method for checking expansion gaps involves using a specialized tapping block and a rubber mallet to feel for the resonance and movement of the floor planks near the wall. By striking the edge of the floor assembly, an experienced installer can determine if the floating floor has reached its perimeter limit or if it still has the necessary room to move. A floor that is properly gapped will have a distinct, slightly hollow sound and a microscopic amount of lateral give. If the tap results in a sharp, solid thud, your floor is likely bound against a hidden spacer, a drywall screw, or the wall itself. This is the diagnostic tool of the professional who understands that the eyes can lie but the physics of sound and vibration do not. I carry a three-pound dead-blow hammer specifically for this. I am not looking to move the floor an inch. I am looking for that fraction of a millimeter of movement that tells me the floor is healthy. If I hit the block and the vibration stays right in my wrist, I know I have a problem behind the baseboard.
“A floor is only as good as the subfloor beneath it; deflection is the enemy of every joint.” – Master Flooring Axiom
The physics of a trapped plank
When you look at the chemical composition of laminate, you are dealing with a melamine wear layer bonded to a core of refined wood fibers and resins. This core is hygroscopic. Even in a controlled environment, the moisture content will shift. If your subfloor moisture is not regulated, the expansion is even more aggressive. This is where floor leveling becomes vital. If the subfloor has a dip of more than one-eighth of an inch over ten feet, the planks will bridge that gap. When you walk on them, they deflect. This deflection adds mechanical stress to the expansion gap. If the floor is already tight against the wall, that deflection has no place to dissipate. The tapping method allows you to test these zones of high stress. You are checking for the freedom of movement required by the National Wood Flooring Association standards. Most people think a waterproof floor is immune to this, but that is a dangerous myth. The surface might be waterproof, but the core is still a wood-based product that responds to the environment.
Comparing expansion requirements across materials
| Material Type | Required Gap | Max Run Without Transition | Moisture Sensitivity |
|---|---|---|---|
| Laminate HDF | 3/8 Inch | 30 Feet | High |
| LVP (SPC Core) | 1/4 Inch | 50 Feet | Low |
| Engineered Wood | 1/2 Inch | 40 Feet | Medium |
| Solid Hardwood | 3/4 Inch | 20 Feet | Extreme |
The danger of improper floor leveling
Floor leveling is the process of creating a flat substrate using self-leveling underlayment or grinding down high spots to ensure the floating floor remains stable. If the substrate is not flat to within 3/16 inch over a 10-foot radius, the laminate locking system will be under constant torsional strain. This strain mimics the symptoms of a lack of expansion gap because it pins the planks in place through friction against the subfloor. I spent three days grinding concrete on a job last month just so the floor wouldn’t click like a castanet. People want to skip the prep because it is dusty and difficult, but the prep is the floor. The planks are just the clothes the floor wears. If the body underneath is crooked, the clothes will never fit right. You can tap the edges all day long, but if the middle of the floor is stuck in a valley of thin-set, the expansion gap at the wall cannot do its job. This is particularly true when you are transitioning from areas like showers or bathrooms where the subfloor might have been compromised by water or previous carpet install tacks.
The checklist for a floating floor audit
- Remove the shoe molding or baseboard to expose the plank edges.
- Verify that no nails or screws have been driven through the floor into the subfloor.
- Use a tapping block to confirm at least 1/32 inch of lateral movement when struck.
- Ensure door jambs are undercut so the floor can slide beneath the casing.
- Check that heavy kitchen islands are not bolted through the laminate material.
- Inspect transition strips to ensure they are not pinched too tightly against the planks.
“The installer must ensure the substrate is flat, dry, and structurally sound before a single plank is laid; neglect is the primary cause of failure.” – NWFA Technical Guidelines
Transitioning from showers and carpet zones
Transitions between different flooring types like showers or areas formerly used for carpet install require specific expansion considerations to prevent binding. When you move from a wet area to a dry laminate area, the moisture barrier must be continuous and the T-molding must have enough clearance to allow the laminate to move independently. I have seen guys jam a transition strip so tight against a laminate plank that it acted like a literal nail, pinning the entire room in place. When you perform the tapping method near a transition, you should hear the same resonance as you do at the wall. If it sounds dead, the transition is the culprit. We see this often after a carpet install is removed. The subfloor is often littered with staples and tack strip holes that can create friction points. You must sand the subfloor clean. Any snag on the underside of the plank will prevent the floor from sliding into its expansion gap, rendering the gap useless.
The final technical verdict on perimeter voids
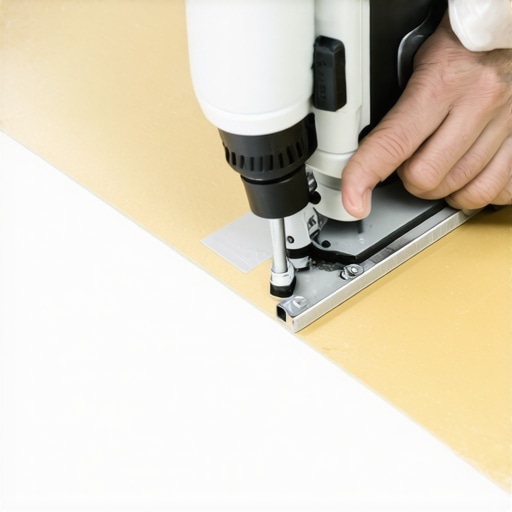
The tapping method is not just a trick of the trade, it is a fundamental requirement for anyone who takes the structural integrity of a home seriously. A floor that cannot move is a floor that will eventually destroy itself. We are dealing with forces of nature. Wood wants to expand and the house wants to settle. As an architect of floors, my job is to create a system that manages those forces. If you find a tight spot during your audit, do not ignore it. Take a vertical saw or a sharp chisel and create the room the floor is begging for. Your subfloor might be lying to you about how level it is, but the tapping block always tells the truth. Keep your gaps wide, your subfloor flat, and your mallet ready. That is how you build a floor that lasts thirty years instead of three.