How to Remove Dried Floor Leveler from Your Tools Without Scrubbing
I smell like WD-40 and oak dust most days. My knees tell the story of twenty five years spent crawling across concrete slabs and plywood subfloors. To me, a floor is not a decoration. It is a performance surface. It is a structural engineering challenge that starts and ends with the subfloor. Most guys skip the leveling compound. They think the underlayment will hide the dip. It won’t. I spent three days grinding concrete on a job last month just so the floor wouldn’t click like a castanet. That job was a nightmare because the previous installer left a mess. People think waterproof LVP or a thick carpet install will mask a bad slab. They are wrong. When you are done pouring floor leveling compounds, your tools are usually caked in a grey, stony death. If you let that stuff dry, you might think the trowel is garbage. It isn’t. You just need to understand the physics of the bond. My hands are calloused from years of this work, and I have learned that brute force is the least effective way to save your gear. You do not need to scrub until your knuckles bleed. You need to use the chemistry of the leveler against itself. If you understand how Portland cement and polymers hydrate, you can make that dried crust pop off like a scab with almost zero effort.
The concrete coffin on your trowel
Removing dried floor leveler from metal tools involves breaking the mechanical bond between the cementitious material and the steel surface through thermal expansion or chemical softening. Most floor levelers are comprised of high strength Portland cement, fine silica sand, and polymer modifiers that create a tenacious grip on porous and non-porous surfaces alike. When this mixture dries on a trowel, it creates a rigid shell. If you try to scrape it off while it is bone dry, you risk pitting the steel. A pitted trowel is a useless trowel. Every tiny scratch on that metal surface will catch the next batch of leveler, making the tool harder to clean and less effective at creating a flat surface. You want that trowel to glide. You want it to be as smooth as a mirror so the leveler flows where it belongs, not where it gets stuck. In the world of carpet install or laminate preparation, a smooth subfloor is non-negotiable. If your tools are dirty, your subfloor will be lumpy. It is as simple as that. I have seen guys try to use a hammer to knock the leveler off. All they do is bend the trowel blade. A bent blade means you are leaving ridges in the compound. Those ridges will telegraph through your laminate or cause your showers to have drainage issues. We do things the right way here.
“A floor is only as good as the subfloor beneath it; deflection is the enemy of every joint.” – Master Flooring Axiom
The physics of the thermal shock method
Thermal shock works by exploiting the different rates of expansion between the metal tool and the dried cementitious floor leveler when exposed to extreme temperature changes. Steel expands and contracts rapidly when heat is applied. The dried leveler, which is essentially a stone like ceramic, does not expand at the same rate. This creates a shear force at the molecular level where the two materials meet. To execute this, you do not need a blowtorch. Boiling water is often enough. Submerge the head of the trowel or the mixer paddle in a bucket of near boiling water for five minutes. The heat causes the steel to grow slightly. Since the leveler is brittle and cannot grow with the steel, the bond fractures. You will often hear a faint clicking or popping sound. That is the sound of victory. After the soak, immediately plunge the tool into a bucket of ice cold water. This rapid contraction finishes the job. The leveler will often fall off in large chunks. You are not scrubbing. You are using the laws of thermodynamics to do the heavy lifting for you. This is the secret for cleaning those expensive mixing paddles used in large scale floor leveling projects. If you are prepping for a high end carpet install, you need that subfloor to be perfect. You cannot afford to have old, dried chunks of leveler falling into your fresh batch of compound.
The chemical bath that dissolves the problem
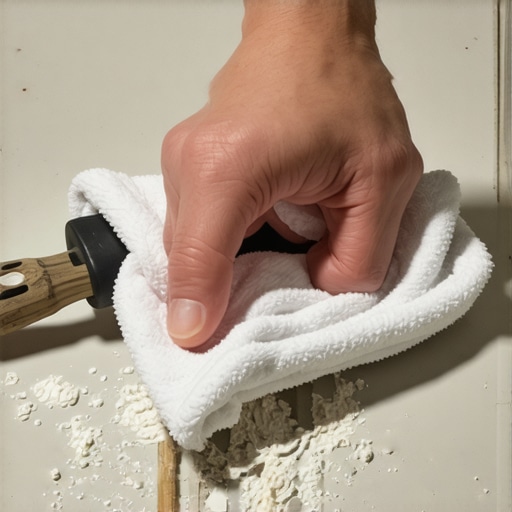
Chemical dissolution of floor leveler requires an acidic solution that reacts with the calcium carbonate and calcium silicate hydrate in the cement to break the structural integrity. You do not need harsh industrial acids that will eat your skin. Simple white vinegar or a concentrated citric acid solution works wonders. The acid reacts with the alkaline nature of the cement. It essentially turns the stone back into a soft paste. Fill a shallow tray with enough vinegar to cover the blade of the trowel. Let it sit for four hours. Overnight is better. When you come back in the morning, the leveler will have the consistency of wet oatmeal. You can wipe it away with a rag. This is particularly useful when you have leveler stuck in the internal threads of your tools or in the tight corners of a margin trowel. For those working on showers, where precision is everything, keeping your margin trowels clean is the difference between a perfect drain slope and a ponding mess. I always keep a gallon of vinegar in the van for this very reason. It is cheap, it is safe, and it saves my tools from the scrap heap.
Comparing leveler types and cleaning difficulty
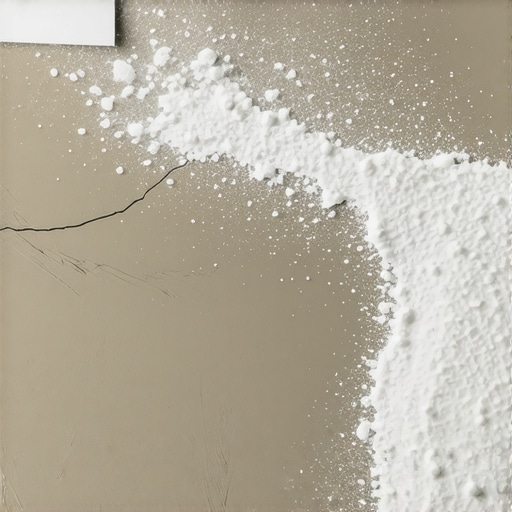
Understanding the difference between gypsum based and Portland based levelers is essential because the chemical bonds respond differently to various cleaning agents and removal techniques. Gypsum based products are softer and more water soluble, making them easier to remove with a simple soak. Portland based products are much more resilient and require the thermal or acidic interventions described above. [image_placeholder_1] Below is a breakdown of what you are dealing with when the product dries on your gear.
| Leveler Base | Drying Mechanism | Bond Strength | Removal Method |
|---|---|---|---|
| Portland Cement | Hydration (Chemical) | Extremely High | Acid Soak / Thermal Shock |
| Gypsum (Alpha Hemihydrate) | Crystalline Growth | Moderate | Warm Water Soak |
| Polymer Modified | Cross-linking | High / Flexible | Citric Acid / Heat |
| Epoxy Based | Chemical Reaction | Permanent | Mechanical Grinding Only |
The 1/8 inch that ruins everything
Maintaining a clean tool surface ensures that you can meet the industry standard of 1/8 inch flatness over a ten foot radius during subfloor preparation. If there is a 1/16 inch layer of dried leveler on your trowel, you have already lost half of your tolerance. This is why pros are obsessed with clean tools. When I am prepping for a laminate floor, I know that any dip or hump larger than an eighth of an inch will cause the locking mechanisms to fail over time. The floor will squeak. The joints will separate. The homeowner will call me six months later complaining that their floor feels like a trampoline. That is a failure of craftsmanship. It all starts with the tool. A clean trowel allows you to feel the floor. You can sense the resistance of the compound. You can tell when you are hitting a high spot in the concrete. If your tool is covered in old leveler, you are flying blind. You are just pushing mud around. In the context of showers, this becomes even more critical. You are working with thin-set and waterproofing membranes where every millimeter matters for drainage. A dirty tool is a sign of a lazy installer. I don’t care how tired you are at the end of the day. Clean your gear.
“Subfloor preparation is the foundation of every successful installation; ignoring the flat and level requirements guarantees a call-back.” – TCNA Handbook Logic
The moisture trap and tool oxidation
Preventing rust after cleaning your flooring tools is as important as removing the leveler because oxidation creates a textured surface that encourages future product buildup. Once you have used the thermal shock or vinegar method, your steel is vulnerable. The acid removes the protective oils. If you just toss that trowel back in the bucket, it will be orange with rust by morning. Rust is porous. Leveler loves to stick to rust. After cleaning, you must dry the tool completely. I use a heat gun or a clean rag. Then, I coat the metal with a thin layer of WD-40 or even just a bit of mineral oil. This creates a hydrophobic barrier. The next time you go to do a floor leveling job, the wet compound will slide right off the metal. It makes the mid job cleanup much faster. I have tools that are fifteen years old that look brand new because I treat them with respect. A good trowel is an extension of your hand. You wouldn’t leave your hand covered in caustic cement, so don’t leave your tools that way either. This level of care is what separates the masters from the guys who disappear after the check clears.
Checklist for the post pour cleanup
Implementing a systematic cleanup routine after every floor leveling pour will extend the life of your equipment and ensure the quality of your next installation. Follow these steps every single time.
- Wipe down all tools with a damp sponge every 15 minutes during the pour to prevent initial setting.
- Submerge mixing paddles in a dedicated water bucket immediately after the drill stops spinning.
- Use a plastic putty knife for initial scraping to avoid scratching the professional grade steel.
- Apply the thermal shock method if chunks have reached a full cure state.
- Soak margin trowels in a vinegar bath to clear the neck and handle junctions.
- Dry all metal surfaces immediately and apply a light coat of lubricant or oil.
- Inspect the edges of trowels for nicks or bends caused by mechanical cleaning attempts.
The ghost in the expansion gap
Failure to clean floor leveler from the perimeter of a room or the base of walls creates a rigid bridge that prevents the necessary expansion and contraction of floating floors. When we talk about laminate or carpet install, we often forget the edges. If leveler dries in the expansion gap, the floor has nowhere to go. It will buckle in the center of the room. This is the ghost that haunts many DIY jobs. While you are cleaning your tools, take a moment to look at the perimeter. Use a small chisel or a clean margin trowel to pop any leveler that bled into the gap. It needs to be clean. The same goes for showers. If the leveler is clogging the area where the wall board meets the floor, your waterproofing will not sit flush. Every step of the process is connected. The cleanliness of your tools leads to the cleanliness of your workspace, which leads to the longevity of the floor. There are no shortcuts in this business. You either do it right, or you do it twice. I prefer to do it right the first time and go home with my back intact. Use the chemistry. Use the physics. Keep your trowels smooth and your subfloors flat. That is how you build a reputation that lasts longer than the house itself.