How a Hairdryer Can Fix Your Peeling Laminate Edge Transitions
Homeowners always ask why their waterproof vinyl or high-quality laminate is buckling or peeling at the edges. Usually, it is because they locked the floor under a heavy kitchen island or failed to account for the micro-movements of the subfloor. I remember a job in a high-rise where the laminate transitions were curling like dried parchment. The installer had used a cheap construction adhesive that could not handle the expansion cycles of the building. I spent three days remediating those joints because someone thought a few finishing nails would solve a chemical bonding failure. Flooring is not a static product. It is a living, breathing structural component that reacts to every gram of moisture in the air and every degree of temperature change in the room.
The physics of the peel
Laminate edge peeling occurs when the decorative wear layer or the protective T-molding strip separates from the high-density fiberboard (HDF) core due to adhesive fatigue or moisture intrusion. This failure is often rooted in the glass transition temperature of the factory glues. When the bond is compromised, the material curls upward. To fix this, you must understand that laminate is a composite of melamine resin and wood fibers. These materials have different expansion coefficients. When humidity spikes near showers or during a summer heatwave, the core expands faster than the wear layer. This creates internal shear stress. A hairdryer works by re-liquefying the thermoplastic resins, allowing the layers to be pressed back into a singular, cohesive unit.
“A floor is only as good as the subfloor beneath it; deflection is the enemy of every joint.” – Master Flooring Axiom
Why your subfloor is lying to you
Floor leveling is the most ignored step in any laminate or carpet install project, yet it is the primary reason transitions fail. If the subfloor has a dip greater than 3/16 of an inch over a 10-foot span, the laminate will flex every time someone walks on it. This constant vertical movement, known as deflection, creates a pump action that draws moisture from the concrete slab up into the unprotected edges of the transition strips. Eventually, even the best adhesive will snap under this mechanical stress. Before you even reach for a hairdryer, you must verify that the floor is not bouncing. A bouncy floor will destroy a repair within forty-eight hours.
- Check for subfloor flatness using a 6-foot straightedge.
- Inspect the expansion gap at the perimeter to ensure it is at least 1/4 inch.
- Verify that no heavy cabinetry is pinning the floor to the subfloor.
- Test the moisture content of the HDF core using a pin-style meter.
- Clean the underside of the peeling edge with denatured alcohol to remove oils.
The chemistry of the heat fix
Using a hairdryer for flooring repair involves the precise application of thermal energy to reactivate thermoplastic adhesives without scorching the melamine wear layer. Most modern laminate transitions use a hot-melt or solvent-based glue that remains sensitive to heat. By elevating the temperature of the transition strip to approximately 140 degrees Fahrenheit, you soften the polymer chains in the adhesive. This allows the glue to flow back into the porous HDF core. You are essentially performing a localized factory re-lamination. However, if you exceed 180 degrees, you risk bubbling the protective aluminum oxide coating, which is an irreversible mistake.
| Material Type | Heat Sensitivity | Recommended Temp | Cooling Time |
|---|---|---|---|
| AC3 Laminate | High | 130F-140F | 20 Minutes |
| AC5 Commercial | Medium | 140F-150F | 30 Minutes |
| Vinyl Composite | Extreme | 110F-120F | 15 Minutes |
| Engineered Wood | Low | 150F-160F | 60 Minutes |
A hairdryer as a precision tool
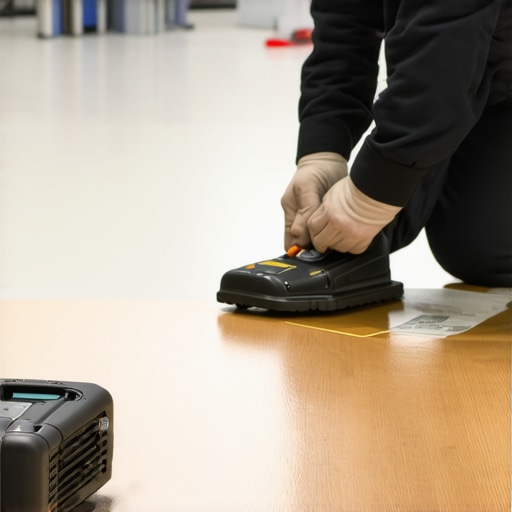
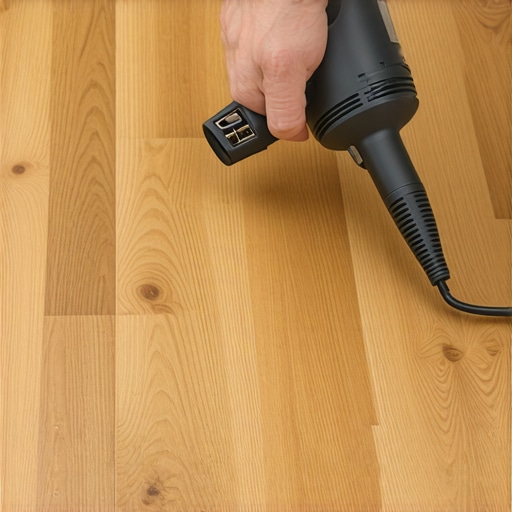
Applying heat to floor transitions requires a steady hand and a specific motion to prevent heat spotting or surface delamination. Start by vacuuming the gap to ensure no sawdust or grit is trapped between the layers. Set your hairdryer to the medium-high setting. Hold the nozzle four inches away from the surface. Move the dryer in a slow, circular motion along the length of the peeling edge for about three minutes. You should see the material become slightly more pliable. Once the surface is warm to the touch but not burning, apply heavy pressure using a J-roller or a flat wooden block weighted down with a five-gallon bucket of water. The pressure must be maintained until the adhesive cools completely, which usually takes thirty minutes. This ensures the bond sets while the molecules are in their most receptive state.
The 1/8 inch that ruins everything
Expansion gaps are the difference between a successful floor and a total failure. If your laminate transition is peeling, check if it is butted tight against a wall or a door jamb. Laminate moves. If it has no room to grow, the pressure has to go somewhere. Usually, that pressure manifests as a peak in the middle of the room or a peeling edge at the transition. I have seen carpet install jobs where the tack strip was placed too close to the laminate transition, causing the two materials to fight for space. Always maintain a 1/8 inch gap between the transition molding and the adjacent floor covering. This allows for the seasonal thermal expansion that occurs when your HVAC system cycles on and off.
The ghost in the expansion gap
Regional humidity dictates how your floor behaves over a decade. In high-humidity areas, the wood fibers in the laminate core will swell. This swelling exerts outward pressure on the edges. If the edges are not properly sealed with a silicone-based sealant near wet areas like showers, the water vapor will penetrate the core. This leads to “edge puffing,” a condition where the HDF expands and pushes the decorative layer upward. A hairdryer can fix the adhesive bond, but it cannot fix a water-damaged core that has structurally failed. If the core feels soft or spongy when you press on it, the hairdryer fix will not work. In that case, you are looking at a full replacement of the transition strip and possibly the adjacent planks.
“Moisture is the silent killer of the floating floor; never trust a slab you haven’t tested.” – TCNA Technical Manual
When the hairdryer is not enough
Advanced floor repair sometimes requires more than just heat. If the hairdryer method fails after two attempts, the original adhesive has likely crystallized. Crystallized glue cannot be reactivated by heat. You will need to carefully inject a high-quality cyanoacrylate or a specialized flooring epoxy under the peeling layer using a fine-tipped syringe. Once the adhesive is injected, you must still apply the heat to ensure it spreads evenly across the surface before clamping it down. This hybrid method combines the chemical strength of a new bond with the thermal pliability of the existing material. It is a technique used by pros to save high-end installs without tearing up the entire room.
The lasting bond
Fixing a floor is about patience and physics. Do not rush the cooling process. If you remove the weights too early, the material will memory-flex back into its curled position. Think of the adhesive like a weld. It needs time to crystallize and lock the layers together. Once the repair is dry, I always recommend applying a thin bead of seam sealer to the edge. This prevents future moisture from getting back under the wear layer. You are not just fixing a cosmetic flaw. You are reinforcing a structural joint. A well-executed heat repair can extend the life of a laminate floor by a decade, saving you the cost of a full demolition and a new carpet install or wood project. Respect the chemistry of your floor, and it will stay flat for a lifetime.