The ‘Towel Test’ for Finding a Slow Leak Under Your New Shower Drain
I have sawdust in my hair and my knees hurt from thirty years of crawling over joists. I have seen things that would make a code inspector weep. Most guys skip the leveling compound. They think the underlayment will hide the dip. It won’t. I spent three days grinding concrete on a job last month just so the floor wouldn’t click like a castanet. But that was a dry room. In a bathroom, a dip in the subfloor isn’t just a noise. It’s a collection point for the slow death of your structure. I once walked into a house where a luxury shower was leaking so slowly that the homeowner didn’t notice until the laminate in the hallway started to swell. The subfloor was essentially a wet sponge. The mistake was simple. They skipped the flood test and ignored the drain seal. This is where the towel test comes in. It is a low-tech solution for a high-stakes problem.
The phantom moisture ruining your subfloor
The towel test identifies a slow leak by wrapping a high-absorbency cotton towel around the drain assembly and subfloor penetration to catch moisture that eludes visual inspection. This process uses capillary action to pull water from microscopic gaps in the PVC solvent bonds or the clamping ring seal. It is the most effective way to verify that your shower pan and drain are truly watertight before you commit to thin-set and tile. Moisture is a patient enemy. It does not need a flood to destroy a home. It only needs a steady, microscopic supply of water to feed the rot in your plywood or the mold in your floor leveling compound.
“A floor is only as good as the subfloor beneath it; deflection is the enemy of every joint.” – Master Flooring Axiom
Why your subfloor is lying to you
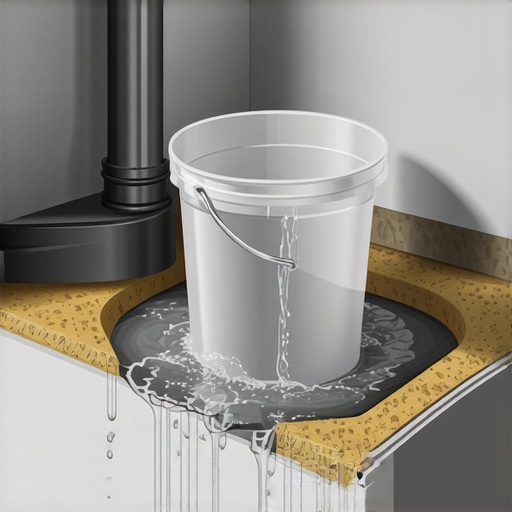
Your subfloor might look dry on the surface, but the underside of the plywood or OSB can hold significant moisture without showing immediate signs of distress. The towel test reveals this hidden danger by providing a visual indicator of water migration that usually occurs out of sight. When water escapes a drain assembly, it often follows the path of the plumbing pipe. It bypasses the top of the subfloor and begins to saturate the core of the wood. By the time you see a stain on the ceiling below, the structural integrity of your joists is already compromised. This is especially true if you are preparing for a carpet install or laying down laminate nearby. These materials are incredibly sensitive to moisture vapor. A slow shower leak creates a localized high-humidity zone that will cause laminate planks to peak and carpet pads to grow colonies of black mold. I have seen carpet install jobs ruined in weeks because a shower three feet away was weeping into the common subfloor. [IMAGE_PLACEHOLDER]
The physics of a failing shower pan
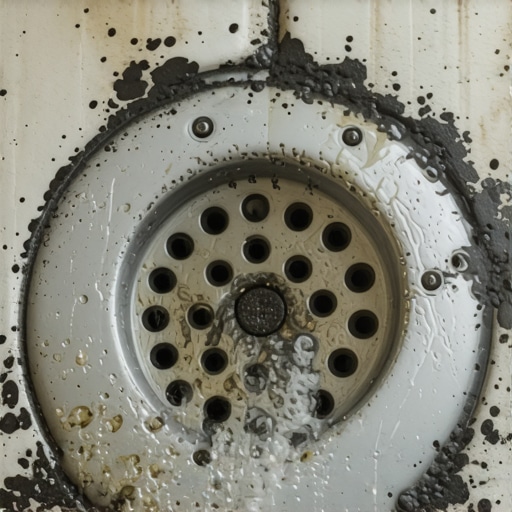
Shower pan failure usually occurs at the interface between the waterproofing membrane and the drain body where the clamping ring exerts pressure. If the bolts are unevenly torqued or the weep holes are blocked by mortar, water will back up and find a way through the bolt holes. This is a matter of hydrostatic pressure. Even a small amount of standing water in the pan creates weight. That weight pushes water molecules into every available crevice. If your floor leveling was not done with a proper pitch toward the drain, water will sit in stagnant pools. This is why I insist on a pre-slope. Many installers put the liner flat on the subfloor and then build the slope with mortar on top. That is a recipe for disaster. The water that moves through the grout and mortar will hit that flat liner and just sit there. It becomes a stagnant pond that eventually rots the drain seal. You need a slope under the liner and a slope on top of it. This is non-negotiable in showers.
How to perform the towel test with precision
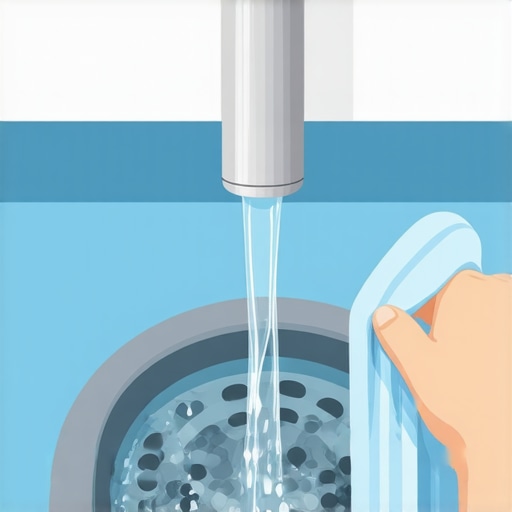
To perform the towel test, you must wrap a clean, dry white towel tightly around the base of the shower drain assembly where it meets the subfloor. After filling the shower pan with two inches of water, you leave the towel in place for twenty-four hours to check for dampness. This is different from a standard flood test. A flood test tells you if the pan holds water. The towel test tells you if the drain is leaking into the floor. Use a white towel specifically. It shows moisture and mineral stains much more clearly than a colored fabric. If the towel comes out bone dry, your seal is tight. If it feels even slightly damp, you have a mechanical failure in the drain assembly or a chemical failure in the PVC welding. I have seen guys try to fix this with silicone. Silicone is not a fix for a bad mechanical seal. It is a temporary patch that will fail when the house shifts. You need a proper solvent weld and a correctly seated gasket.
| Subfloor Material | Moisture Tolerance | Expansion Gap Requirement | Drying Capacity |
|---|---|---|---|
| CDX Plywood | High | 1/8 Inch | Moderate |
| OSB Board | Low | 1/8 Inch | Very Low |
| Concrete Slab | Medium | N/A | Low |
| Cement Board | High | 0 Inch | High |
The 1/8 inch that ruins everything
A gap of just one-eighth of an inch in your floor leveling or subfloor layout can provide enough space for water to pool and initiate the rot process. Precision in the subfloor preparation is the only way to ensure that your shower and the surrounding flooring stay dry. I often see installers who think they can use thin-set to level a floor. Thin-set is an adhesive, not a structural filler. If you have a dip, you need a high-compression self-leveling underlayment. But before you pour that, you have to seal the perimeter. If you don’t, the leveling liquid will run down the same holes the water would. It will disappear into your crawlspace or basement. While most people want the thickest underlayment, too much cushion actually causes the locking mechanisms on laminate to snap under pressure. The same logic applies to the shower. Everything must be rigid and perfectly aligned. Any movement in the subfloor will crack the grout lines in your showers, and once the grout cracks, the towel test is the only thing that will tell you how much damage is being done underneath.
“A waterproof membrane must be continuous and integrated with the drain assembly to prevent subsurface moisture accumulation.” – Master Flooring Axiom
The molecular reality of solvent welding
Solvent welding is not a glue; it is a chemical reaction that melts the surface of the PVC pipes to fuse them into a single piece of plastic. If the primer is skipped or the temperature is too low, the weld will be superficial and prone to leaking under pressure. I have seen plumbers in a hurry who just slap some cement on the pipe and shove it into the fitting. That might hold for a drain test with no pressure, but when that shower pan is full, the weight of the water exerts force. A proper weld requires a purple primer to soften the plastic and a heavy-bodied cement to create the bond. You have to hold the joint for thirty seconds to prevent the pipe from pushing out of the fitting. If that joint is under the shower pan, you will never see the leak until the towel test brings it to your attention. This is the structural engineering of flooring. It is about chemistry and physics as much as it is about aesthetics.
Transitioning to carpet and laminate
When a shower leak occurs, the moisture moves laterally through the subfloor, often affecting the carpet install or laminate flooring in the adjacent bedroom or hallway. Detecting the leak at the source prevents a total loss of these secondary floor coverings. I have replaced miles of laminate that had turned into a wavy mess because of a slow drip in the master bath. The high-density fiberboard core of laminate is basically compressed sawdust and glue. It loves water. Once it absorbs moisture, it expands and never shrinks back to its original size. Carpet is more forgiving of the water itself, but the pad underneath acts like a reservoir. It holds the water against the wood subfloor, creating a perfect environment for wood-destroying fungi. If you are doing a carpet install near a bathroom, you better be sure that shower is tight. The towel test is your insurance policy against a $5,000 mistake.
The master installer checklist for a dry subfloor
- Verify the pre-slope under the shower liner is a minimum of 1/4 inch per foot.
- Ensure the PVC drain pipe is cut flush and deburred before solvent welding.
- Apply purple primer to both the pipe and the drain body socket.
- Tighten clamping ring bolts in a star pattern to ensure even gasket pressure.
- Clear all weep holes of mortar or debris using a small piece of gravel or specialized spacers.
- Perform the 24-hour towel test before installing the final mortar bed and tile.
- Check the moisture content of the surrounding subfloor with a pin-type meter.
The ghost in the expansion gap
Expansion gaps are designed to allow for the natural movement of wood and laminate, but they also serve as a highway for water if a shower leak reaches the perimeter of the room. A properly executed towel test ensures that these gaps remain dry and functional. I have seen people caulk their expansion gaps shut because they were afraid of water. That is a mistake. It just causes the floor to buckle when the humidity changes. You need the gap, and you need the floor to be dry. If you are worried about moisture, you use a silicone-based sealant that remains flexible, but only after you have proven the plumbing is sound. My hands are scarred from years of fixing other people’s shortcuts. Don’t be the guy who has to tear out a brand new bathroom because he was too lazy to buy a five-dollar towel and wait a day. The physics of water do not care about your schedule. The chemistry of the bond does not care about your budget. Do it right the first time, or the house will eventually tell your secrets.