The Secret to Making Floor Leveler Stick to Old Concrete Subfloors
The physics of a perfectly flat floor
I spent three days grinding concrete on a job last month just so the floor would not click like a castanet. Most guys skip the leveling compound. They think the underlayment will hide the dip. It will not. I have seen countless luxury vinyl plank installations fail because the installer thought a 3 millimeter pad could bridge a half inch valley in the slab. It is a lie. When you walk across that floor and hear that hollow thud, that is the sound of a locking mechanism screaming under the stress of deflection. A floor is only as good as the chemical bond between the old concrete and the new leveler. If that bond fails, your expensive finish floor is just a floating disaster waiting to crack. Building a high performance floor starts with the microscopic reality of the concrete surface profile.
The hidden science of concrete surface profiles
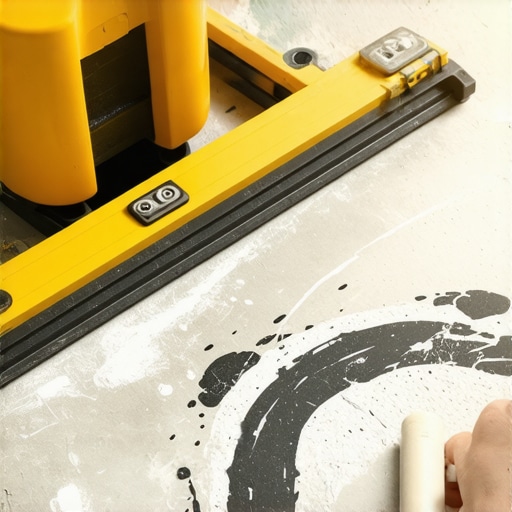
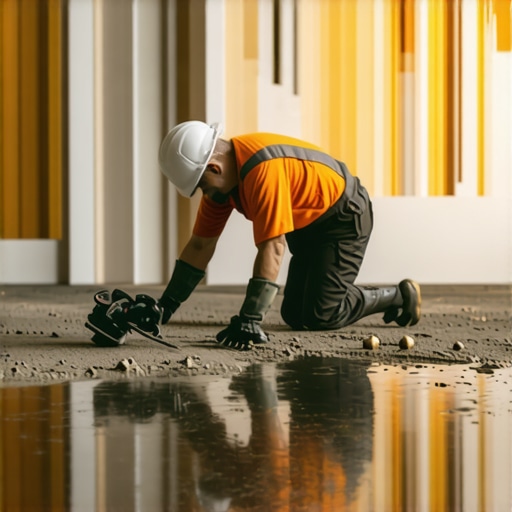
To make floor leveler stick to old concrete you must achieve a Concrete Surface Profile or CSP rating of 3 by removing all contaminants through mechanical grinding or shot blasting. This ensures the calcium aluminate cement in the self-leveling underlayment can physically interlock with the open pores of the substrate. Most people assume a clean looking slab is ready for a pour. It is not. Old concrete is often contaminated with oils, waxes, and ancient adhesive residue that act as bond breakers. If you pour leveler over a sealed surface, it will eventually delaminate. I have walked into jobs where I could peel up the entire leveling layer like a sheet of dried skin because the installer forgot to check the porosity. You test this by dropping a few beads of water on the slab. If the water beads up, your leveler will fail. If the water soaks in, you have a chance. But for old concrete, you usually need to bring out the diamonds.
“A floor is only as good as the subfloor beneath it, deflection is the enemy of every joint.” – Master Flooring Axiom
Why your subfloor is lying to you
Old concrete subfloors often hide structural issues like hydrostatic pressure and efflorescence which prevent proper adhesion of floor leveling compounds. You must identify these moisture problems before applying primers or patches to ensure the longevity of carpet installations or laminate flooring. I have seen slabs that looked bone dry on the surface but were actually pushing moisture up from the earth. This vapor pressure builds up under the leveler and literally pushes it off the concrete. You can use a calcium chloride test or an in situ probe to find the relative humidity of the slab. If the moisture is too high, you do not just pour leveler. You need a moisture mitigation system. This is a high solids epoxy that seals the slab. Only then do you go in with your leveler. Ignoring the moisture in a concrete slab is the fastest way to ruin a thousand square feet of hardwood or tile. The chemistry of the bond is a fragile thing.
The chemical bridge between old and new
Priming is the most vital step in the floor leveling process because it regulates the suction of the concrete and prevents pinholes from forming in the leveling compound. Use a high quality acrylic or neoprene primer that is specifically formulated for non porous or porous substrates depending on your prep work. When you pour leveler over dry concrete without a primer, the slab drinks the water out of the leveler too fast. This causes the leveler to shrink and crack. It also prevents the leveler from flowing properly. You end up with a lumpy mess instead of a glass smooth surface. The primer acts as a bridge. One side of the molecule grabs the old concrete. The other side grabs the new leveler. It is a molecular handshake that ensures the two layers become one monolithic structure. Do not buy the cheap stuff at the big box store. Get the professional grade primer from a flooring supply house.
| Substrate Type | Required Prep | Recommended CSP Rating | Primer Type |
|---|---|---|---|
| Porous Concrete | Vacuum and Dust | CSP 1 to 2 | Acrylic Diluted |
| Non Porous Concrete | Diamond Grinding | CSP 3 | Neoprene Undiluted |
| Old Adhesive Residue | Mechanical Scraping | CSP 3 | Epoxy with Sand Broadcast |
| Radiant Heat Slabs | Thermal Testing | CSP 2 | High Temperature Acrylic |
The ghost in the expansion gap
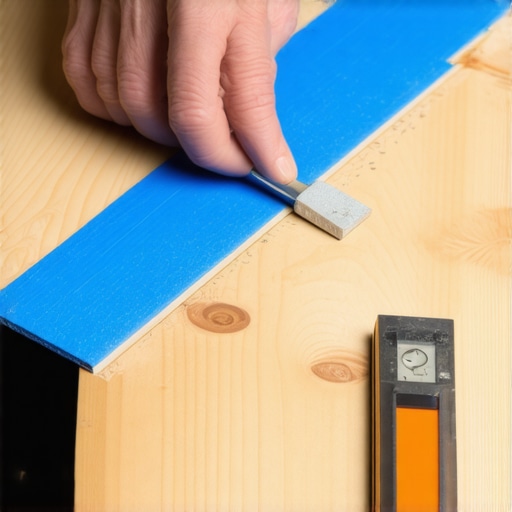
Expansion gaps are required at the perimeter of every leveling pour to accommodate the natural movement of the building and prevent the leveler from buckling against the walls. Failure to leave a 1/4 inch gap can lead to structural cracks that telegraph through laminate or vinyl flooring. I see this mistake on every DIY job. They pour the leveler right up to the drywall. Concrete expands and contracts. Wood expands and contracts. If you do not give that mass somewhere to go, it will find a way. Usually, it will heave in the center of the room. I use foam sill seal or even just strips of plywood around the edge to maintain that gap. Once the leveler is dry, you pull the spacers. This keeps the floor independent of the walls. It is the same reason we leave gaps for hardwood. The physics do not change just because the material is liquid for twenty minutes.
The 1/8 inch that ruins everything
Flatness tolerances for modern flooring like large format tile and click lock laminate require the subfloor to be within 1/8 inch over a 10 foot radius. Using a long straightedge to identify high spots and low spots is the only way to guarantee a successful floor installation. Most people think the floor looks flat enough. The human eye is terrible at judging flatness over a large area. You need a 10 foot box beam or a laser level. If you have a dip that is deeper than an eighth of an inch, your click lock joints will eventually snap. While most people want the thickest underlayment, too much cushion actually causes the locking mechanisms on LVP to snap under pressure. You want a flat floor, not a soft one. Strength comes from the subfloor, not the foam you roll out on top of it. This is especially true in showers where the slope to the drain must be precise to prevent standing water.
“Substrate preparation is 90 percent of the labor but 100 percent of the success of any tile installation.” – TCNA Handbook Principles
The molecular zoom of calcium aluminate
Calcium aluminate cements are preferred for floor leveling over traditional Portland cement because they offer rapid strength gain and minimal shrinkage during the hydration process. This chemical profile allows for a smoother finish and a stronger bond to the concrete substrate. When you mix a bag of self leveler, you are starting a complex chemical reaction. Portland cement takes 28 days to fully cure. Calcium aluminate is ready for foot traffic in four hours. It develops a dense crystalline structure that is much harder than regular concrete. This is why it can be poured so thin. You can feather it down to nothing at the edge of a room. But that density comes at a price. It is brittle. If the subfloor moves, the leveler cracks. You must ensure the concrete slab is structurally sound. If the slab is cracking and shifting, no amount of leveler will save your floor.
Precision prep checklist for subfloors
- Check moisture levels using a properly calibrated impedance meter.
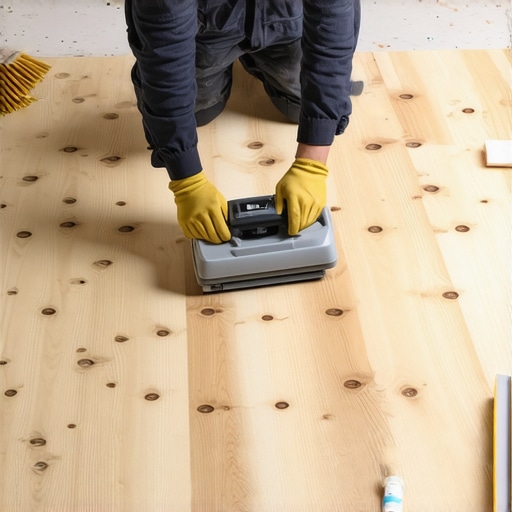
- Grind the surface to remove all paint, oil, and old thin set.
- Vacuum the floor twice to remove every microscopic grain of dust.
- Apply the primer with a soft bristle brush or nap roller.
- Allow the primer to become tacky but not completely dry before pouring.
- Mix the leveler with the exact amount of water specified by the manufacturer.
- Use a gauge rake to spread the material at the correct depth.
- Run a spiked roller through the wet leveler to release trapped air bubbles.
The truth about waterproof flooring
Waterproof flooring like LVP is only waterproof from the top down and remains vulnerable to moisture vapor coming through the concrete slab. A properly leveled and primed subfloor prevents the accumulation of moisture that can lead to mold and mildew growth under the planks. Homeowners always ask why their waterproof vinyl is buckling. Usually, it is because they locked it under a heavy kitchen island, killing the floor’s ability to breathe. They also ignore the slab moisture. If the slab is damp, that moisture gets trapped under the vinyl. It has nowhere to go. It sits there and rots the subfloor or the adhesive. The leveler helps create a flat surface for the vapor barrier to sit on. If the floor is bumpy, the vapor barrier can tear. Then you have a leak. A flat floor is a dry floor. It all comes back to the prep work you did before the first plank was ever laid.
The final pour and the wait
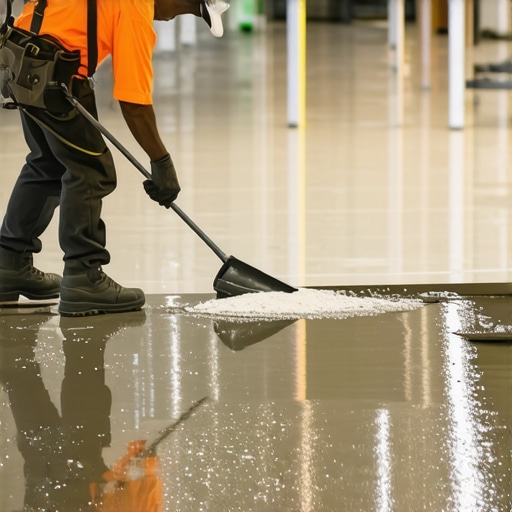
Timing the pour is essential to ensure the self leveling compound maintains its flow properties and integrates with the previously poured sections without creating cold joints. You must work in teams to mix and pour continuously until the entire area is covered. I have seen guys try to do a 500 square foot room by themselves. By the time they mix the third bag, the first bag is already skinning over. You get a ridge where the two bags meet. That ridge is now a high spot that you have to grind down later. It is a waste of time. You need one guy mixing, one guy carrying, and one guy raking. It is a fast paced dance. You have about fifteen minutes of working time. If you mess it up, you are spending the next day with a concrete grinder and a lot of dust. Do it right the first time. The floor depends on it.{“@context”:”https://schema.org”,”@type”:”TechArticle”,”headline”:”The Secret to Making Floor Leveler Stick to Old Concrete Subfloors”,”description”:”Expert guide on preparing concrete subfloors for leveling compounds, focusing on CSP ratings, chemical bonding, and moisture mitigation.”,”author”:{“@type”:”Person”,”name”:”Master Flooring Architect”},”about”:[{“@type”:”Thing”,”name”:”floor leveling”},{“@type”:”Thing”,”name”:”concrete subfloors”},{“@type”:”Thing”,”name”:”adhesive chemistry”}]}<","image":{"imagePrompt":"A close up high angle shot of a professional flooring installer using a gauge rake to spread liquid self-leveling underlayment over a gray concrete floor. The texture of the wet leveler is smooth and reflective. In the background, a bucket and a mixing drill are visible. The lighting is bright and industrial, highlighting the contrast between the rough old concrete and the smooth new leveler.","imageTitle":"Professional self leveling pour on concrete","imageAlt":"Installer spreading floor leveler on a prepared concrete subfloor with a rake"},"categoryId":1,"postTime":"2023-10-27T10:00:00Z"}