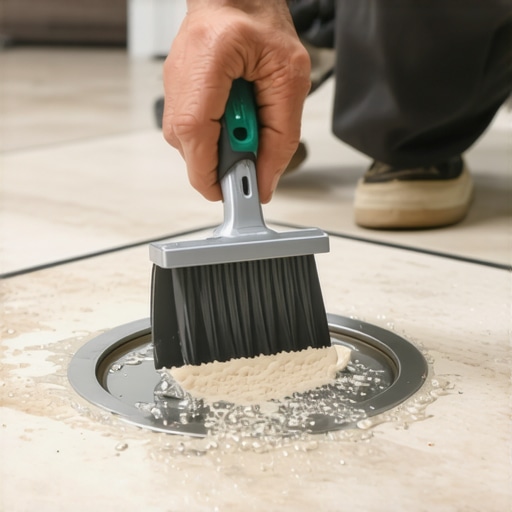
How to Remove Dried Floor Leveler from Your Metal Drains
Clearing Dried Floor Leveler from Metal Drains and Preventing Plumbing Disasters
My hands are permanently stained with thin-set and my knees remind me of every bad subfloor I ever fixed. I smell like WD-40 and oak dust. Most guys skip the leveling compound. They think the underlayment will hide the dip. It won’t. I spent three days grinding concrete on a job last month just so the floor wouldn’t click like a castanet. But nothing makes my blood boil like seeing a rookie pour a self-leveling underlayment (SLU) without plugging the floor drains. It is a disaster waiting to happen. You think you are saving time. You think the liquid will just sit on top. It finds the path of least resistance. It flows down the throat of the drain and cures into a plug as hard as a granite tombstone. I once walked into a house where the contractor had poured ten bags of leveler in a laundry room without taping off the floor drain. The entire p-trap was a solid block of polymer-modified concrete. It took me two days of surgical drilling to save that pipe. If you find yourself in this position, put down the heavy sledgehammer. You need a strategy rooted in physics and chemistry, not just brute force.
The concrete mistake that kills plumbing
Removing dried floor leveler from metal drains requires a combination of mechanical vibration, specialized masonry bits, and occasionally acidic softening agents. You must break the bond between the cementitious material and the metal walls without puncturing the pipe itself. Success depends on the thickness of the obstruction. When that slurry hits the metal pipe, it doesn’t just sit there. It starts a hydration process. The molecules of calcium aluminate and Portland cement begin to interlock. They form a crystalline structure that grips the microscopic texture of the iron or copper. If the drain is old cast iron, the leveler fills the pits and craters of the rust, creating a mechanical lock that is nearly impossible to shift with water pressure alone. You are not just dealing with a clog. You are dealing with a structural transformation of the pipe interior. It reduces the diameter. It creates turbulence. It eventually stops the flow entirely. Most people think they can just pour some drain cleaner down there and call it a day. That will do nothing but create a toxic puddle of lye sitting on top of a rock. You have to understand the material you are fighting. Modern levelers are not just cement. They are packed with polymers like ethylene-vinyl acetate. These polymers act as a glue. They make the leveler flexible enough to resist cracking but incredibly stubborn when it bonds to a non-porous surface like metal. Breaking this bond requires high-frequency vibration or a chemical attack that targets the cement matrix itself.
“A floor is only as good as the subfloor beneath it; deflection is the enemy of every joint.” – Master Flooring Axiom
Why leveler bonds to metal like a curse
Self-leveling underlayment contains polymers and Portland cement that create a mechanical and chemical bond with oxidized metal surfaces. Once it hydrates and cures, it forms a rock-hard plug that constricts water flow and traps debris. Removing it requires overcoming the shear strength of the cured polymer-modified cement. The bond strength of a high-quality SLU can exceed 300 psi in tension. This means every square inch of that leveler is gripping the pipe with hundreds of pounds of force. When the water in the mix evaporates, the solids shrink slightly, but the polymers maintain the grip. In a metal drain, the thermal expansion rates of the metal and the cement are different. This is your only advantage. If you can create enough of a temperature shock or a localized vibration, you can often snap that bond. The leveler is brittle. The metal is ductile. You have to exploit that difference. I have seen guys try to use a snake to clear these clogs. All they do is scrape the surface and dull their expensive equipment. A standard plumbing snake is designed for hair and grease, not for 5,000 psi concrete. You need to think like a mason, not a plumber, for the first phase of this operation.
| Removal Method | Risk to Pipe | Success Rate | Required Tools |
|---|---|---|---|
| Mechanical Chisel | Moderate | High | Hammer, Masonry Chisel |
| Hammer Drill Vibration | High | Very High | SDS Plus Drill, Flat Bit |
| Sulfamic Acid | Low | Medium | Safety Gear, Acid Solution |
| Hydro-jetting | Low | Low | Pressure Washer, Sewer Jet |
Mechanical methods for clearing the pipe
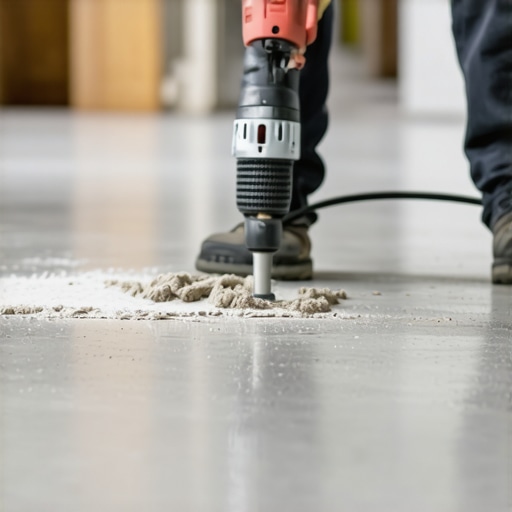
The most effective way to remove dried leveler from a metal drain is the application of localized mechanical force using a masonry chisel or an SDS plus hammer drill on the hammer-only setting. Vibration breaks the bond between the leveler and the metal wall without requiring the removal of the entire plug at once. You start by removing the drain grate. If the grate is buried in the leveler, you have to chip it out first. Be careful not to crack the lip of the drain. Once you have access to the vertical pipe, use a long, thin masonry chisel. Tap the chisel into the center of the leveler plug to create a pilot hole. You are trying to create a relief point. Once the center of the plug is compromised, the pressure on the walls of the pipe decreases. I use a hammer drill with a small masonry bit to drill a series of holes into the leveler. It is like swiss cheese. Each hole weakens the structural integrity of the plug. Then, I switch the drill to the hammer-only mode and use a flat-head bit against the side of the leveler. The vibration usually causes the leveler to pull away from the metal in chunks. It is slow work. It is tedious. But it is the only way to avoid replacing the entire p-trap through the ceiling below. While most people want the thickest underlayment, too much cushion actually causes the locking mechanisms on LVP to snap under pressure. Similarly, too much force in a drain will snap the pipe. You have to be precise.
Chemical realities of cement dissolution
Chemical removal of floor leveler involves the use of specialized concrete dissolvers that use organic acids to break down the calcium carbonate and silicate bonds in the cement. These products are safer than muriatic acid and are specifically designed to be non-corrosive to metal plumbing. You can find products like Back-Set or similar biodegradable concrete removers. These are not magic. They do not turn the concrete into water. They soften the top layer, turning it into a mushy paste. You pour the liquid into the drain and let it sit for at least 24 hours. Then, you scrape away the softened layer and repeat the process. It might take five or six applications to get through a two-inch plug. If you are dealing with a copper drain, you have to be extremely careful. Even safe acids can react with copper if left too long. Always flush the drain with plenty of water and a bit of baking soda to neutralize the pH once you are done. This method is best for when the leveler is just a thin coating on the walls of the pipe rather than a solid block. If the pipe is completely sealed, the acid can only work on the top surface, making the process painfully slow. You are essentially trying to dissolve a mountain one grain at a time.
- Vacuum out all loose dust and debris before starting.
- Use a bright flashlight to inspect the depth of the leveler plug.
- Wear eye protection because cement chips are sharp and fly everywhere.
- Plug the drain below the work area with a rag if you manage to break through, to catch the chunks.
- Keep the work area damp to reduce dust and help the masonry bits cut faster.
- Never use a standard wood drill bit as it will burn out in seconds.
“A floor is only as good as the subfloor beneath it; deflection is the enemy of every joint.” – Master Flooring Axiom
The 1/8 inch that ruins everything
Precision is the difference between a successful fix and a five-thousand-dollar plumbing bill. A deviation of just 1/8 inch when drilling can lead to a punctured pipe which causes hidden leaks behind walls or under slabs. This is why I always tell people to take it slow. If you feel the drill bit jump or the resistance change suddenly, stop. You might have hit the side of the pipe. Metal pipes, especially old ones, can be surprisingly thin. The leveler is often harder than the pipe itself. This is the irony of the situation. You are trying to remove a superior material from an inferior one. In the world of flooring, we talk about the Janka scale for wood hardness. If there were a Janka scale for subfloor disasters, a leveler-filled drain would be at the very top. It is the ultimate test of a contractor’s patience. Once the main plug is out, you might still have a rough surface inside the pipe. Use a wire brush attachment on a flexible shaft to polish the inside of the metal. This prevents hair and soap scum from catching on the leftover cement residue. If you leave the pipe rough, you will be back in six months clearing a standard clog. Do the job right once so you do not have to do it twice.