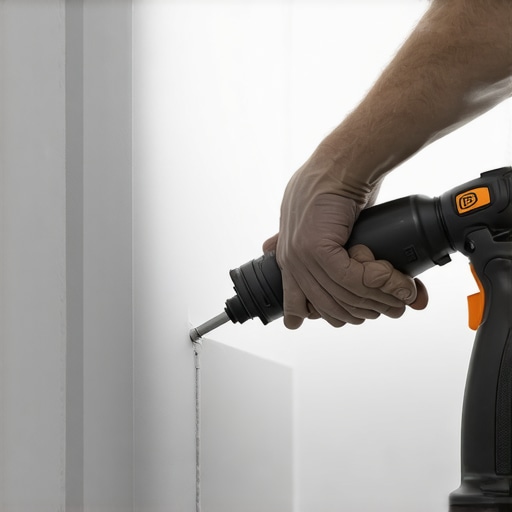
The ‘Sanding Hack’ for Removing Ridges from Dried Leveler
The myth of the self leveling pour
Most guys skip the leveling compound because they think the underlayment will hide the dip. It won’t. I spent three days grinding concrete on a job last month just so the floor wouldn’t click like a castanet. People assume that self leveling underlayment, or SLU, is magic juice that finds its own level like water in a glass. That is a lie told by marketing departments who have never held a gauge rake. In the real world, surface tension, rapid drying times, and poor mixing ratios create ridges, waves, and high spots that will telegraph through your luxury vinyl plank or cause your tile to crack. I have seen fifteen thousand dollar wide-plank walnut floors turn into potato chips because the installer ignored the subfloor prep. If you have ridges in your dried leveler, you are not ready for flooring. You are ready for a workout.
Why ridges appear in your cured underlayment
Ridges in dried leveler occur when the material loses its flowability before the surface tension fully relaxes, often caused by improper primer application or low humidity. These high spots are structural imperfections that prevent flooring from sitting flat against the substrate. When you pour SLU, the water in the mix starts to evaporate or get sucked into the porous concrete below immediately. If you did not use enough primer, the concrete drinks that water like a thirsty dog, and the leveler stops moving. This creates a lip where one pour met the next, or where your spike roller left a trail that didn’t settle. These ridges are often only a sixteenth of an inch high, but in the world of flooring, a sixteenth of an inch is a mountain that will snap the locking mechanisms on your laminate.
“A floor is only as good as the subfloor beneath it; deflection is the enemy of every joint.” – Master Flooring Axiom
The physics of the subfloor flat test
The industry standard for floor flatness is typically one eighth of an inch over a ten foot radius for hardwood and vinyl products. This is not about the floor being level according to the horizon, but about it being a flat plane. You can have a floor that slopes two inches from one side of the room to the other, and as long as it is flat, the flooring will install fine. However, a ridge from a dried leveler pour creates a fulcrum. When you walk over that spot, the flooring flexes down on either side of the ridge. This repetitive stress causes the tongue and groove to fatigue and eventually fail. I have seen homeowners blame the manufacturer for ‘cheap’ flooring when the real culprit was a hump of dried cement they were too lazy to sand down.
The sanding hack for stubborn high spots
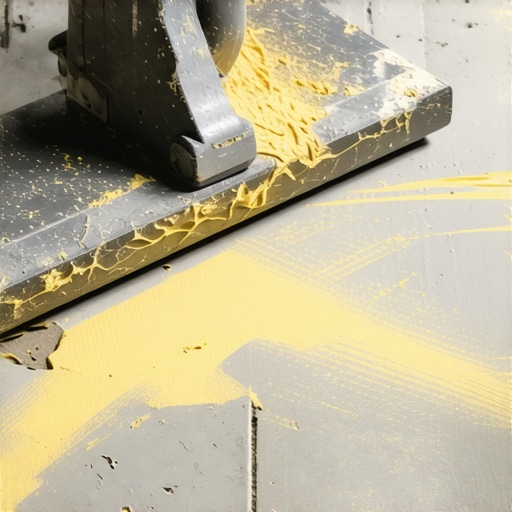
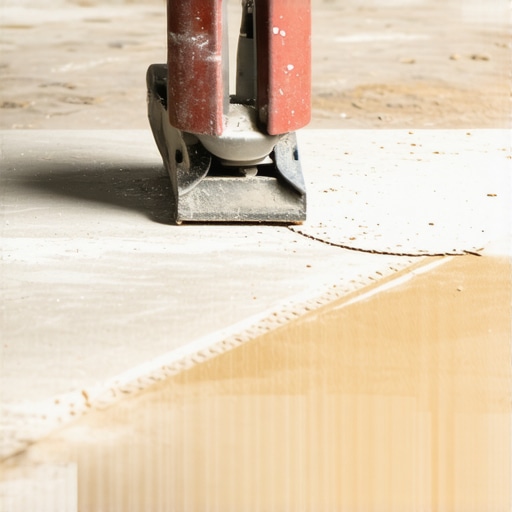
The most effective hack for removing ridges from dried leveler involves using a silicon carbide rub brick or a floor buffer with a diamond grinding attachment. For small ridges left by a rake or a roller, a hand-held rub brick is your best friend. Do not use standard sandpaper designed for wood. Self leveling compounds are often polymer-modified and extremely hard. They will glaze over regular sandpaper in seconds. You need an abrasive that is harder than the cementitious material. I prefer a twenty-grit rub brick. You apply pressure in a circular motion, essentially using the weight of the brick and your own muscle to shave the ridge down. If the ridge is across a large area, you must rent a heavy-duty floor maintainer. Use a concrete grinding disc, not a sanding screen. The goal is to shear the top off the ridge without gouging the surrounding flat areas.
[image placeholder for a professional flooring installer using a rub brick on a grey concrete subfloor]
Managing the microscopic dust cloud
Controlling dust during the sanding process is mandatory to protect your lungs and ensure the next layer of adhesive or underlayment bonds correctly. Leveler dust is essentially silica, and breathing it in is a one-way ticket to health problems. I never sand leveler without a HEPA vacuum attached to my shroud or a helper holding a vacuum nozzle right at the point of contact. If you are doing a carpet install afterward, the dust might seem like a minor annoyance, but for laminate or LVP, that dust acts like a bond breaker. If you plan to glue down your flooring, any residual dust will prevent the adhesive from grabbing the slab. You will end up with ‘hollow’ spots where the glue stuck to the dust instead of the floor.
The chemistry of the bond and why it matters
The chemical composition of self leveling underlayment requires specific abrasives because the polymer additives create a dense, non-porous surface once cured. Many modern levelers use calcium aluminate cement rather than standard portland cement. This allows for rapid setting times. If you wait more than twenty-four hours to sand your ridges, the material will be significantly harder than it was at the six-hour mark. I try to hit my ridges as soon as the floor is walkable. At this stage, the material is ‘green’ and much easier to plane down. If you wait three days, you might as well be trying to sand a diamond. You will spend more money on grinding discs than you did on the leveler itself.
| Tool Type | Ideal Use Case | Aggression Level |
|---|---|---|
| Silicon Carbide Rub Brick | Small ridges and rake marks | Medium |
| Diamond Cup Wheel | Heavy humps and bulk removal | High |
| 20-Grit Sanding Paper | Light surface smoothing only | Low |
| Floor Buffer with Scraper | Removing thin-set or glue residue | Medium-High |
The 1/8 inch that ruins everything
Most people want the thickest underlayment, but too much cushion actually causes the locking mechanisms on LVP to snap under pressure. They think that a thick, squishy pad will bridge the gaps left by ridges in the leveler. It is the opposite. A thick pad allows for more vertical movement. When you step on a plank that is sitting on a ridge, the thick pad on either side of the ridge compresses, putting even more tension on the joint. You want a flat, firm substrate. If you see a ridge, sand it. Do not try to hide it with foam. I have torn up thousands of feet of laminate that was only two years old because the installer thought a six millimeter pad would hide a bad pour. It never does.
“Surface preparation is seventy percent of the job; the remaining thirty percent is just following instructions.” – TCNA Guidelines
Step by step ridge removal checklist
- Identify high spots using a six-foot or ten-foot straightedge.
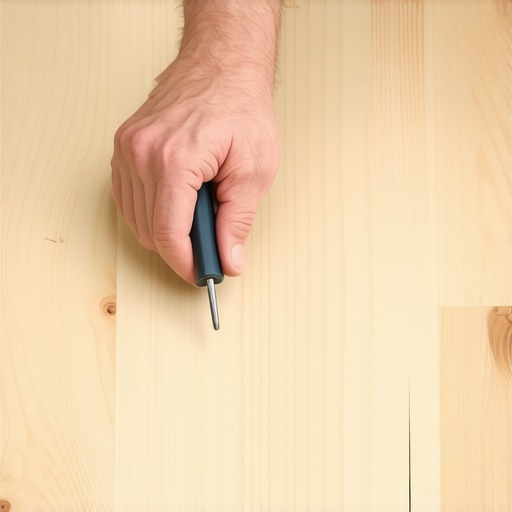
- Mark the perimeter of the ridge with a carpenter pencil.
- Check the moisture content of the slab to ensure it is not still off-gassing.
- Equip a HEPA-filtered vacuum and a P100 respirator.
- Use a 20-grit rub brick for localized high spots or a floor grinder for large areas.
- Vacuum the area three times to remove all microscopic silica particles.
- Re-check the area with a straightedge to ensure the 1/8 inch tolerance is met.
Preparing for showers and wet areas
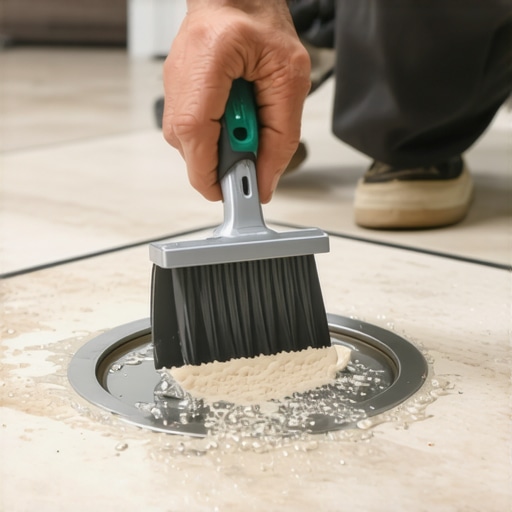
Floor leveling for showers requires an even higher degree of precision because you are often dealing with slopes toward a drain. In these cases, a ridge is not just a structural problem, it is a water drainage problem. If you have a ridge in your leveled shower pan, water will pool behind it. This leads to mold, grout failure, and eventually a complete system collapse. When I am prepping a shower floor for tile, I am even more aggressive with the rub brick. I want that surface to be like glass. The thin-set used for tile is not meant to be a leveling agent. It is an adhesive. If you try to ‘build up’ thin-set to overcompensate for a ridge, you will end up with shrinkage cracks as the mortar cures.
The final word on subfloor integrity
I have spent twenty-five years on my knees. I have seen every shortcut in the book. The guys who think they can save an hour by not sanding their leveler ridges always end up spending ten hours later fixing a failed floor. A floor is a performance surface. It has to handle the weight of your furniture, the impact of your feet, and the expansion and contraction of the seasons. If the foundation is flawed, the entire system is compromised. Take the time to grind the concrete. Buy the rub brick. Wear the mask. Your floor will thank you by staying quiet and flat for the next thirty years. Anything less is just a temporary decoration that will fail when the weather changes or the house settles. Don’t be the guy who has to explain why the floor is clicking. Be the guy who did it right the first time.