The ‘Sanding Hack’ for Fixing High Spots in Concrete Floor Leveler
Most guys skip the leveling compound. They think the underlayment will hide the dip. It won’t. I spent three days grinding concrete on a job last month just so the floor wouldn’t click like a castanet. That job was supposed to be a simple laminate install over a basement slab. Instead, it became a battle against physics. The previous contractor had dumped five bags of self-leveler and walked away. He left behind a series of ridges and high spots that looked like a topographical map of the Rockies. If I had laid the floor over that, the locking mechanisms would have snapped within a month. I had to break out the diamond cups and the HEPA vacuum to fix his mess. This is the reality of subfloor prep. It is dirty, loud, and absolutely necessary if you want a floor that lasts longer than a season.
The physics of the imperfect pour
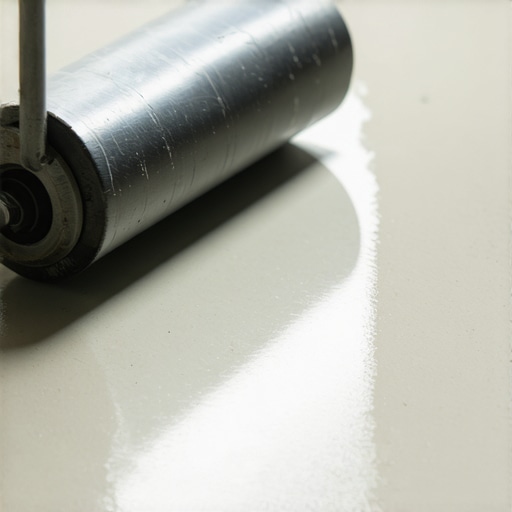
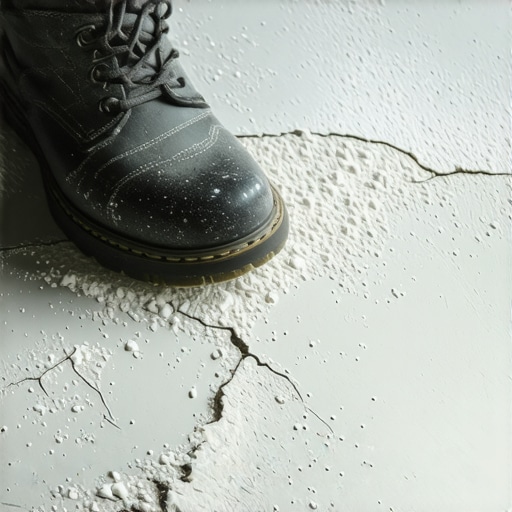
Concrete floor leveler and self-leveling underlayment products are designed to seek a flat plane through gravity, but surface tension and improper mixing often create high spots. These irregularities in the substrate occur when the viscosity of the mixture is too high or if the ambient temperature causes the product to flash dry before it can fully flow out. You cannot simply trust the bag. Most self-levelers have a flow time of about ten to fifteen minutes. If you are working alone in a large room, the first bucket is already setting up by the time you pour the third. This creates a cold joint. That cold joint is almost always a high spot. It is a ridge of hardened polymer-modified cement that will haunt your installation. I have seen guys try to hammer these down. That just cracks the bond. You have to understand the chemistry of what you are dealing with. These products are often calcium aluminate-based for fast setting. They are harder than standard concrete once they cure. You are not just sanding mud. You are grinding a technical ceramic.
“A floor is only as good as the subfloor beneath it; deflection is the enemy of every joint.” – Master Flooring Axiom
The 1/8 inch that ruins everything
Industry standards for floor flatness usually require a tolerance of one-eighth of an inch over ten feet for most luxury vinyl plank and laminate products. Anything beyond this deviation in the subfloor causes the floating floor joints to flex every time someone walks across the room. This is called vertical deflection. Over time, that flex fatigues the plastic or fiberboard locking tongue. Eventually, it breaks. Now you have a gap. You have a floor that squeaks. You have a homeowner calling you at eight on a Saturday morning. I always use a ten-foot straightedge. A six-foot level is not enough. You can have a hump that stays hidden under a short level but reveals itself as a massive problem when you span the whole room. We are looking for the peaks. The valleys are easy to fill. The peaks are the ones that require the sanding hack.
The diamond cup wheel and the tactical grind
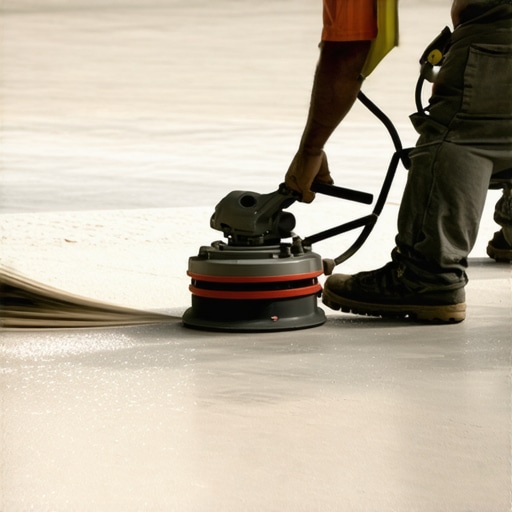
Diamond cup wheels for angle grinders are the most effective tools for removing high spots in concrete because they provide the mechanical abrasion necessary to cut through high-PSI levelers. A standard masonry stone on a grinder will work for soft patches, but it creates too much heat and takes too long for a whole room. I prefer a seven-inch grinder for the big areas. It has the weight to do the work for you. You need a dust shroud. If you grind concrete without a shroud and a HEPA vacuum, you are coating the entire house in silica dust. That is a health hazard and a cleaning nightmare. Use a vacuum with a pulse cleaning feature. The fine dust from leveler will clog a standard shop vac filter in thirty seconds. I set the grinder to a medium speed. You do not want to gouge the floor. You want to skim the surface. Use a circular motion. Watch the dust. If the vacuum is pulling it all in, you can see exactly when you hit the level plane.
Grit selection and the mechanical bond
Selecting the correct grit for grinding depends on whether you are preparing the surface for adhesive or simply flattening a substrate for a floating floor. Coarse 30-grit diamond segments will strip material fast but leave deep scratches in the concrete. If you are doing a glue-down hardwood install, those scratches are actually good. They increase the surface area for the adhesive to grab. If you are prepping for a thin carpet install, those ridges might show through. You would want to follow up with an 80-grit stone to smooth it out. Always check the manufacturer’s specs for your adhesive. Some high-end urethanes need a specific concrete surface profile. I have seen guys sand a floor so smooth it looks like a mirror. Then they wonder why the glue peeled off like a sticker. You need some tooth.
| Grit Level | Material Removal Rate | Best Use Case |
|---|---|---|
| 16-30 Grit | Very High | Bulk removal of high ridges and thick leveler |
| 50-60 Grit | Medium | Standard flattening and adhesive prep |
| 80-120 Grit | Low | Smoothing for thin vinyl or carpet tiles |
The sanding hack for small corrections
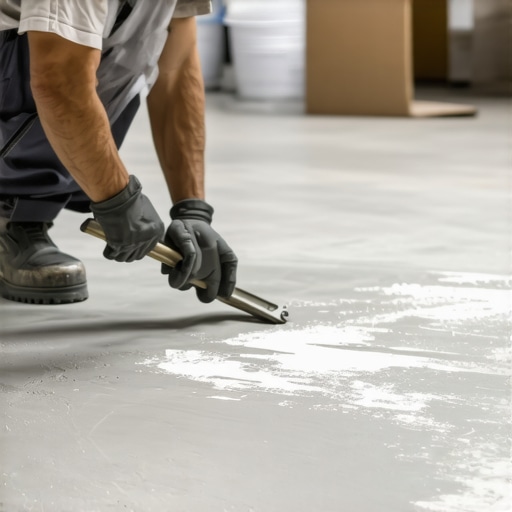
Manual sanding of concrete leveler is possible using silicon carbide sanding screens or rubbing stones when the high spots are minor or located in tight corners. This is the real hack for guys who do not want to buy a thousand dollars in grinding equipment. If the leveler is still fresh, say twelve to twenty-four hours old, it is not at full strength yet. It is still somewhat soft. You can take a 20-grit floor screen and a pole sander and knock down the minor ridges. It is a workout. Your shoulders will burn. But it is quiet and creates less airborne mess. I use a heavy-duty rubbing stone for the edges near the baseboards. You have to be careful. If you go too hard, you will pull the leveler right off the floor if the primer bond was weak. It is a delicate balance between force and finesse.
The moisture trap in thick spots
Moisture content in concrete slabs must be measured after grinding or sanding high spots because the density of the leveler can trap water deep within the pour. When you have a high spot, it is often because the leveler was poured thicker there or puddled. That extra thickness takes longer to dry. I use an impedance meter first for a quick scan. Then I move to calcium chloride tests if the readings are high. Never install a floor over leveler that is still off-gassing moisture. You will get bubbles in your vinyl or mold under your laminate. I once saw a crew install over a thick patch that was only two days old. The moisture couldn’t get out through the top. It pushed sideways. It rotted the baseboards. It was a $20,000 mistake because they didn’t wait forty-eight hours and run a fan.
“Ensure that the subfloor is flat within 3/16 inch in 10 feet or 1/8 inch in 6 feet. Proper substrate preparation is the most important part of the installation.” – NWFA Technical Guidelines
The ghost in the expansion gap
Expansion gaps at the perimeter of the room are mandatory for floating floors and must be kept clear of excess leveler or sanding debris. When you are sanding down high spots near the walls, the dust and chunks of cement tend to fall into that gap. If the gap is filled with debris, the floor has nowhere to go when it expands in the summer. It will tent. It will buckle. I make it a habit to vacuum the perimeter twice. Once after the pour and once after the sanding. I have seen floors lift three inches off the subfloor because a bit of dried leveler was wedged against the drywall. It is a small detail that causes total failure. The floor needs to float. It is a living thing. Treat it that way.
Final verification of the plane
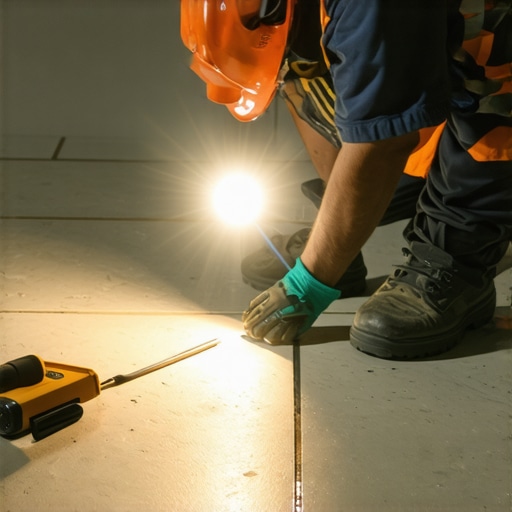
Verifying the subfloor flatness after the sanding process is complete requires a systematic approach using a straightedge and a flashlight. This is the pro move. Turn off the overhead lights. Put a powerful flashlight on the floor. Slide it behind your straightedge. If you see light bleeding under the bar, you have a dip. If the bar rocks, you have a high spot. You keep sanding until that light is gone. It is a game of millimeters. People think I am crazy for spending four hours doing this. They change their mind when they feel how solid the floor is under their feet. There is no bounce. There is no hollow sound. It feels like stone. That is the mark of a master. The work is in the prep. The flooring is just the clothes the house wears.
Essential Tools for Subfloor Correction
- Ten-foot aluminum straightedge for identifying deviations.
- Angle grinder with a dedicated dust extraction shroud.
- HEPA-rated vacuum system with a self-cleaning filter mechanism.
- Diamond cup wheel with 30/40 grit segments.
- Silicon carbide rubbing stone for manual edge work.
- Moisture meter with pinless scanning capabilities.
- Personal protective equipment including an N95 or P100 respirator.