How to Repair a Snag in Loop Carpet Without a Specialist Kit
I once saw a guy lose an entire hallway of high-end wool because a vacuum beater bar caught one stray loop. It zipped. One minute it was a four thousand dollar install, the next, it was a mess of loose yarn and exposed backing. The homeowner tried to fix it by pulling the thread like it was a loose string on a cheap t-shirt. That was the death knell. I spent three days on my knees with a needle and a bottle of specialized latex just to make it look mediocre again. Most guys skip the leveling compound and they think the underlayment will hide the dip. It won’t. I spent three days grinding concrete on a job last month just so the floor wouldn’t click like a castanet, and that same attention to detail is what you need for a carpet snag. This is not just a cosmetic fix. It is a structural intervention on a textile surface that is under constant tension.
The physics of the carpet zipper effect
Loop pile carpet, often referred to as Berber, is constructed by weaving continuous strands of fiber through a primary backing. This backing is typically a heavy woven polypropylene grid. When a single loop is snagged by a pet claw, a sharp furniture leg, or a vacuum, the tension is distributed along the entire row. Because the yarn is continuous, a pull at one end can unravel several feet of carpet in a matter of seconds. This is the structural reality of your floor. The primary backing holds the loops in place with the help of a secondary backing and a layer of SBR latex adhesive. If that latex is old or the carpet install was subpar, the tuft bind strength is compromised. You are not just dealing with a loose thread; you are dealing with a localized failure of the manufacturing bond. Understanding the denier of the yarn and the micron thickness of the backing is the first step in a successful repair.
Why pulling the thread is a fatal error
The instinct to pull a loose loop is the most dangerous impulse a homeowner can have. When you pull, you are physically distorting the grid of the primary backing. This creates a permanent channel where the carpet will always look thin. In the flooring trade, we call this a run or a zipper. If you pull it, you are effectively removing the wear layer of your floor. Unlike laminate or hardwood where a scratch is a surface issue, a snag in a loop carpet is a hole in the structural integrity of the weave. The moment you see a snag, you must stop all foot traffic. Even a small snag can catch on a sock and turn a half inch loop into a six inch disaster. The chemistry of the backing is designed to resist vertical pull, not horizontal tension. Once you exceed the tuft bind rating, the floor begins to disintegrate.
“A floor is only as good as the subfloor beneath it; deflection is the enemy of every joint.” – Master Flooring Axiom
Your kitchen drawer survival kit
You do not need a professional carpet re-burling kit to fix a snag if you catch it early. You need a pair of extremely sharp micro-tip scissors, a set of tweezers, a toothpick, and a high-quality clear adhesive. Stay away from standard school glue. You need something that cures flexible and clear. A clear cyanoacrylate or a specialized fabric glue works best. The goal is to mimic the factory latex bond. I prefer a clear-drying waterproof adhesive because carpets near showers or entryways are subject to moisture that can re-emulsify cheap glues. You also need a heavy object, like a stack of books, to provide compression during the curing phase. If you have a scrap of the original carpet from the install, keep it nearby. You might need to harvest a few fibers if the snag actually broke the yarn. This is precision work that requires the steady hand of a mechanic and the patience of a watchmaker.
The precision trim method
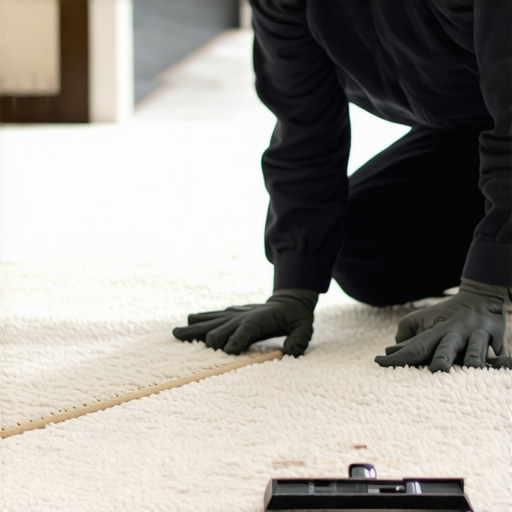
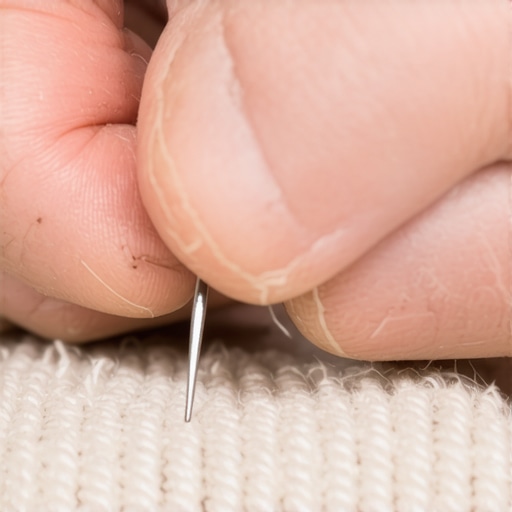
If the loop is still intact but just pulled high, do not cut it yet. First, try to gently work the tension back into the surrounding loops using the tip of a dull needle. This is the professional way to restore the tension. If the yarn is frayed or too long to be tucked back, you must perform a precision trim. Snip the yarn at the apex of the loop. Use the tweezers to pull the two ends apart. You now have two small stalks of yarn. Apply a tiny amount of adhesive to the base of these stalks where they meet the primary backing. Use the toothpick to ensure the glue does not get on the upper parts of the fibers. If you get glue on the tips, the carpet will feel like a rock underfoot and it will attract dirt, creating a permanent black spot. Press the fibers down into the backing and hold them for sixty seconds. The bond must be at the root of the fiber.
Molecular bonding with common adhesives
The chemistry of carpet repair is about surface energy and mechanical interlock. When you apply glue to the backing, you are creating a new anchor point. The SBR latex used in the factory is a thermoplastic resin that provides a flexible but incredibly strong grip. Your home repair adhesive needs to bridge the gap between the polypropylene backing and the nylon or olefin fiber. Nylon has a higher surface energy and bonds more easily than olefin. If you are working with an olefin Berber, you need an adhesive that explicitly states it bonds to plastics. Without this, the repair will simply pop out the next time the vacuum passes over it. This is why I stress the quality of the glue. You are essentially performing a localized re-manufacturing of the floor’s structural layers. A failed bond is worse than no bond at all because it leaves a hard residue that prevents a second repair attempt.
“Proper tuft bind strength is the primary defense against the mechanical failure of a loop pile textile.” – Carpet Installation Standards
How floor leveling stops the snag before it starts
You might wonder what floor leveling has to do with a carpet snag. The answer is everything. A subfloor with humps and dips causes the carpet to stretch unevenly. When the carpet passes over a high spot in the concrete or plywood, the tension on the loops increases. This makes them more susceptible to catching on furniture or shoes. If the installer didn’t use a self-leveling compound to smooth out the substrate, the carpet is essentially being pulled over a dull blade. Every time you drag a chair over a high point, you are abrading the backing. Eventually, a loop will pop. This is why I always insist on a flat subfloor regardless of whether the final surface is carpet, laminate, or tile. A flat floor reduces the mechanical stress on the textile, ensuring that the tuft bind remains intact for the life of the product. If your subfloor is a mess, your carpet will be a mess within three years.
| Fiber Type | Snag Resistance | Best Adhesive | Acclimation Time |
|---|---|---|---|
| Nylon 6,6 | High | Cyanoacrylate | 48 Hours |
| Olefin (Polypropylene) | Low | Specialized Plastic Bond | 24 Hours |
| Wool | Medium | Latex Fabric Glue | 72 Hours |
| Polyester | Medium | Clear Solvent Base | 24 Hours |
The moisture factor in carpet performance
Humidity and moisture play a massive role in how a carpet repair holds up. If you are fixing a snag in a room adjacent to showers or in a basement with high ambient moisture, the backing of the carpet will be softer. High humidity causes the secondary backing to expand slightly, which can loosen the grip on the loops. When performing a repair in these conditions, you must ensure the area is completely dry. Use a hair dryer on a cool setting to remove any deep-seated moisture from the primary backing before applying glue. In regions like the humid Southeast, I’ve seen backings delaminate entirely because the installer didn’t use a proper moisture barrier over the slab. A snag in a damp carpet is a symptom of a much larger structural failure. Always check the moisture content of your subfloor before blaming the carpet fiber itself.
The five minute repair protocol
- Identify the snag and stop all foot traffic immediately to prevent zippering.
- Assess the loop to see if the fiber is broken or merely pulled out of the backing.
- Trim any frayed ends with micro-tip scissors to create a clean bonding surface.
- Apply a bead of clear, flexible adhesive to the base of the primary backing using a toothpick.
- Tuck the loose ends into the glue, ensuring no adhesive reaches the top of the pile.
- Weight the area with a heavy object for at least four hours to ensure a permanent bond.
- Vacuum the area with the beater bar turned off for the first forty-eight hours.
The ghost in the expansion gap
In the world of flooring, the expansion gap is usually something we talk about with laminate or hardwood, but it matters for carpet too. If a carpet install is too tight against the baseboards, the tension on the internal grid is extreme. This tension makes every loop like a loaded spring. When a snag occurs, that spring is released, and the damage is far worse than it would be on a relaxed floor. A proper install requires a delicate balance of stretch. You want the carpet tight enough to avoid wrinkles but not so tight that the backing is at its breaking point. When I repair a snag, I always look at the perimeter. If I see the carpet pulling away from the tack strip, I know the tension is wrong. No amount of glue will fix a floor that was installed with too much or too little stretch. It is a mechanical system, and it must be tuned like an instrument. If you treat your floor like a piece of engineering, it will last. If you treat it like a rug, it will fail you.