The ‘Pencil Method’ for Scribing Laminate Around a Stone Fireplace
A floor is only as good as the subfloor beneath it. If you have ever seen a laminate floor that bounces near the hearth or shows a wide, ugly gap filled with messy caulk, you are looking at a failure of preparation and precision. Most guys skip the leveling compound. They think the underlayment will hide the dip. It won’t. I spent three days grinding concrete on a job last month just so the floor wouldn’t click like a castanet. That level of obsession is what makes the difference between a floor that lasts thirty years and one that fails in three. When you are dealing with a stone fireplace, the stakes are even higher because you are trying to marry a perfectly straight manufactured plank to a chaotic, irregular natural surface. This is where the pencil method comes into play. It is a technique rooted in old-school carpentry that uses basic geometry to transfer the profile of the stone onto your flooring material. If you get this wrong, you will either have a gap that collects dirt or a floor that buckles the first time the humidity hits eighty percent. You need to respect the expansion gap while making the cut look like it grew there.
The subfloor secret that ruins every fireplace scribe
Floor leveling is the mandatory first step before attempting to scribe laminate around a stone fireplace. If the subfloor has a deviation greater than 3/16 of an inch over a 10-foot radius, the plank will shift vertically when stepped on, causing the scribed edge to rub against the stone and eventually snap the locking mechanism. You cannot hide a dip with extra padding. In fact, too much cushion is a death sentence for laminate joints. When I walk onto a job site, the first thing I do is pull out a 6-foot level and a moisture meter. For concrete slabs, if your moisture vapor emission rate exceeds 3 lbs per 1,000 square feet over 24 hours, you are going to have a bad time. You need a calcium chloride test or an in-situ RH probe to know for sure. If that slab is wet, the laminate core, which is usually high-density fiberboard or HDF, will soak up that moisture like a sponge. It expands. The precision scribe you spent two hours on will suddenly be jammed tight against the stone, and the floor will peak at the seams. You have to grind the high spots and fill the low spots with a high-quality Portland cement-based self-leveler. Do not use gypsum-based products if you want a structural bond that won’t crack under the weight of the furniture.
“A floor is only as good as the subfloor beneath it; deflection is the enemy of every joint.” – Master Flooring Axiom
Tools for transferring irregular stone geometry
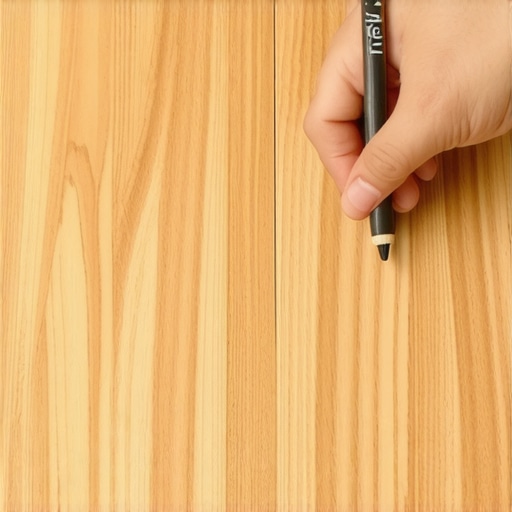
Scribing laminate requires a specific set of tools including a high-quality compass, a sharp carpenter pencil, a jigsaw with down-stroke blades, and a belt sander for fine-tuning. Using a standard pencil is often insufficient because the lead is too soft and loses its point against the rough texture of natural stone. I prefer a 2H lead because it stays sharp longer. You also need a specialized scribe tool or a simple wing compass. The goal is to keep the distance between the point of the compass that touches the stone and the pencil lead that marks the plank perfectly consistent. If you tilt the compass even a few degrees during the pass, you have changed the geometry. You have essentially lied to the wood. I also keep a set of files and a small block of wood for hand-sanding the edges. Laminate is essentially a photograph glued to a pile of compressed sawdust and resin. It is brittle. If you use a standard up-cut jigsaw blade, you will chip the decorative wear layer into oblivion. You need a blade designed for laminate, usually with more teeth per inch and a downward orientation to keep the finish clean. It makes the job harder because the saw wants to push away from the work, but it is the only way to get a professional result.
The physics of the pencil method
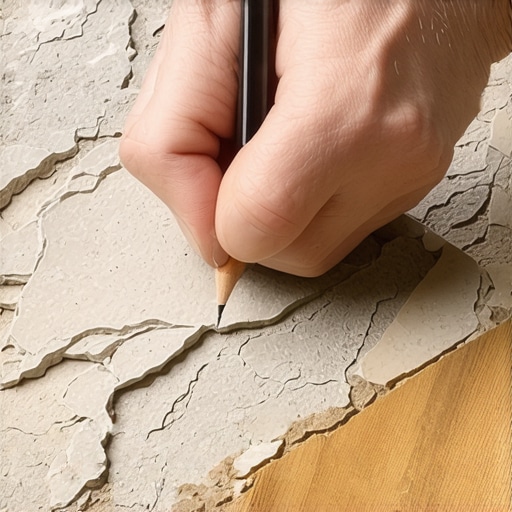
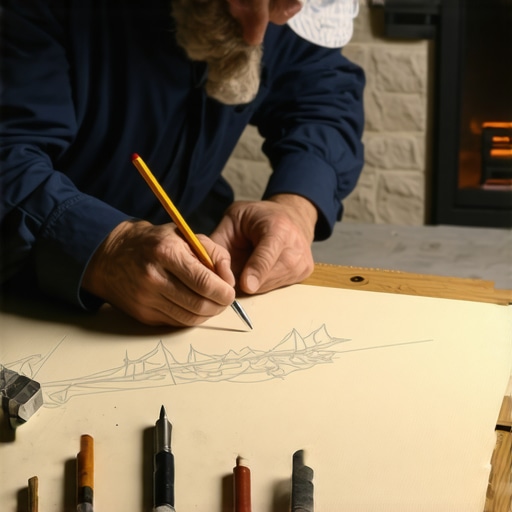
The pencil method works by using a fixed-distance spacer to mirror the irregularities of a vertical surface onto a horizontal plane. By keeping the spacer perpendicular to the fireplace at all times, the installer creates a cut line that accounts for every bump and crevice in the stone. You start by laying the plank to be cut directly on top of the last full row you installed, or as close as possible while keeping it parallel. You have to account for the expansion gap. This is the mistake that kills most DIY jobs. They scribe it tight to the stone. You cannot do that. Laminate is a floating floor. It needs to move. If you scribe it tight, it will hit the stone, the planks will have nowhere to go, and the floor will lift off the subfloor. I usually set my compass to the width of the plank plus a quarter-inch for the expansion gap. As you pull the compass along the stone, the pencil traces a line that is a perfect replica of the fireplace. The physics are simple, but the execution requires a steady hand and a keen eye. You are essentially mapping a 3D surface onto a 2D board. If the stone has deep recesses, you might need to scribe in stages, cutting the bulk away first and then doing a final precision pass.
Why expansion gaps are non-negotiable near stone
Expansion gaps allow laminate flooring to expand and contract with changes in atmospheric humidity without hitting structural obstructions like stone fireplaces. For most laminate products, a minimum gap of 3/8 of an inch is required by the manufacturer to maintain the warranty and prevent floor buckling. People hate the look of the gap. They want the floor to go under the stone. If you can undercut the stone with a diamond blade, do it. But often, that is not an option with a massive river-rock fireplace. So you scribe. But you must leave that gap. I tell my clients that if they want it tight, they should have gone with glue-down hardwood, but even then, wood moves. A floating floor is a living thing in a sense. In the summer, the moisture in the air gets into the HDF core. The boards grow. If that board hits a rock, something has to give. Usually, it is the click-lock joint three rows back. It will snap with a sound like a pistol shot. Then you are looking at a full tear-out because you cannot just patch a click floor easily once the joints are gone. You use a color-matched flexible sealant or a specialized caulk that stays pliable to fill the gap after the install. This hides the gap while allowing the floor to slide underneath the bead of caulk.
| Feature | Laminate HDF Core | Solid White Oak | Engineered Wood |
|---|---|---|---|
| Expansion Rate | High | Very High | Moderate |
| Janka Hardness | N/A (Wear Layer 3-5) | 1360 | 1200-1400 |
| Moisture Resistance | Low to Moderate | Low | High |
| Scribing Difficulty | Moderate | High | Moderate |
Laminate core density and cutting mechanics
The density of the laminate core determines how well it will hold a scribed edge without crumbling during the cutting or installation process. High-density fiberboard with a rating of 850 kg/m3 or higher provides the structural integrity needed for complex cuts around stone. When you are cutting those tiny little ins and outs to match a jagged rock, a cheap floor will just fall apart. The resin content is not high enough to hold the fibers together. I always look for a floor with a high AC rating, but that is just for the surface. For the scribe, I care about the core. I use a jigsaw with a high orbital setting to clear the dust but I slow down the speed of the blade. Heat is the enemy. If you get that laminate too hot, the plastic wear layer will melt and the wood fibers will char. This leaves a dark, burnt edge that you can see even after you caulk. A sharp blade and a steady pace are the only way to keep the integrity of the cut. If I have a particularly difficult section, I will use a Dremel tool with a sanding drum to finish the last 1/32 of an inch. It is tedious work. It is the kind of work that separates a floor guy from a guy who just lays carpet.
“Deflection is the enemy of every joint; a floor is only as good as the subfloor beneath it.” – Master Flooring Axiom
Step by step guide to the scribing process
The scribing process involves five distinct phases including plank positioning, compass calibration, line transfer, precision cutting, and final fitment adjustment. Each phase must be executed with a tolerance of less than 1/16 of an inch to ensure a professional appearance.
- Position the plank parallel to the fireplace while keeping it locked into the adjacent row if possible.
- Set your compass to a width that accounts for both the stone depth and the necessary 3/8 inch expansion gap.
- Trace the contour of the stone fireplace by keeping the compass point flat against the rock and the pencil perpendicular to the plank.
- Use a jigsaw with a laminate-specific blade to cut on the waste side of the line, leaving the line visible.
- Refine the cut with a belt sander or hand file to remove any burrs or small inaccuracies.
- Test fit the plank and use a pull bar to lock it into place, ensuring the expansion gap is consistent throughout.
Avoiding the common pitfalls of stone transitions
Common pitfalls in stone transitions include failing to account for the vertical height of the stone, using the wrong pencil lead, and ignoring the moisture content of the subfloor. These errors lead to unsightly gaps, floor failure, and expensive repairs. One thing I see a lot is guys forgetting about the door jambs and the showers when they are doing a big layout. They focus so much on the fireplace that they forget the floor has to line up everywhere else. If you start your layout at the fireplace to make the scribe easier, you might end up with a one-inch sliver at the far wall. You have to plan the whole room. You also need to think about the transition. If the stone is very uneven, a standard scribe might leave some areas looking deeper than others. This is why I use a dark-colored caulk that matches the darkest part of the stone. It creates a shadow line that hides minor imperfections. It is an old architect trick. You are not trying to make the floor disappear; you are trying to make the transition look intentional. If the fireplace is in a room that gets a lot of sun, the laminate will expand even more due to heat. You might need to increase that gap to a half-inch. It is about reading the room and the materials. A master installer knows that the rules in the box are just the minimum requirements. You have to go beyond them if you want the job to survive a decade of seasons.