The ‘Paper Test’ for Checking Laminate Expansion Space
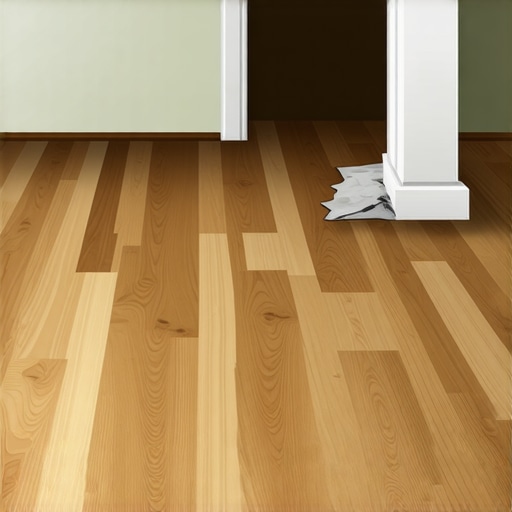
I have spent twenty-five years with sawdust under my nails and a moisture meter in my back pocket. I have seen floors that cost more than a luxury car turn into rolling waves because an installer thought a quarter-inch gap was a suggestion rather than a law. Homeowners always ask why their waterproof vinyl or laminate is buckling months after the job is done. Usually, it is because they locked it under a heavy kitchen island or ignored the perimeter gaps, killing the ability of the floor to breathe. A floor is a living, moving thing. If you treat it like a static piece of furniture, it will bite you. I once walked into a house where a three thousand square foot laminate install was tenting so high in the hallway that the kids were using it as a ramp for toy cars. All because the guy who put it in ran the planks tight against the door casings. He did not leave room for the physics of expansion.
The physics of the floating floor
Laminate expansion space is the gap left between the edge of the flooring and any vertical obstruction like walls or cabinets to allow for thermal movement. This movement is driven by the hygroscopic nature of the high density fiberboard core. Even though the surface is a photograph under a wear layer of aluminum oxide, the heart of the plank is wood fiber. When the relative humidity in your home rises, those fibers absorb microscopic water molecules and physically grow in size. If there is no gap at the edges, the floor has nowhere to go but up. This creates the dreaded peak or buckle that ruins the locking mechanisms. A floor is only as good as the subfloor beneath it, and deflection is the enemy of every joint. We measure this movement in fractions, but across a twenty-foot room, those fractions add up to a significant force that can snap a click-lock joint like a dry twig.
“A floor is only as good as the subfloor beneath it; deflection is the enemy of every joint.” – Master Flooring Axiom
The mechanical reality of high density fiberboard
To understand the paper test, you have to understand what you are testing. Laminate is typically composed of four layers. The backing layer provides stability, the core layer provides structural integrity, the decorative layer provides the look, and the wear layer provides protection. The core layer is the engine of expansion. It is made of wood fibers saturated in resin and compressed under heat. Despite this compression, it remains sensitive to the environment. If your subfloor leveling is off by more than one-eighth of an inch over a ten-foot span, the planks will flex as you walk on them. This flex acts like a bellows, sucking in air and moisture from the subfloor and accelerating the expansion of the HDF core. If you are installing over a concrete slab, the vapor emission rate is a critical metric. I always look for a rate below three pounds per one thousand square feet over twenty-four hours using a calcium chloride test. Anything higher and you are basically installing your floor over a swamp. This is why a moisture barrier is not optional. It is a shield for the mechanical joints of your floor.
How to perform the paper test with surgical precision
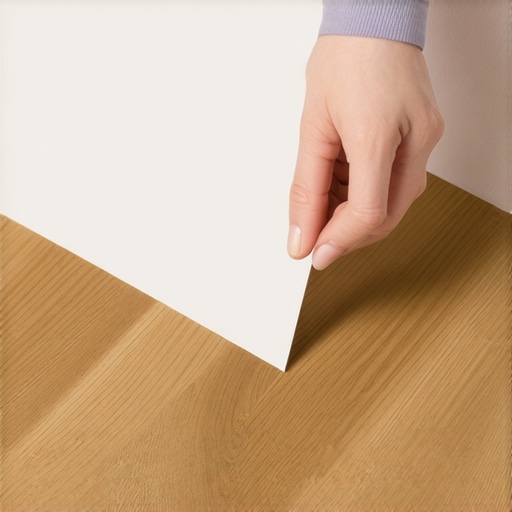
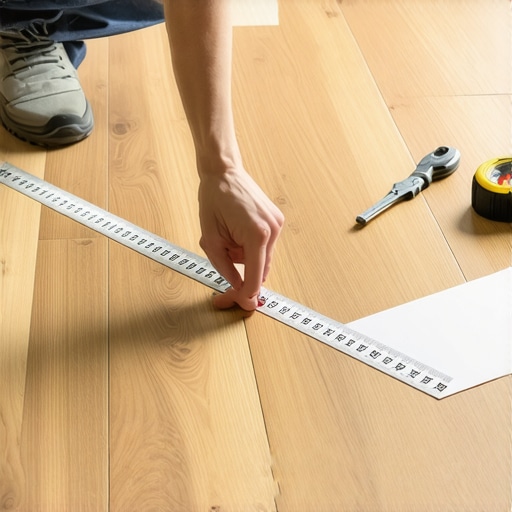
The paper test involves sliding a single sheet of paper or a business card into the expansion gap after the baseboards are installed to ensure no pinching occurs. If the paper cannot pass freely between the vertical surface and the flooring plank, the floor is bound. This is the most common failure point in residential installs. Often, an installer will leave a perfect half-inch gap, only to have the finish carpenter nail the baseboards or shoe molding directly into the flooring. This locks the floor in place. The paper test proves that the baseboard is hovering just a hair above the laminate, allowing the floor to slide back and forth as the seasons change. If you feel resistance when sliding that paper, you have a pinch point. You need to pull that trim and re-set it. I have seen guys try to kick the floor into place, but you cannot fight the expansion coefficient of wood fiber. It wins every time.
| Metric | Requirement | Impact of Failure |
|---|---|---|
| Expansion Gap | 1/4 to 1/2 inch | Buckling and Peak Joints |
| Subfloor Levelness | 1/8 inch per 10 feet | Click System Failure |
| Acclimation Time | 48 to 72 Hours | Dimensional Instability |
| Relative Humidity | 35% to 55% | Gapping or Cupping |
| Wear Layer Mil | 12mil to 20mil | Premature Surface Wear |
The hidden enemies of floor movement
Common obstacles to floor movement include heavy kitchen islands, radiator pipes, and door jambs that have not been properly undercut. I hate it when people want to install a heavy marble-topped island on top of a floating floor. That island weighs five hundred pounds. It acts like an anchor. If the floor expands on the other side of the room, it cannot slide under that island, so it buckles in the middle. The same thing happens at door jambs. You must use a jamb saw to undercut the wood so the laminate can slide underneath. If you just butt the laminate up against the trim and caulk it, you have created a permanent bond that will fail when the heat turns on in the winter. I have spent days grinding concrete on jobs just to ensure that these transitions are smooth. If the subfloor is not level, the floor will bounce. Every time it bounces, it wears down the tongue and groove. Eventually, the floor will start to click like a castanet when you walk on it. That is the sound of a failing investment.
Transitioning from laminate to showers and carpet
Transitions between different flooring types require specific profiles like T-moldings or reducers to maintain the floating integrity. When you move from a laminate hallway into a bathroom with a shower, you cannot just run the laminate into the tile. You need a waterproof transition. The edge of the laminate near a shower must be sealed with 100% silicone caulk to prevent topical moisture from reaching the HDF core. Water is the solvent that dissolves your floor. If you are transitioning to a carpet install, the carpet tack strip must be kept away from the laminate edge. I have seen carpet guys nail their strips right through the expansion gap of the laminate. It makes me want to retire. You need a transition strip that covers the gap while allowing both surfaces to behave naturally. Laminate expands while carpet stretches. They are two different animals and they need their own space to live.
- Check the subfloor with a 10-foot straight edge before laying the first plank.
- Use a moisture meter to verify that the subfloor is within 2% of the flooring moisture content.
- Verify that the expansion gap is maintained around every single pipe and pillar.
- Perform the paper test on every wall after the trim is installed.
- Ensure the T-molding is not nailed or glued to the flooring itself.
Subfloor leveling and the myth of the thick underlayment
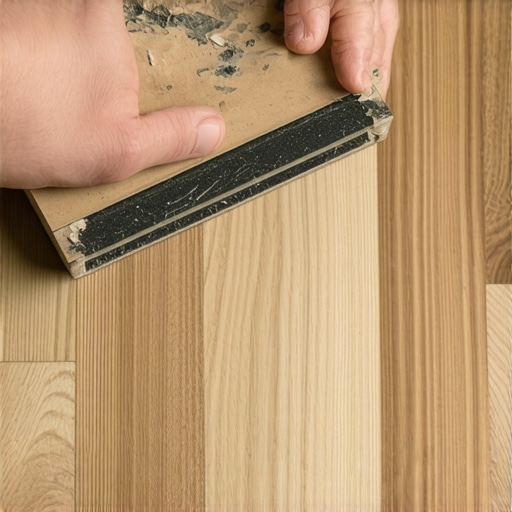
Floor leveling is the process of using self-leveling compound or sanding high spots to create a flat surface for the floor. There is a dangerous myth in the DIY world that a thick, squishy underlayment will hide a bad subfloor. It is the opposite. Too much cushion actually causes the locking mechanisms on laminate to snap under pressure because the floor deflects too much when stepped on. You want a high-density underlayment with a high compression strength. I look for materials with a high IIC (Impact Insulation Class) rating if I am working in an apartment or a second story. But no underlayment can replace a bag of leveler and a trowel. If you have a dip in the subfloor, fill it. If you have a hump, grind it down. I spent three days grinding concrete on a job last month just so the floor wouldn’t click. It is dirty, loud work, but it is the difference between a floor that lasts thirty years and one that lasts three.
“Standard practice requires that the subfloor be flat to within 3/16 inch in a 10-foot radius or 1/8 inch in a 6-foot radius.” – NWFA Installation Guidelines
The chemistry of adhesives and moisture barriers
While laminate is a floating system, the chemistry of the subfloor still matters. If you are using a perimeter glue for specific transitions, you need to understand the bond. Modified thin-set for adjacent tile work must be fully cured before the laminate comes near it. Moisture is the ghost in the machine. It moves through concrete in a vapor state and condenses under your floor. This is why the mil-thickness of your vapor barrier is not a suggestion. I use 6-mil poly as a minimum. I overlap the seams by six inches and tape them with moisture-resistant tape. This creates a sealed environment. Without it, the underside of your laminate will absorb that vapor, and the paper test will not save you. The planks will swell from the bottom up, creating a cupped appearance that no amount of expansion space can fix. You have to respect the chemistry of the house. You have to respect the moisture that wants to get in.