How to Trim a Door After Installing Thicker Laminate
Most guys skip the leveling compound. They think the underlayment will hide the dip. It won’t. I spent three days grinding concrete on a job last month just so the floor wouldn’t click like a castanet. After the dust settled and the 12mm laminate was finally locked in, the homeowner tried to close the bathroom door. It didn’t just rub. It hit the new floor like a brake pad on a rotor. This is the reality of the 1/8 inch that ruins everything. When you upgrade from a thin, cheap carpet to a high-density fiberboard laminate with a thick underlayment, you are often adding half an inch of vertical height. That door you took for granted is now an obstacle. You cannot just force it. You have to understand the physics of the bottom rail and the chemistry of the door core before you ever touch a saw blade.
The 1/8 inch that ruins everything
Trimming a door for new laminate requires a clearance gap of at least 1/8 inch for hard surfaces or up to 1/2 inch for airflow. You must measure the total stack height of the laminate and underlayment to determine the new threshold elevation. Most people assume the floor is flat. It is not. If you have a 3/16 inch rise in the subfloor over ten feet, your door might clear the floor when open but jam tight when closed. You must map the floor arc with a level before you mark your cut. If you ignore the subfloor’s topography, you will find yourself taking the door off the hinges three or four times. I have seen guys ruin $400 solid oak doors because they did not account for the high spot in the concrete slab. This is a mechanical failure of planning, not just a carpentry mistake.
“A floor is only as good as the subfloor beneath it; deflection is the enemy of every joint.” – Master Flooring Axiom
The math of the bottom rail
A standard hollow core door consists of a thin veneer skin over a honeycomb cardboard center, held together by a solid wood bottom rail. Trimming more than 1 inch off the bottom often removes the entire rail, leaving the door core exposed and structurally unstable. You have to know what you are cutting into. If you are lucky, you have a solid wood door. If you are dealing with modern builder-grade junk, you are dealing with a thin strip of pine or MDF at the bottom. Once that strip is gone, the door loses its rigidity. It will flex. It will delaminate. If the math says you need to cut two inches off to clear a new floor leveling project, you need to be prepared to glue a new wood plug into the bottom of that door. I have spent hours at the workbench scraping out cardboard honeycombs to make room for a new 1-inch pine rail. It is tedious work that smells like wood glue and frustration, but it is the only way to keep the door from falling apart.
Tools for the expert
The best tool for trimming a door after laminate installation is a track saw or a circular saw with a 60-tooth carbide finish blade. You should avoid hand saws for this task because they lack the stability to maintain a perfectly square edge over a 30-inch cut. A track saw is the gold standard here. It clamps to the door and ensures a straight line that looks like it came from the factory. If you are using a standard circular saw, you need a straight edge guide. I use blue painter’s tape on the cut line to prevent the melamine or wood veneer from splintering. The blade teeth move upward on the front of the saw, which means they want to lift the veneer right off the door. The tape provides the necessary counter-pressure to keep the fibers in place. If you see a guy free-handing a door cut with a jigsaw, fire him. He is going to leave you with a jagged, ugly mess that you will see every time you walk into the room.
| Door Type | Maximum Safe Cut | Core Material | Recommended Blade |
|---|---|---|---|
| Solid Oak | Unlimited | Solid Wood | 40-60 Tooth Carbide |
| Hollow Core | 1 Inch | Cardboard/MDF | 60-80 Tooth Fine Finish |
| Engineered Wood | 1.5 Inches | Plywood/LVL | 60 Tooth Carbide |
| MDF Shaker | 2 Inches | Medium Density Fiberboard | 80 Tooth Carbide |
The physics of the jamb saw
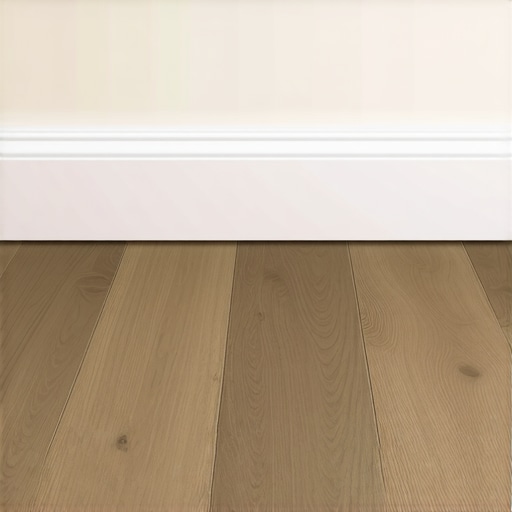
Trimming the door is only half the battle; you must also undercut the door jambs and casing to allow the laminate to slide underneath. This ensures the 1/4 inch expansion gap is hidden and the floor looks like it was grown into the house. I use a powered flush-cut saw for this. You lay a scrap piece of your new laminate and a piece of underlayment on the floor, then rest the saw blade on top of them. This gives you the exact height you need. The physics of wood expansion are non-negotiable. If you tight-fit your laminate against a door jamb, the floor will buckle when the humidity hits 60 percent. It needs room to breathe. The door jamb must be cut deep enough that the laminate can move freely beneath it. This is where the amateurs fail. They try to cut the laminate around the jamb. That is a rookie move that leaves a gap you have to fill with caulk, which looks like garbage after six months.
“Subfloor flatness is the single most critical factor for the longevity of a floating floor system; variations must not exceed 3/16 inch over 10 feet.” – NWFA Standards Manual
Why your subfloor is lying to you
Subfloor levelness is rarely perfect, and a door that swings across a wide arc will reveal every hump and dip in the plywood or concrete. You must check the entire swing radius of the door with a 6-foot level before deciding on your cut height. If the floor rises toward the end of the door swing, a standard 1/8 inch clearance will not be enough. You will hear that sickening scrape every time the door opens. I always check for floor leveling issues before the laminate goes down. If the subfloor is a mess, the door will never hang right. This is especially true in bathrooms where previous shower leaks might have swollen the subfloor. You are not just a carpenter; you are a structural investigator. You are looking for the reasons why the door is failing. Usually, it is a combination of poor moisture control and a settled foundation. You have to solve those problems before you worry about the aesthetic of the door trim.
The expansion gap nightmare
Laminate floors are floating systems that expand and contract with seasonal temperature changes, meaning the gap between the door and the floor must account for this movement. A door that is trimmed too tight will eventually bind when the floor expands in the summer. In high-humidity environments, a laminate floor can grow significantly across its width. If your door is only 1/16th of an inch above the floor, that expansion can lift the floor just enough to catch the door. Then you have a mechanical lock that puts stress on the laminate click-joints. I have seen locking mechanisms snap because a heavy door was dragging across the surface, pulling the planks apart. This is why I insist on a minimum 1/4 inch clearance for any room with significant temperature swings. It is not about what looks good; it is about the physics of the material. Laminate is basically sawdust and resin. It reacts to water. It reacts to heat. Your door needs to be a neutral party in that chemical reaction.
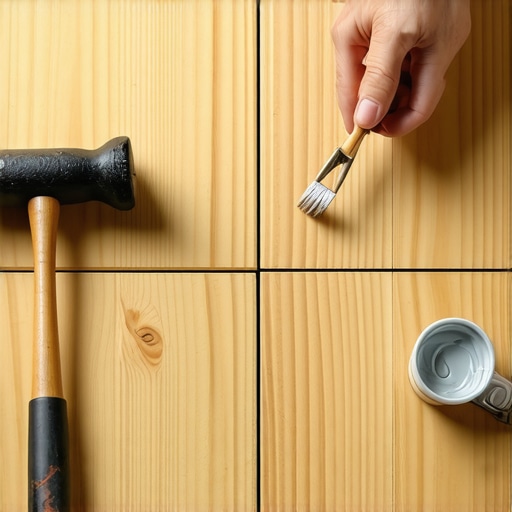
- Remove the door from its hinges using a hammer and a hinge pin punch.
- Lay the door on a stable pair of sawhorses with moving blankets to protect the finish.
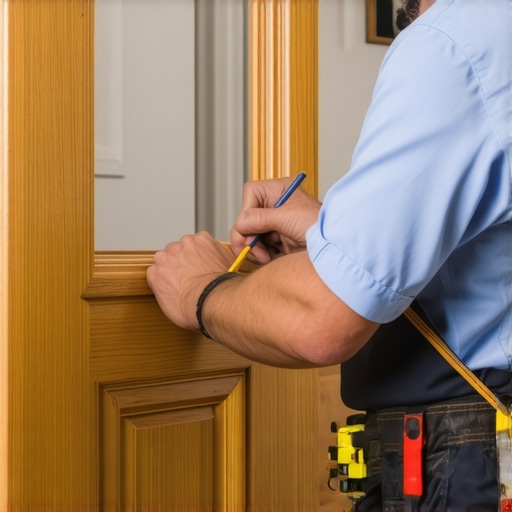
- Mark the cut line using a square, accounting for the floor stack height and 1/4 inch clearance.
- Apply blue painter’s tape across the cut line on both sides of the door.
- Score the veneer with a sharp utility knife to prevent chipping.
- Use a track saw or a guided circular saw with a fine-finish blade.
- Sand the bottom edge with 120-grit sandpaper to remove burrs.
- Seal the raw wood or MDF at the bottom with a quick-dry primer or polyurethane.
- Re-hang the door and check for clearance across the entire swing arc.
Adhesive chemistry in hollow cores
When you cut a hollow core door and expose the cardboard interior, you must use a high-strength wood glue or polyurethane adhesive to bond a new wooden bottom rail into the cavity. This restores the structural integrity of the door and prevents the veneer from warping. The bond between the new rail and the old skin is critical. I use Titebond II or III because they have a high solids content and a fast set time. You have to clean out the old glue and cardboard leftovers first. If the cavity is not clean, the adhesive will fail. I clamp the door skins tightly against the new rail for at least two hours. If you skip the clamps, the veneer will flare out, and your door will be thicker at the bottom than it is at the top. This will cause it to rub against the stop molding. It is a chain reaction of failures that starts with a single bad cut. Precision is the only way out.
The finished threshold
Once the door is cut and the jambs are undercut, the final step is the transition. If you are moving from laminate to a different surface like a shower tile or carpet, your door needs to clear the transition strip. These strips are often higher than the laminate itself. I have seen guys do a perfect door trim only to realize the T-molding for the transition was another 1/4 inch higher. Always measure the peak of the transition. The door must clear the highest point in its arc. When you re-hang the door, listen to the sound. A well-trimmed door is silent. It does not whistle over the carpet or scrape over the laminate. It moves through the air with a consistent gap that satisfies the requirements for HVAC return air and structural expansion. That is the mark of a master installer. It is not just about a saw cut. It is about understanding the house as a living, moving machine.