The Straight-Edge Secret for Checking Floor Flatness
Most guys skip the leveling compound. They think the underlayment will hide the dip. It won’t. I spent three days grinding concrete on a job last month just so the floor wouldn’t click like a castanet. If you want a floor that lasts, you have to find the truth with a straight edge. I have spent twenty five years on my knees with a moisture meter and a level, and I can tell you that the difference between a high end custom job and a failure is often less than the thickness of a nickel. When you walk across a floor and hear that hollow thud or feel a slight bounce, you are experiencing the failure of the installer to respect the subfloor. A floor is a performance surface. It is a structural engineering challenge that requires precision, patience, and the right tools. If you treat it like a cosmetic decoration, you are inviting disaster. I have seen fifteen thousand dollar wide plank walnut floors cup until they looked like potato chips because the installer did not check the crawlspace humidity or the subfloor flatness. This is not about aesthetics. This is about physics.
The geometric reality of a flat floor
Floor flatness is a measurement of a surface deviation from a specific plane over a fixed distance, typically measured as 1/8 inch over 10 feet. This structural requirement ensures that flooring materials like laminate, hardwood, or tile can rest without stress on their locking mechanisms or adhesive bonds. Failure to achieve this flatness leads to joint fatigue and eventual breakage. When we talk about a flat floor, we are not necessarily talking about a level floor. A floor can be perfectly flat but tilted at a two degree angle. While level is preferred for cabinetry and drainage in showers, flatness is the non negotiable requirement for the structural integrity of the flooring material itself. If the subfloor has a dip, the flooring material must bridge that gap. Over time, the weight of furniture and foot traffic will force the material into that void. In a click lock laminate system, this constant vertical movement will snap the thin plastic tongues. In a tile installation, it will crack the grout lines or the tile itself. You cannot hide these sins with a thicker pad. In fact, a thick, squishy underlayment often makes the problem worse by allowing more movement.
“A floor is only as good as the subfloor beneath it; deflection is the enemy of every joint.” – Master Flooring Axiom
The tool that exposes the truth
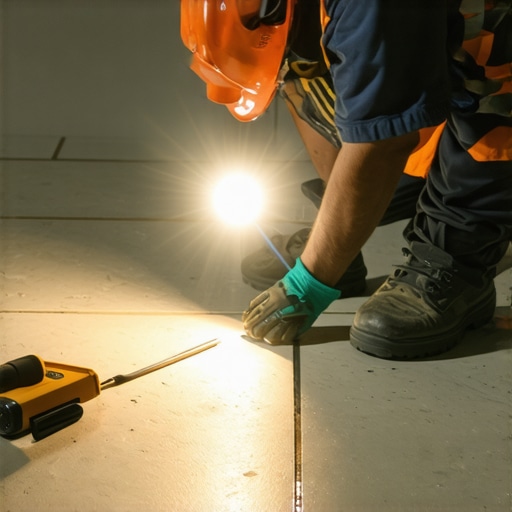
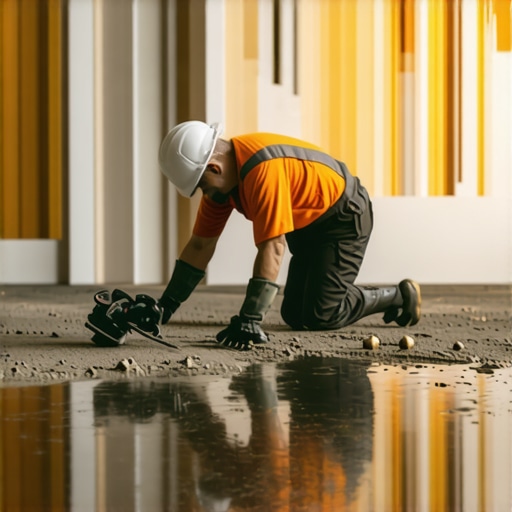
A ten foot aluminum box beam is the primary tool for identifying subfloor irregularities before the installation of laminate or hardwood begins. By sliding this rigid straight edge across the room, an installer can instantly see light passing under the beam, indicating a low spot that needs filler. You cannot trust your eyes. The human eye is easily fooled by light patterns, shadows, and the vastness of an empty room. You need a physical reference point. I prefer a professional grade aluminum straight edge because it does not warp like wood and it is lighter than steel. When you place that beam on the floor, you are looking for any gap wider than 1/8 inch. If you can slide two quarters stacked on top of each other under the beam, the floor is out of spec. You must check the floor in a grid pattern. Run the beam north to south, then east to west, and finally diagonally. This 360 degree check ensures that you do not miss a localized hump or a long, slow swale in the joists. If you find a high spot, it must be ground down. If you find a low spot, it must be filled with a high compressive strength leveling compound. There are no shortcuts here. The dust from grinding concrete is brutal, and the dry time for leveler is annoying, but it is the only way to guarantee a silent floor.
| Material Type | Flatness Tolerance (10 ft) | Acclimation Time | Max Moisture Content |
|---|---|---|---|
| Solid Hardwood | 1/8 inch | 7 to 14 days | 6 to 9 percent |
| Laminate Flooring | 1/8 inch | 48 hours | 12 percent |
| Engineered Wood | 1/8 inch | 3 to 5 days | 9 percent |
| Ceramic Tile | 1/16 inch (Large Format) | None | Concrete must be cured |
| LVP (Vinyl Plank) | 3/16 inch | 24 to 48 hours | 85 percent RH |
The ghost in the expansion gap
Expansion gaps are the breathing room required at the perimeter of a room to allow flooring materials to expand and contract with changes in temperature and humidity. For most floating floors like laminate, a gap of 1/4 inch to 1/2 inch is mandatory to prevent buckling. I have seen entire floors lift off the ground like a tent because the installer pushed the planks tight against the drywall. Wood is a living material. Even engineered products and some plastics will move. When the humidity rises, the cells of the wood absorb moisture and expand. If there is no room for that expansion, the force has nowhere to go but up. This creates the dreaded bounce. The straight edge secret helps here too. If your floor is not flat near the perimeter, your baseboards will show ugly gaps at the bottom. You will be tempted to nail the baseboard down hard to close the gap, but if you do that, you might pin the floor, trapping it and causing it to buckle elsewhere. You need a flat subfloor so the floor can slide freely under the baseboard as it breathes throughout the seasons. This is especially true in humid environments where the swing in moisture levels is extreme.
Why your subfloor is lying to you
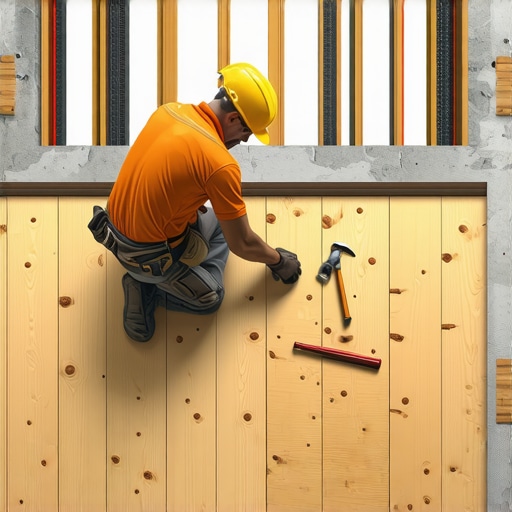
Subfloors made of OSB or plywood often develop high spots at the seams due to moisture absorption during the construction phase of the home. These peaked seams act as fulcrums that cause flooring planks to seesaw and eventually break their locking systems. When a house is being built, the subfloor is often exposed to rain before the roof is on. The edges of the wooden sheets soak up that water like a sponge and swell. Even after the wood dries out, it rarely returns to its original thickness. This creates a ridge at every joint. If you lay laminate or LVP over these ridges, the floor will click and creak every time you step on it. You must take a belt sander with 40 grit paper and flatten those seams. It is a dusty, miserable job, but it is what separates a professional from an amateur. I have spent hours sanding down OSB seams just to get that perfectly flat plane. If the subfloor is concrete, you are dealing with a different beast. Concrete slabs are rarely flat. They often have humps near the center and dips near the walls. You must use a diamond cup wheel on an angle grinder to take down the humps. Wear a respirator. The silica dust will ruin your lungs faster than you can say subfloor prep.
The physics of the shower pan
In shower installations, the straight edge is used not for flatness but to ensure a consistent slope toward the drain, typically 1/4 inch of fall per linear foot. This ensures that gravity can effectively move water off the tile and into the plumbing system without pooling. While the rest of the house needs to be flat, the shower is where we intentionally break the rules. However, the surface must still be a true plane. If the slope is wavy, the large format tiles common in modern showers will lip. Lippage is when the edge of one tile is higher than the edge of the next. It is a trip hazard and it looks terrible. By using a shorter straight edge, usually 2 or 3 feet, you can check that your mud bed or foam tray is perfectly planar as it descends toward the drain. This is the chemistry of water management. If the water stays on the tile because of a dip, it will eventually find a way through the grout and into the substrate. No matter how much waterproofing you use, standing water is the enemy. A perfectly sloped, flat plane is your first line of defense in any wet area.
“Deflection of the substrate shall not exceed L over 360 for ceramic tile or L over 720 for natural stone installations.” – TCNA Handbook
The click lock catastrophe
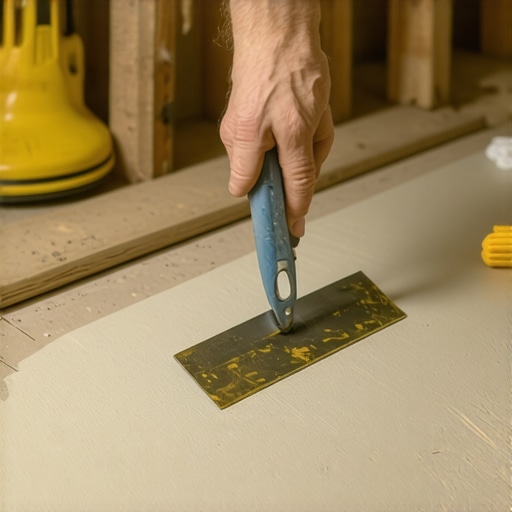
Laminate and LVP flooring failures are almost always traced back to subfloor deflection and lack of flatness rather than defects in the product itself. The thin locking mechanisms are designed to hold planks together on a flat surface, not to act as structural bridges over subfloor voids. When you walk over a low spot, the plank bends. The tongue and groove rub against each other. This friction creates a clicking sound. Eventually, the tongue will snap off. Once that happens, the joint opens up, and moisture can get into the core of the plank. Then the floor is ruined. People love to talk about waterproof vinyl, but the floor is only waterproof if the joints stay tight. If your subfloor is like a roller coaster, those joints will never stay tight. You must invest the time in leveling. Use a high quality primer before pouring self leveler. If you skip the primer, the dry concrete will suck the moisture out of the leveler too fast, and it will not flow. It will just sit there in a lump, making your floor even worse than when you started. Detail matters. The mil thickness of your wear layer does not mean anything if the subfloor is garbage.
Pre installation checklist for a flat floor
- Check the entire room with a 10 foot straight edge in a grid pattern.
- Identify all high spots and mark them with a carpenter pencil.
- Identify all low spots and circle them with a different color.
- Grind down all high spots using a diamond cup wheel or heavy grit sander.
- Vacuum all dust and debris until the surface is surgically clean.
- Apply the manufacturer recommended primer for self leveling compounds.
- Mix and pour the leveler, using a spiked roller to remove air bubbles.
- Verify the flatness again after the leveler has fully cured.
- Check the moisture content of the subfloor to ensure it is within spec.
- Confirm the expansion gap requirements for your specific flooring material.